How to Build a Beautiful Website (in Just Hours!)
Building a website for your business can feel like a lot. You’ve got the idea, you’re ready to get your brand out there… but then comes the big question: where do you even start??
The good news? You don’t need to learn how to code or spend thousands hiring a designer to create something beautiful and professional. Website building platforms like Squarespace make it super easy to DIY your own website and with the extra help of a template to get you started on the right foot with a done-for-you strategic design, you'll breeze through the whole process!
In this post, we’ll walk through everything you need to know to go from blank screen to live website in no time at all, including how to choose the right platform, pick your perfect template, customize it for your brand, and launch your site like a pro!
Let's dive in!
Why You Actually Need a Website (Even in 2025)
Your website is more than just your business' home on the world wide web, it's a pretty crucial foundation for your entire brand! Whether you’re selling services, products, or creative work, your website is the place that brings it all together and helps your business grow.
Here’s why it matters 👇
It’s where people can find you
It’s where people can learn more and buy from you
It makes you look legit and professional
It works for you 24/7 (even while you sleep or sip margaritas by the beach)
It's yours (no algorithms, no rules, just your brand, your words, and your space!)
Now that you know why having a website is SO important, let's dive into the first steps to getting started.
Preparation
Before you sit down to start building anything, you’ll want to make sure you have a good idea of what you’re going to create! Think about what your business is all about, what you’re offering, and who you want to attract. Having a solid idea of those things will make building your site so much easier (and way more intentional).
Once you’ve got that down, start gathering the basics like your logo, colors, fonts, images, and copy. But don’t stress about having everything perfect.
A website is ALWAYS a work in progress, so we recommend just getting it started, don’t get hung up on the small details, and refine it as you grow!
👉 How to Create the Perfect Mood Board for Your Small Business
👉 How to Create the Perfect Color Palette for Your Website
👉 Choosing the Right Fonts for Your Squarespace Site
If you haven’t prepped anything, and this is already sounding too far ahead, check out our free course where we go over how to DIY all of these things!
Choose the Best Website Builder for Your Business
DIYing your website is becoming easier every year as more and more user-friendly website building platforms crop up. Long gone are the coding days, now all you need to do is (mostly) drag-and-drop!
Of course, not all of these platforms are built the same. Some like Shopify, specialize in e-commerce, while others like Showit give you a massive amount of creative control but without as many tools for anything else.
Wordpress is another contender, offering you tons of highly customizable solutions for more complex sites (but you do probably need to know how to code for this one!).
More recently, Canva has also come up with their own mini website builder! While limited to just 1 page sites currently, it does give you total visual freedom and is really easy to use.
And then of course, there is Squarespace ✨ Yes, we might be a little biased but we do truly think that Squarespace is one of the best website builders out there for small business owners who need a good all-in-one solution for their sites.
Not only is it easy to use with a grid-based, drag-and-drop editor, it has so many tools built right in, like e-commerce, courses, blogging, portfolio, invoicing, email marketing, and more, making it ideal to grow your site alongside your business as it evolves.
Of course, it's important to first consider you particular business, what you're selling or what services you're offering, as well as what your non-negotiables are (which is why the preparation step is so important!).
If you're a photographer, you'll probably want a website building platform that is very visual and offers a good portfolio solution. If you have a shop, you'll definitely need some e-commerce features built-in.
To help you decide, explore the following guides:
👉 How to Choose the Best DIY Website Builder for Your Business
👉 Squarespace VS Shopify — Which Platform is Better for an Online Store?
👉 Canva Websites vs. Squarespace–Which Should You Use for Your Website?
👉 Squarespace vs. WordPress: Which is Better for Small Business Owners
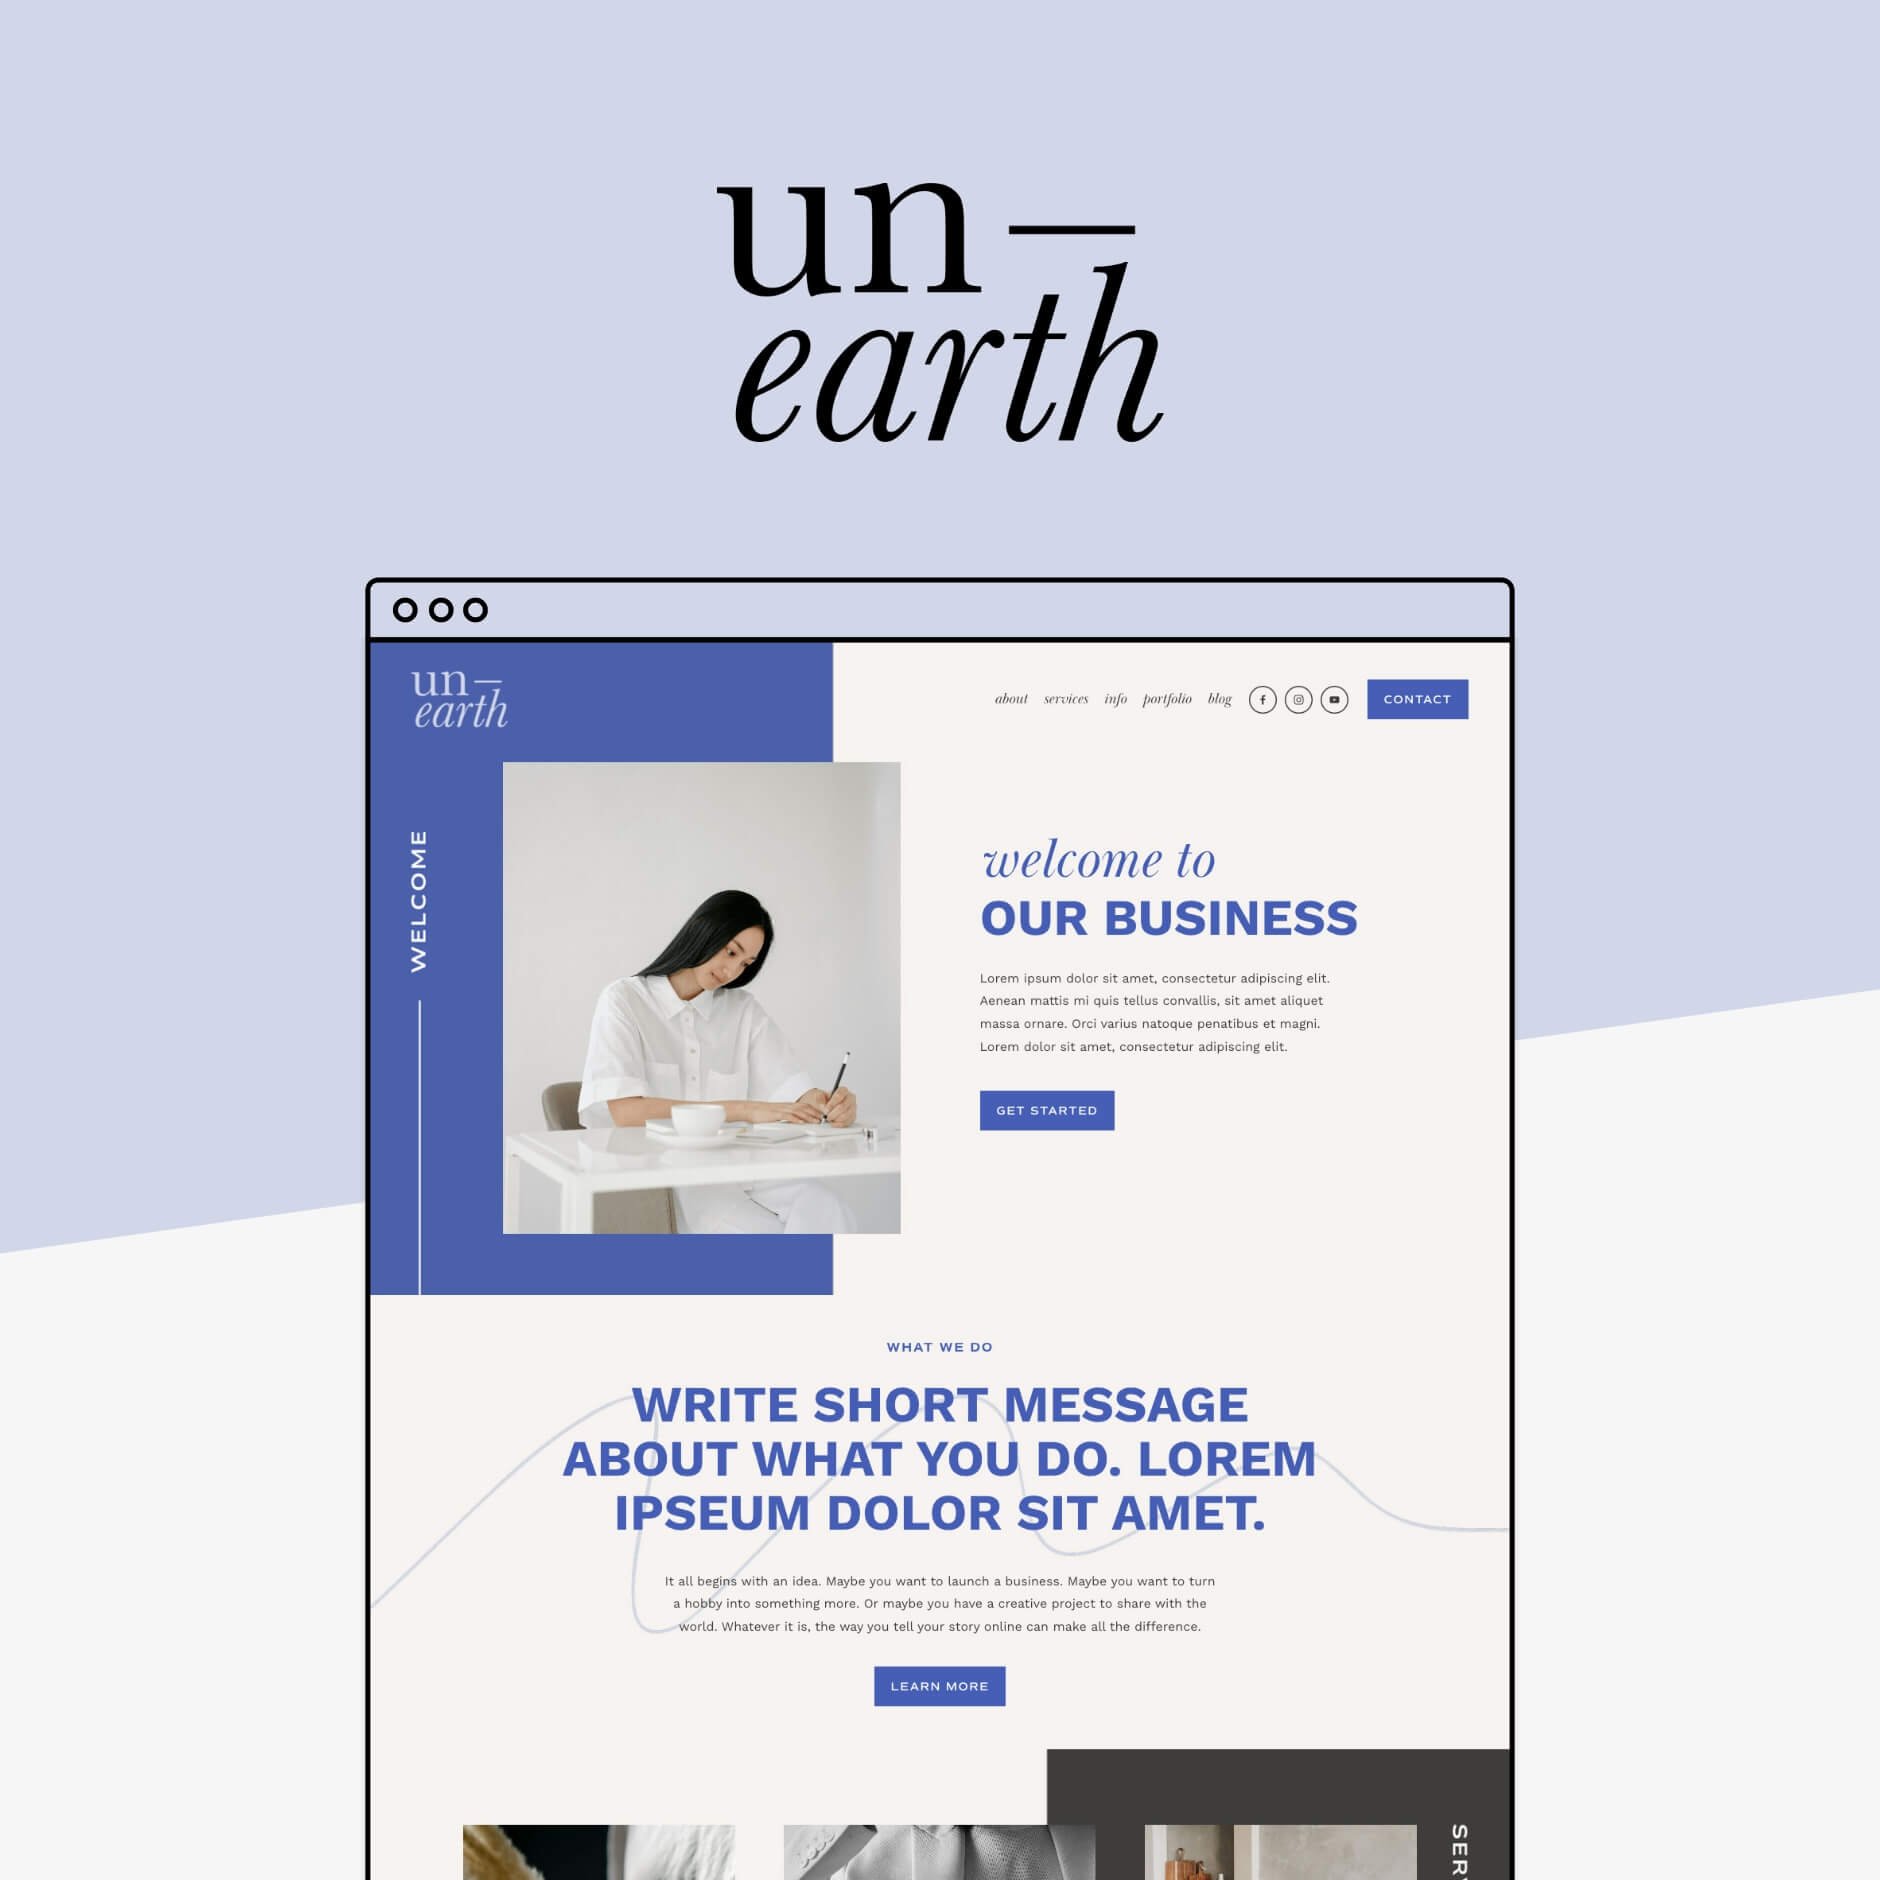
Choose the Perfect Template for Your Business
These days, the vast majority of website building platforms offer templates, essentially pre-built websites that you can customize to fit your business needs and your ticket to getting yourself a new website pronto!
In this post, we'll talk about templates for Squarespace (because that's what we know best!), but if you decided to go with a different platform, they most likely also have all kinds of free and paid templates available so make sure to have a bit of a browse.
For Squarespace, you’ve got two options:
Use one of Squarespace's free templates
Choose a premium, done-for-you template (our fave route 👀)
Here's a quick breakdown of how they compare:
Free Squarespace Templates
Squarespace’s free templates are:
Clean, modern, and easy to use right out of the box
Great if you find one that already fits your style
Perfect for simple sites or quick launches
But keep in mind:
They can feel a little basic or generic.
They’re built to be a flexible starting point, which is great, but it also means you’ll spend more time customizing layouts and figuring out how to make them feel unique to your brand.
Squarespace’s built-in guides are helpful, but if you’re new to the platform, there can be a bit of a learning curve.
You can always start with this option and upgrade to a premium template if you find the free option isn’t working for you! Every Squarespace free template comes with a 2 week free trial which is great to give things a go and see how you like the platform.
✨ Best for: anyone wanting to experiment, learn the platform, or launch something simple fast.
Premium Squarespace Templates
While premium templates are a paid option, they do take things further. They are:
Strategically designed for real businesses, with page structure, flow, and professional layouts already done for you.
Way more comprehensive and exciting than your run of the mill free Squarespace templates.
Delivered with step-by-step video tutorials, copy prompts, and guides to walk you through the whole setup.
Easy to customize with your own branding and content.
The result? A beautiful, professional website that feels totally you (minus the guesswork).
✨ Best for: business owners who want a polished, strategic website fast (and without the tech stress).
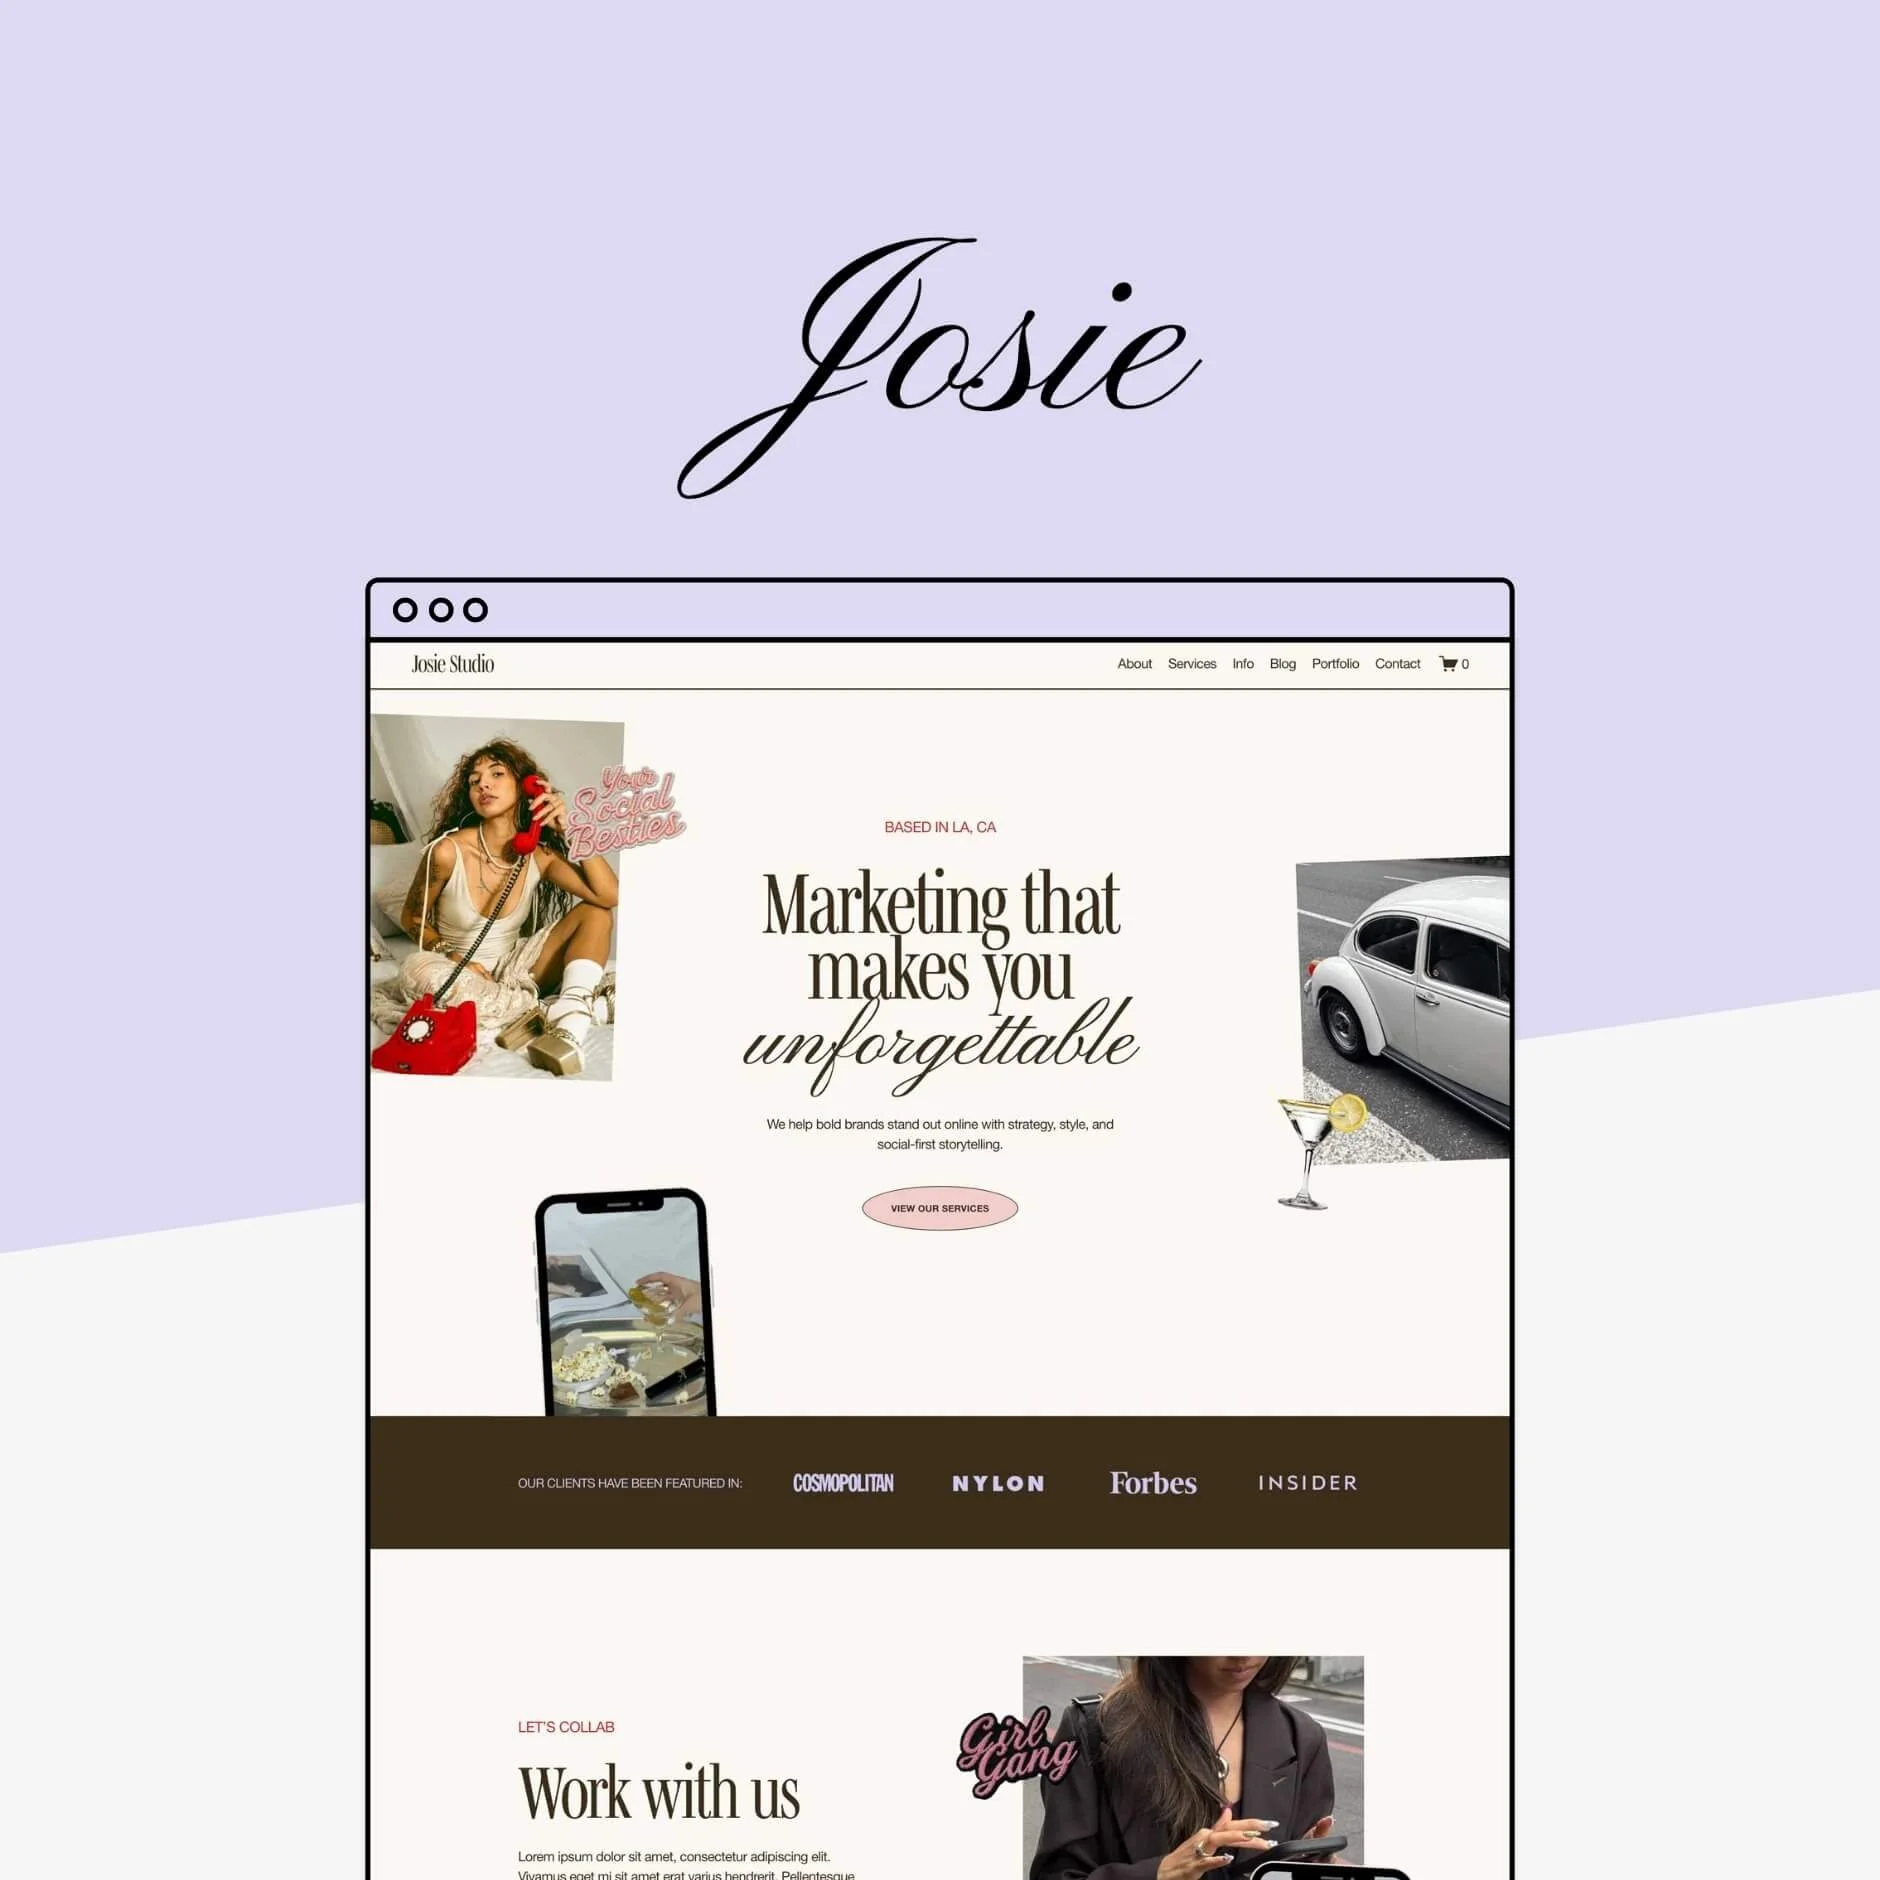
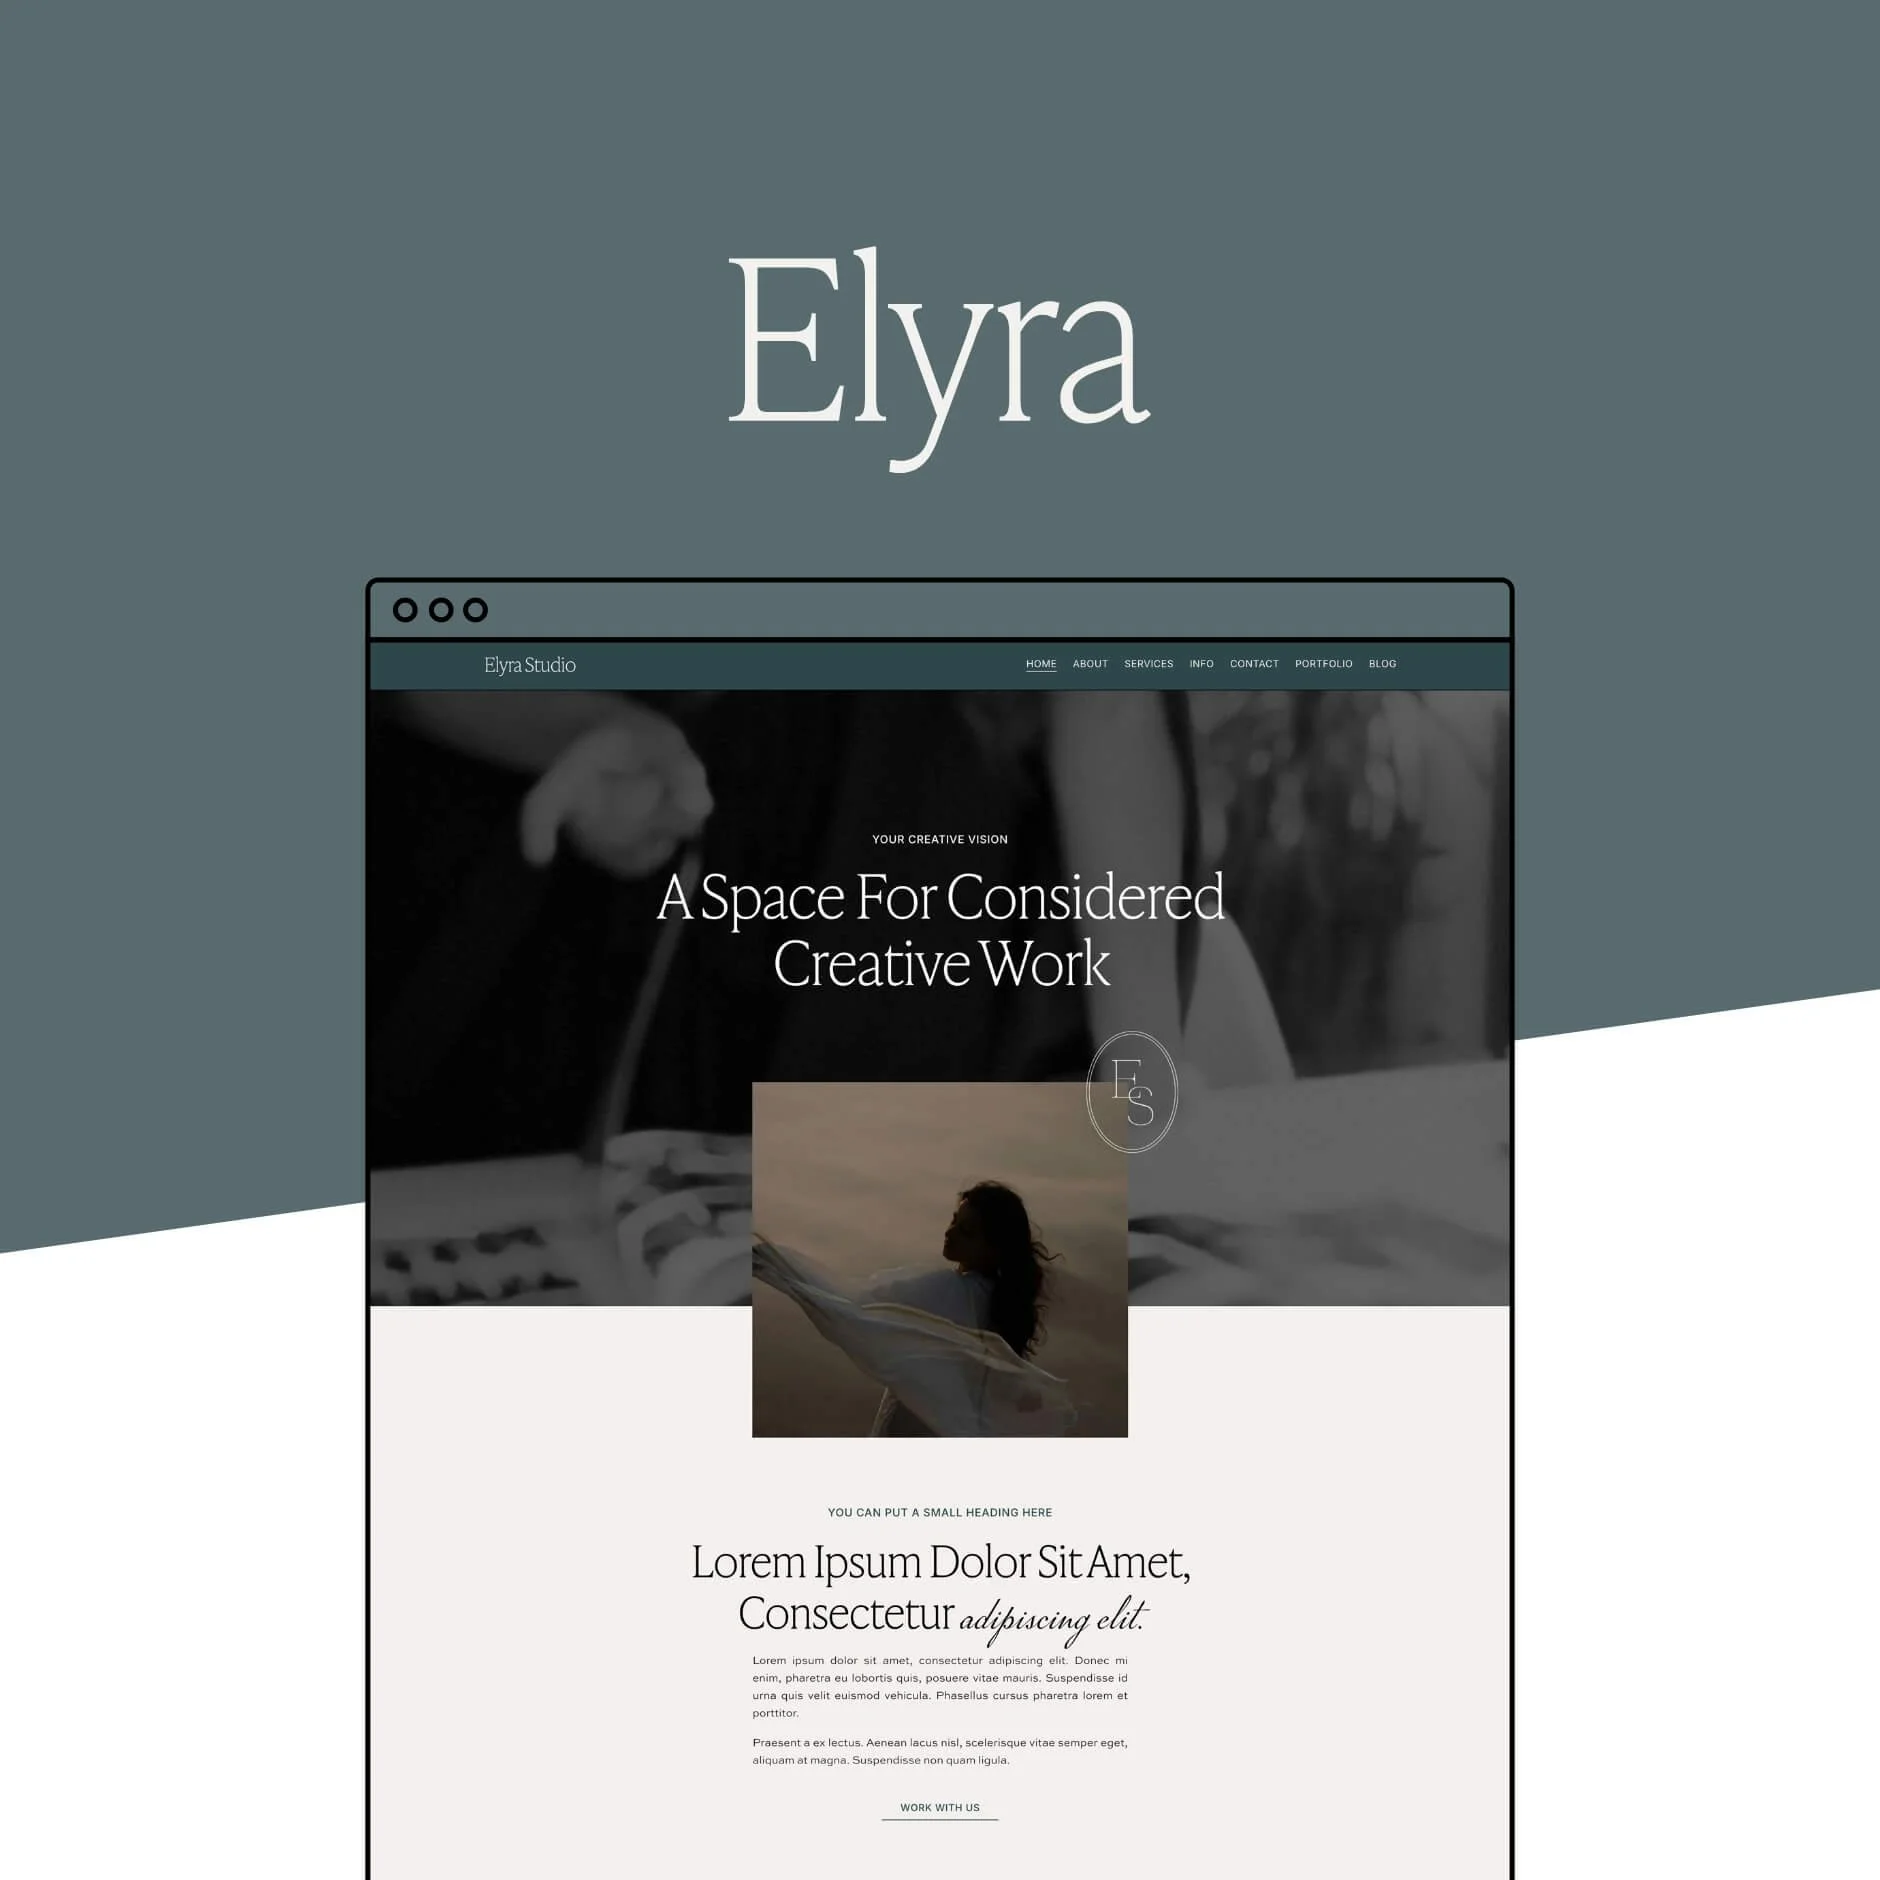
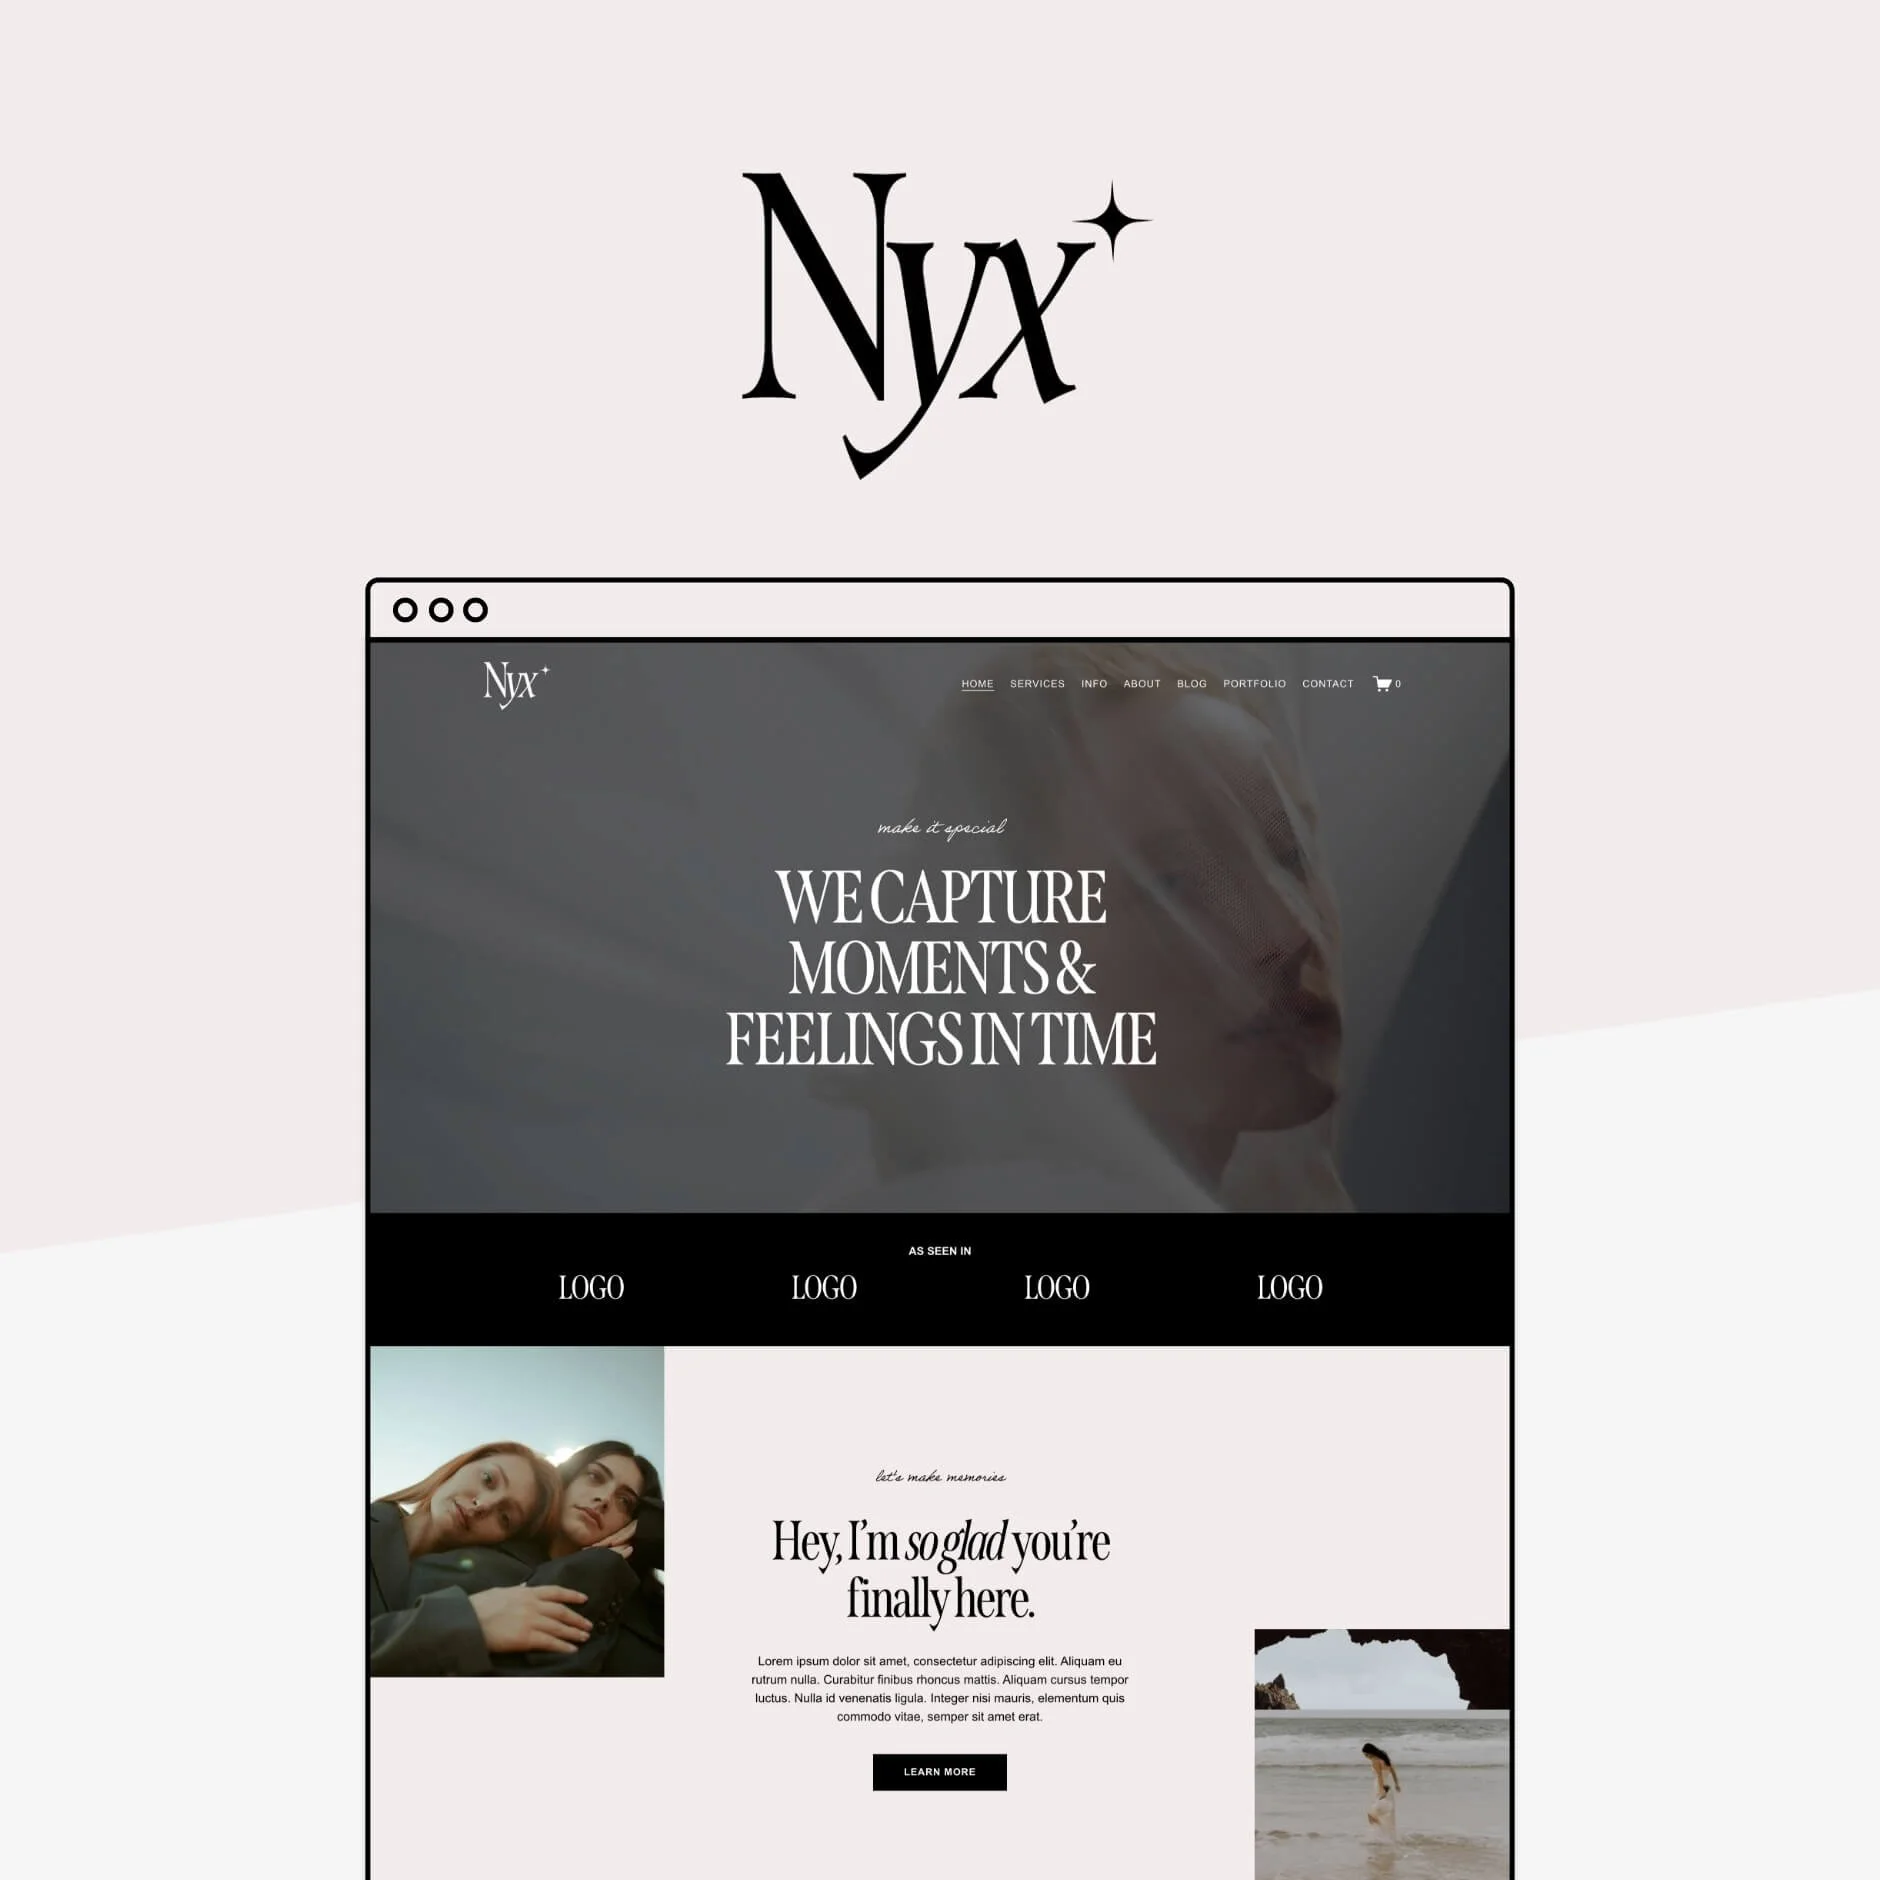
Check out our premium Squarespace templates collection:


Build Your Website
Once you’ve got your template, it’s time to bring it to life!
If you have purchased one of our premium Squarespace templates, this step will be a breeze. You just need to follow the step-by-step instructions provided to customize your whole website. There are tutorials on how to do all of this, including writing your copy and sourcing and saving your images for web.
If you’ve opted to use one of the free Squarespace templates, similarly, you can just replace their demo content with all of your own content, easy!
👉 If you’re completely new to Squarespace and aren’t sure how to replace their demo content with your own content, check out our beginner's guide to Squarespace tutorial here.
Undoubtedly, this is the part that’s going to take you the longest. And it really depends on a lot of factors like, how tech savvy are you? Are you already familiar with Squarespace? Are you using a free template or a premium template? Do you have your copy and images ready? Are you going for something super basic, or are you going for something super custom? All of these things are going to contribute to how little or long this part takes you.
But if you’re going for something simple, there is no reason that this should take longer than a couple of hours!
If you really are trying to get something up as fast as possible, then just focus on using the layout that you’ve been given and replacing the demo content with your own, rather than making too many custom layout adjustments.
Upgrade, Connect Your Domain + Launch
Once your site looks good and you’re ready to go live, here’s what to do:
Upgrade Your Plan
Head to your site's Settings > Billing > Subscriptions and click the Subscribe button.

Then, choose the plan that suits your business best!
Personal/Basic Plan: Great for super simple websites
Business/Core Plan: Best for most small biz owners (includes premium blocks + ecommerce features and is usually the one we recommend!)
E-Commerce Plans: Best if you have a store and need more advanced features
Connect Your Domain
Back in your site Settings, go to Domains & Emails > Domains.

If you already have a domain, click Connect Existing Domain and follow the prompts
If not, you can buy one directly through Squarespace (you even get a free domain for a year on annual plans!)
👉 Get our full guide on connecting your domain to Squarespace here
Hit Publish!
Once everything is connected, head to Settings > Website > Site Availability and select Public.

Now you can pop the bubbly and take a big sigh of relief! You just built and launched your own professional website, congrats! 🎉
Remember, your site is always a work in progress, just like your business is! But now you have the tools to update it all by yourself, and that’s pretty empowering!
Want more website building tips? Check out these posts!
Does Using a Squarespace Template Affect my SEO?
An Unconventional Guide to Naming Your New Business
Everything You Need to Know to Create Freebies That (actually) Grow Your Email List
10 Best Practices for Building Your own Website DIY Style
7 Best Website Layouts for Seamless Navigation and Eye-Catching Design
Liked this post? Pin it to Pinterest! 👇