8 Squarespace Tips & Shortcuts to Save you Time
If you’re DIYing your own Squarespace website, there are so many little shortcuts that can make the whole process so much quicker and easier.
It’s really common to spend way too long clicking around, dragging things into place, or trying to remember where a certain setting lives. A lot of the time, the easiest way to speed things up is simply knowing the little tricks Squarespace has built in.
So, here are some of our favorite Squarespace shortcuts, features, and time-saving tips to help you spend less time hunting through menus and more time actually getting your website done!
1. Use the ‘/’ Slash Key to Quickly Find Settings
This is such a simple one but also one of our best time-savers! Gone are the days of searching through menu after settings menu.
When you’re inside your Squarespace site, press the ‘/’ key on your keyboard to bring up a search.
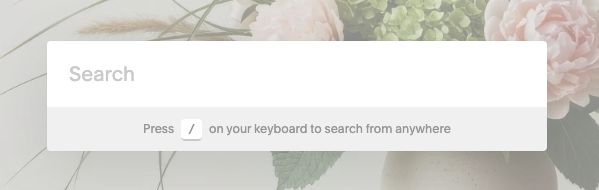
Start typing whatever you’re looking for, like:
Domains
Custom CSS
Connected Accounts
Billing
SEO
Cookies
…and Squarespace will take you straight there!
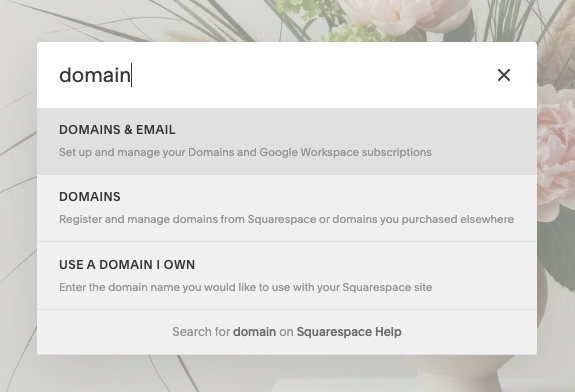
This is especially handy if you know the setting you need but can never remember where the heck Squarespace put it.
2. Search for Blocks Instead of Scrolling
Another super simple trick that we use constantly.
When you click +Add Block in Fluid Engine, you’ll see a search field at the top of the block menu.
Instead of scrolling through every block trying to spot the one you want, just start typing:
Image
Form
Newsletter
Button
And voila, there it is!
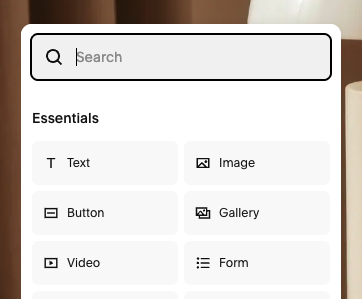
It might only save you a few seconds each time, but when you’re building an entire website, those little shortcuts add up!
3. Press ‘G’ on Your Keyboard to Show the Fluid Engine Grid
If you’re building in Squarespace 7.1 with Fluid Engine, this one is so handy.
While editing a Fluid Engine section, press ‘G’ on your keyboard to keep the layout grid visible and press it again when you want to hide it.
The grid makes it much easier to see exactly where your blocks are sitting, line things up properly and keep your layouts nice and consistent.

You can Customize the Grid Spacing too!
If the default spacing between blocks feels too wide or too tight:
Click Edit Section
Under the Design settings, find Gap
Choose one of the preset options or set your own custom horizontal and vertical gap
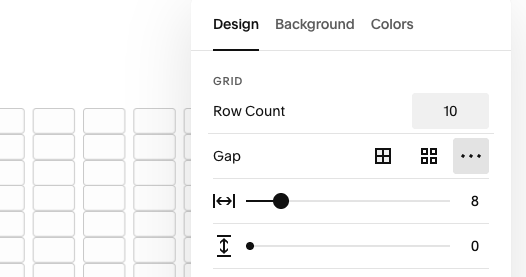
You can also adjust the Row Count here if you need more or less vertical space to work with.
👉 How to edit in Squarespace 7.1 with Fluid Engine - Best practices & tips
4. Save Sections
This has quickly become one of our favorite Squarespace features, especially when you’re building out a bigger site or adding new pages and want everything to feel nice and consistent.
If you’ve created a section you know you’ll use again, save it instead of rebuilding it from scratch every time. It’s perfect for things like calls-to-action, testimonials, FAQs, or any layouts you tend to repeat.
It’s also such a handy little backup trick. Before you start changing a section you already love, save the original first. Then if your new idea goes a bit rogue, you’ve always got the old version sitting there ready to bring back.
To save a section, hover over the section and click the heart icon to add it to your Saved Sections:

Then, wherever you want to add the section (this can be on literally any other page on your site), click Add Section and navigate to the Saved Sections tab.

Your designed section will drop straight in!
And if you’re a Squarespace Circle member, you can also save sections to your account and reuse them across different Squarespace 7.1 websites, which is an amazing time-saver if you’re a designer.
5. Use Your Arrow Keys to Move Blocks Around the Grid
Dragging blocks around in Fluid Engine can sometimes be a little fiddly, especially when you’re trying to make a tiny adjustment or line something up just right.
Instead, click on the block you want to move and use the arrow keys on your keyboard to move it up, down, left or right across the grid.
This works in both desktop and mobile view, and it’s such an easy way to make small, precise adjustments without accidentally dragging your block somewhere completely different. It’s especially handy when you’ve almost got something in the perfect spot and just need to nudge it over by a grid square or two.
6. Use the Up + Down Arrows to Reorder Blocks on Mobile
We love that Squarespace 7.1 has an almost entirely independent mobile editor that let’s you create a totally different layout for the mobile version of your site (if you want to!), but rearranging blocks in the mobile editor can sometimes take way longer than it should, especially if you’re trying to drag a block past a bunch of other content.
A much easier option is to select the block, then use the up and down arrows in the right settings panel to easily move it above or below the surrounding blocks.
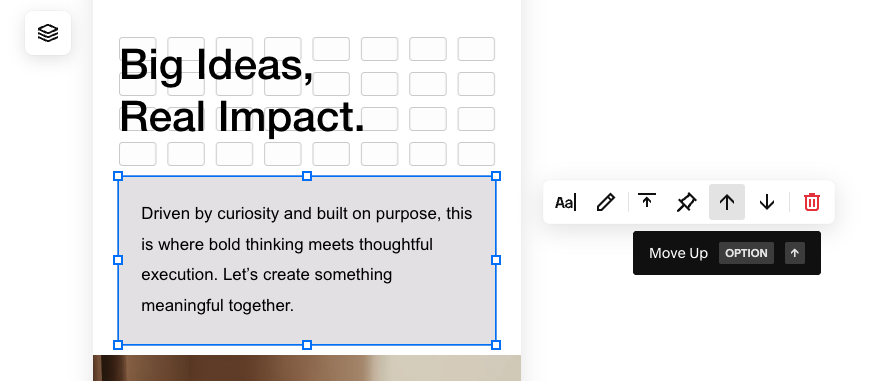
This is perfect when your desktop layout looks great, but the mobile order needs just a little reshuffling.
👉 Hacks to Make Mobile Editing in Squarespace Fluid Engine Faster
7. Use Image Focal Points Instead of Re-Cropping Your Photos
If Squarespace is cropping an image in an awkward spot, you usually don’t need to open Photoshop or Canva, create another version and upload it again.
Instead, double click on the image block and adjust its Focal Point by dragging and dropping the small white circle on the preview.

The focal point tells Squarespace which part of the image is most important, so when the image needs to crop at different screen sizes, it knows which area to try and keep visible.
This is especially handy for photos with faces, products or important details that keep disappearing out of frame.
8. Use the Layers tab for Overlapping Blocks
If you like using lots of overlapping blocks in Fluid Engine, the Layerspanel is about to become your best friend.
Once you’ve got images, text, shapes, and buttons all layered together, trying to click the exact block you want can get annoying pretty quickly. The Layers panel lets you see everything in the section in one place, so you can easily find the block you’re after without clicking around a million times!
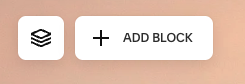
You’ll find it in the top left corner of any section by clicking the Layers icon (right next to +Add Block)
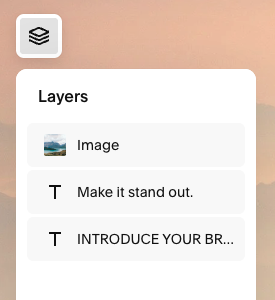
In the Layers panel, you’ll also be able to easily select and change the order of overlapping blocks. Instead of repeatedly clicking Move Forward or Move Backward, you can just drag the block higher or lower in the Layers panel to decide what sits in front or behind.
Such a simple little trick, but if you love a layered layout, it saves a whole lot of fiddling around!
👉 How to Create Overlapping Sections in Squarespace Fluid Engine
👉 A Complete Guide to Unique Image Layouts in Squarespace
Bonus: Don’t Start From Scratch
If saving time is your biggest goal, one of the easiest things you can do is not start completely blank!
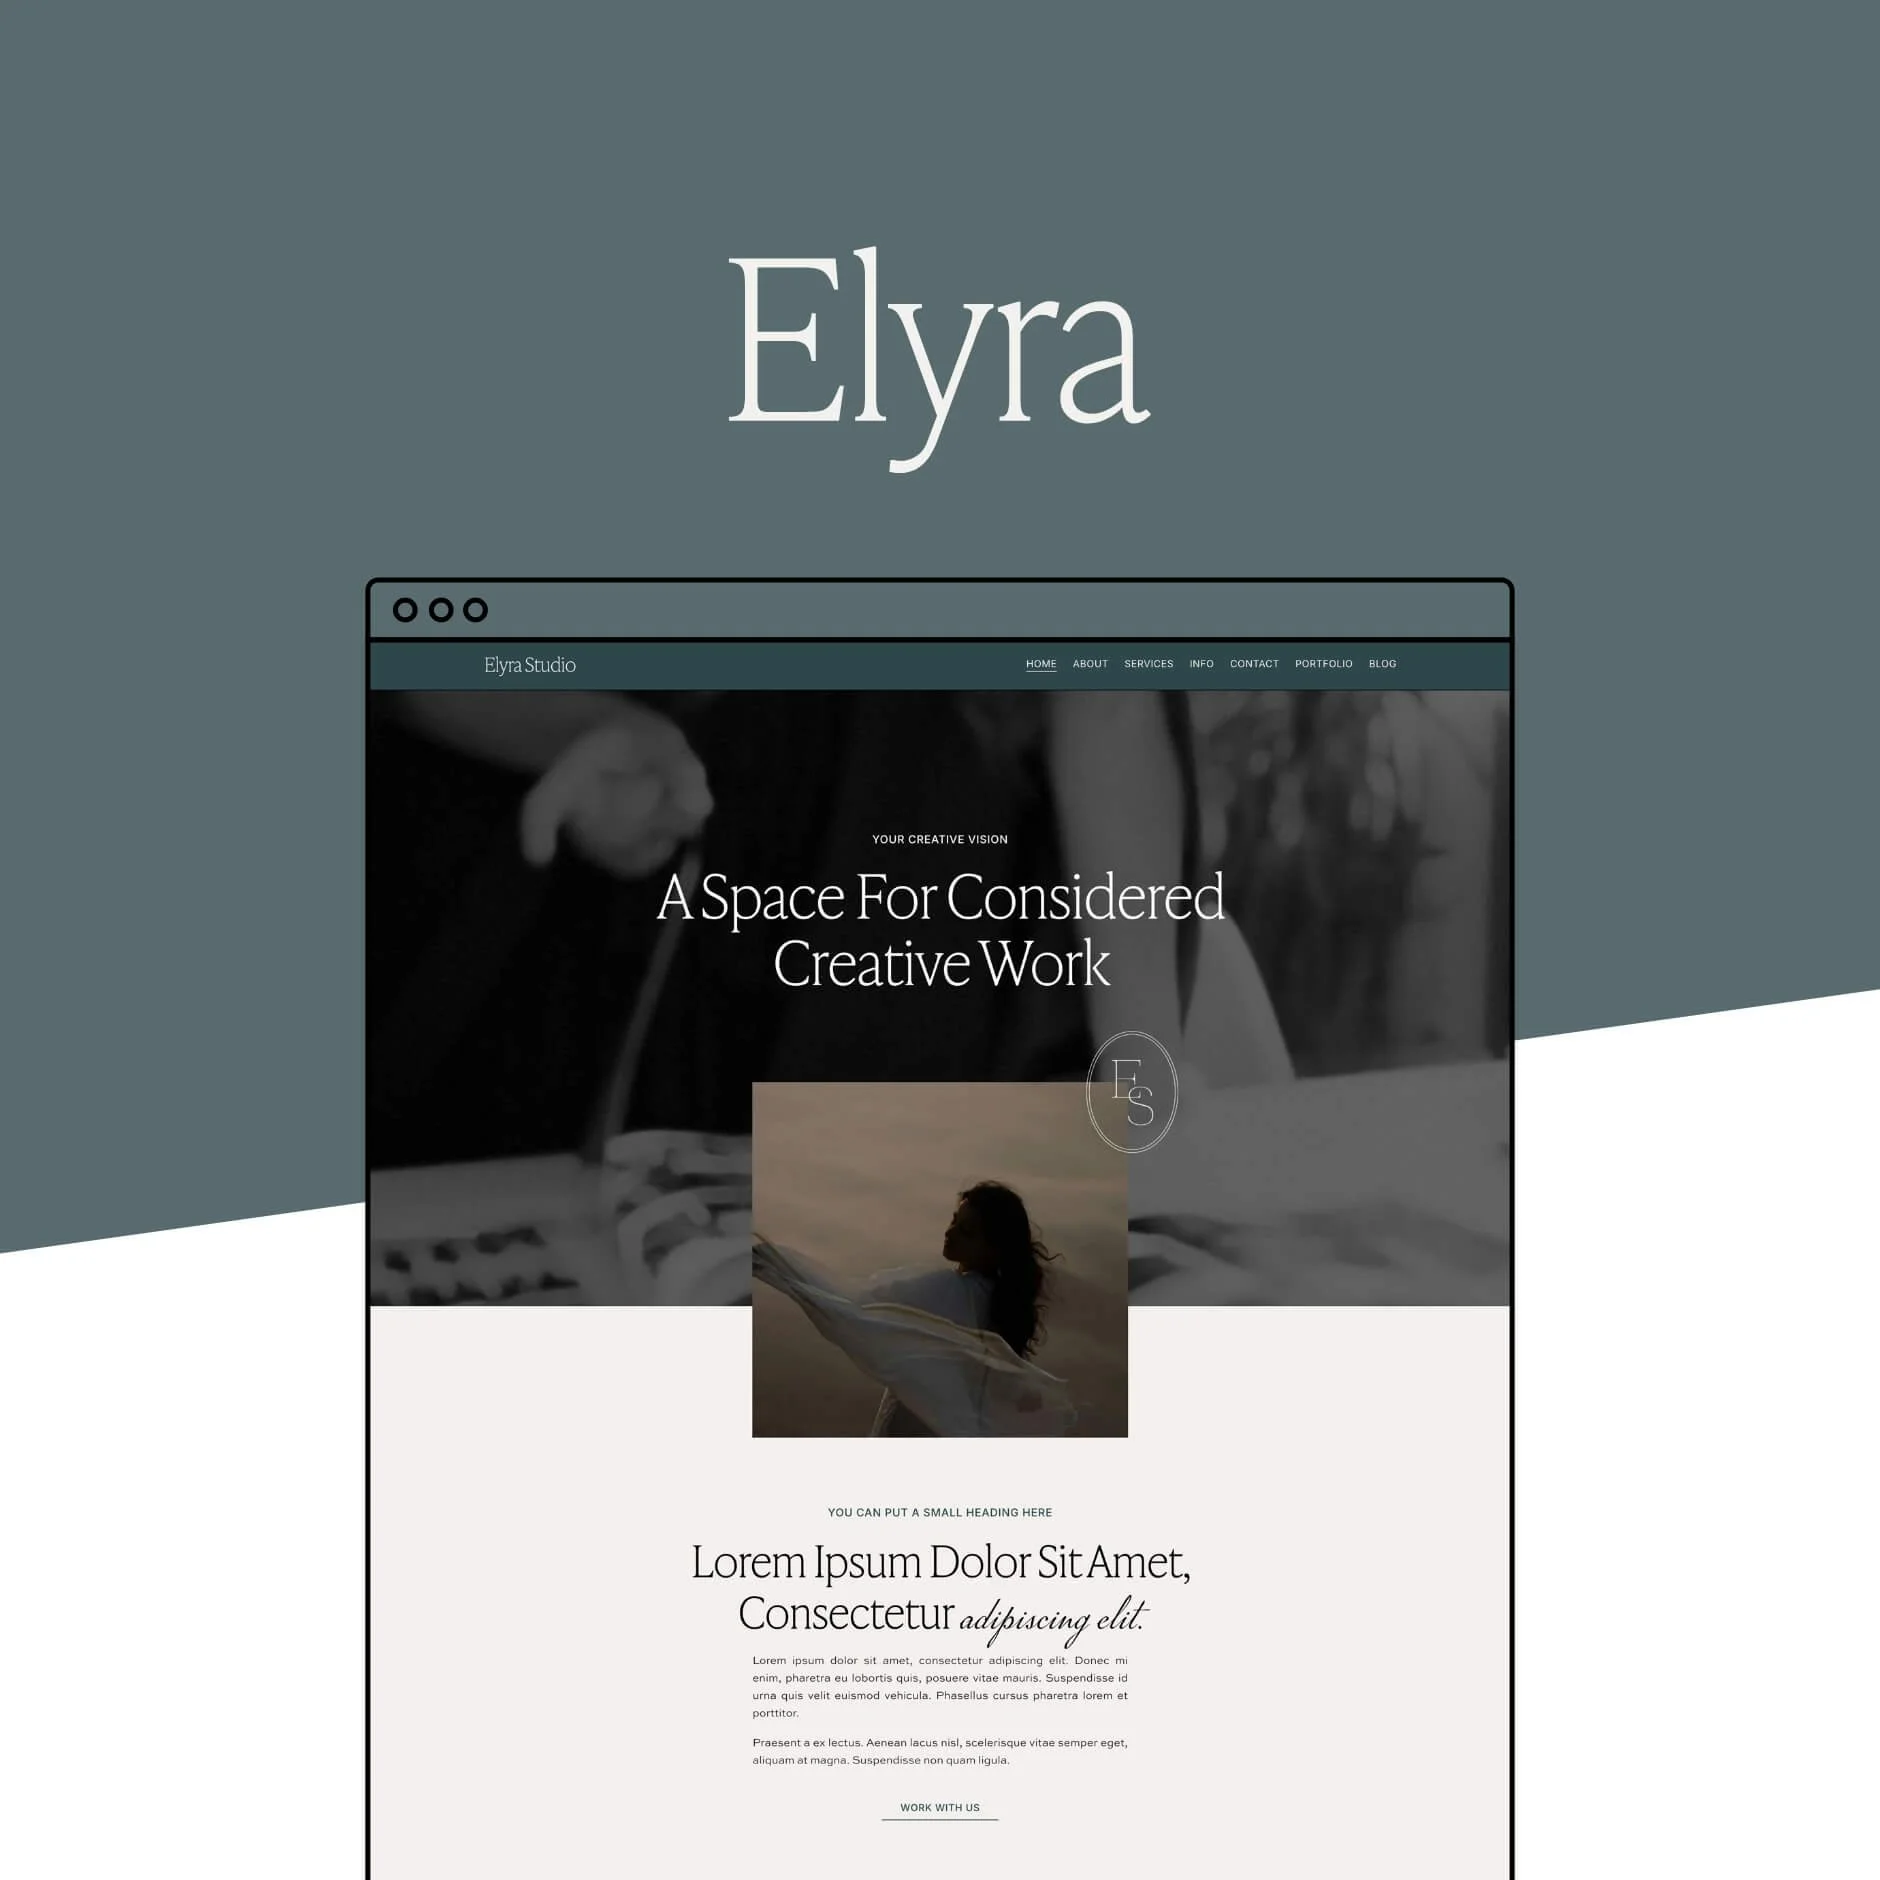
A good Squarespace template gives you a head start with the layout and overall design already in place, so you can skip the overwhelm and get straight into customizing! Plus, our templates come with a huge library of Squarespace resources and tutorials that will save you a ton of time.
Browse our collection of strategically designed templates below:





And that’s it! A few tiny Squarespace tricks can make a surprisingly big difference when you’re building or updating your site. Hopefully there’s at least one tip in here that saves you a bit of time next time you’re editing your site!
Want more tips? Check out the blog posts below!
How to link to your Blog Categories on your Squarespace Site
How to add a blog sidebar to your Squarespace site (7.1 and 7.0)
The 5 must-haves on your Sales Page
How to get started with Email Marketing: a simple guide for beginners
5 easy writing tricks for better DIY Copy
Liked this post? Pin this image to Pinterest to save for later! 👇🏻