Squarespace is amazing for blogging in so many ways. The interface is simple and it’s so easy to design beautiful posts without having to use any coding, plugins, or fancy features.
If you’re migrating from somewhere like Wordpress, you’re going to find the whole experience completely different (for the better, in our opinion!). It’s much more visual, and you can work on the front-end, meaning that what you see is what you get (with the Wordpress blog editor, it can be a bit of a guessing game).
Though, there is no built-in option for a Blog Post Template, which can be a little frustrating, especially if you’re creating longer posts with lots of images and custom layouts and a template could save you SO much time.
The good news is, while there’s no obvious way to create a Blog Post Template, you can actually really easily create one (or many!) .
It just takes a bit of thinking outside of the box — this is a common theme with Squarespace, it often seems like you can’t do something, but you probably can, it just requires a way of doing it that maybe isn’t so obvious!
So today wer’re going to show you how to create a Blog Post Template in Squarespace. It’s really quick a simple, so let’s get to it!
Step 1: Create a new Blog Post
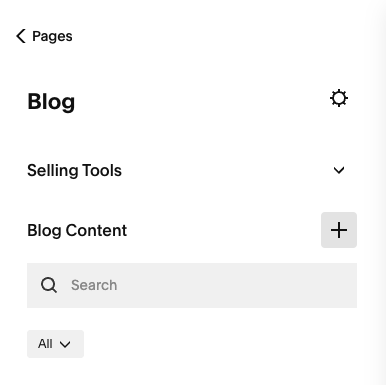
To add a new blog post, head to your Blog page on your Squarespace site (if you don’t have a blog yet, here’s how you can easily set one up) and click the + button next to Blog Content.
This is going to be your “template”, so design it up anyway you like!
We recommend creating it just like you would any other blog post. Add some placeholder text, add some image blocks. Create it with the intention that it’s going to be a template, so include anything that is going to make your blog creation process easier!
In our blog post template, we have some placeholder text, some lines, a promo graphic for our freebie, and at the bottom we have an image block where we can add a Pinterest optimized image.
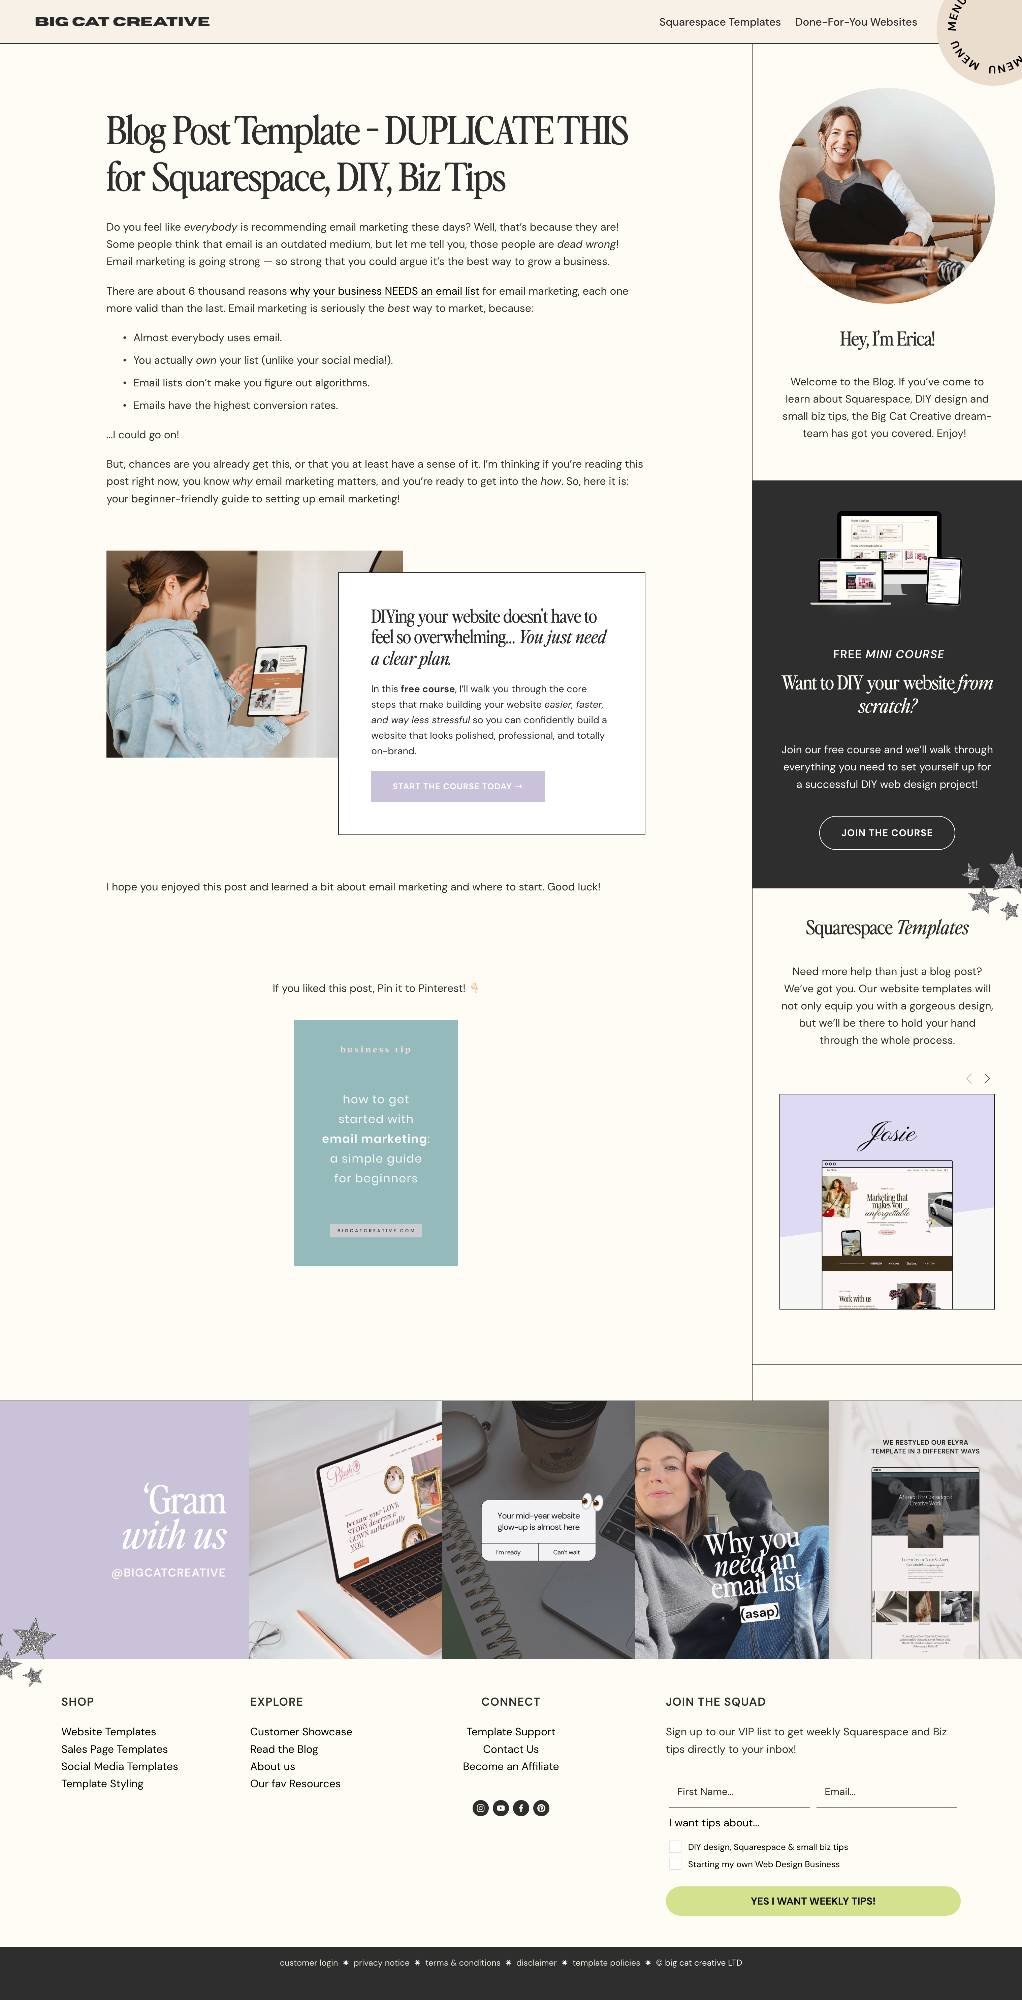
While we know each of our posts are going to be quite different depending on the content, even just having this much will save us time.
We call this blog post “Blog Post Template” so we know that that’s what it is!
Step 2: Change the Date on it
Once you’re happy with how your Blog Post Template looks, save it as a draft.
You can do so by clicking on Save and then Exit in the top left corner once you’re done customizing your template (just don’t click on the Publish button!).

If you look at your Blog Posts in your Blog sidebar, you’ll see that they are ordered by date. The top being the most recent, and the very bottom being your very first post.
We recommend changing the date on your Blog Post Template to a date in the far-away future so it always stays at the top of the list, easily accessible.
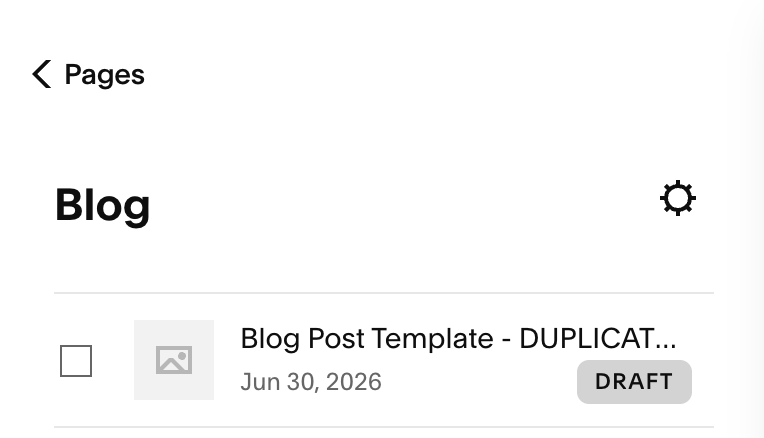
This is just really handy because it’s nice to be able to have easy access to that template. If you don’t set a date in the future, it will just get todays date, and will get buried down with the rest of your blog posts, and every time you want to use it you will have to scroll down and try to find it, or search for it. Trust us when we say this is faster!
How to set the Date:
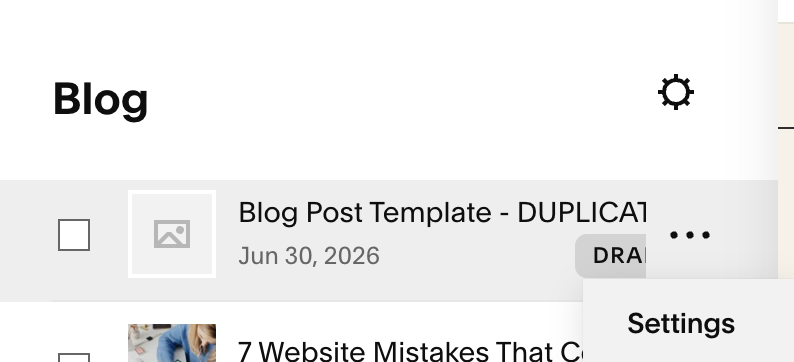
In Your Blog sidebar, hover over the draft Blog Post Template post, click the three dots and select Settings
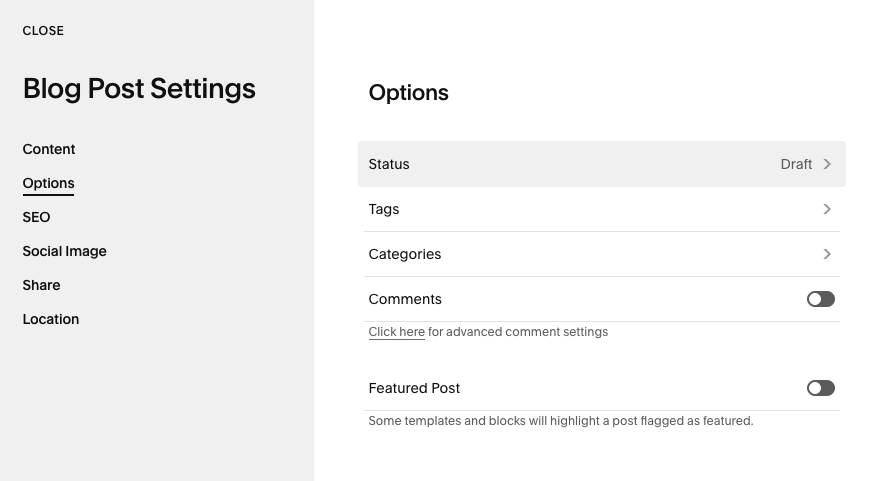
In the pop up settings panel, head to the Options tab, then Status
Select Scheduled to view the publish date calendar and select a date for the future.
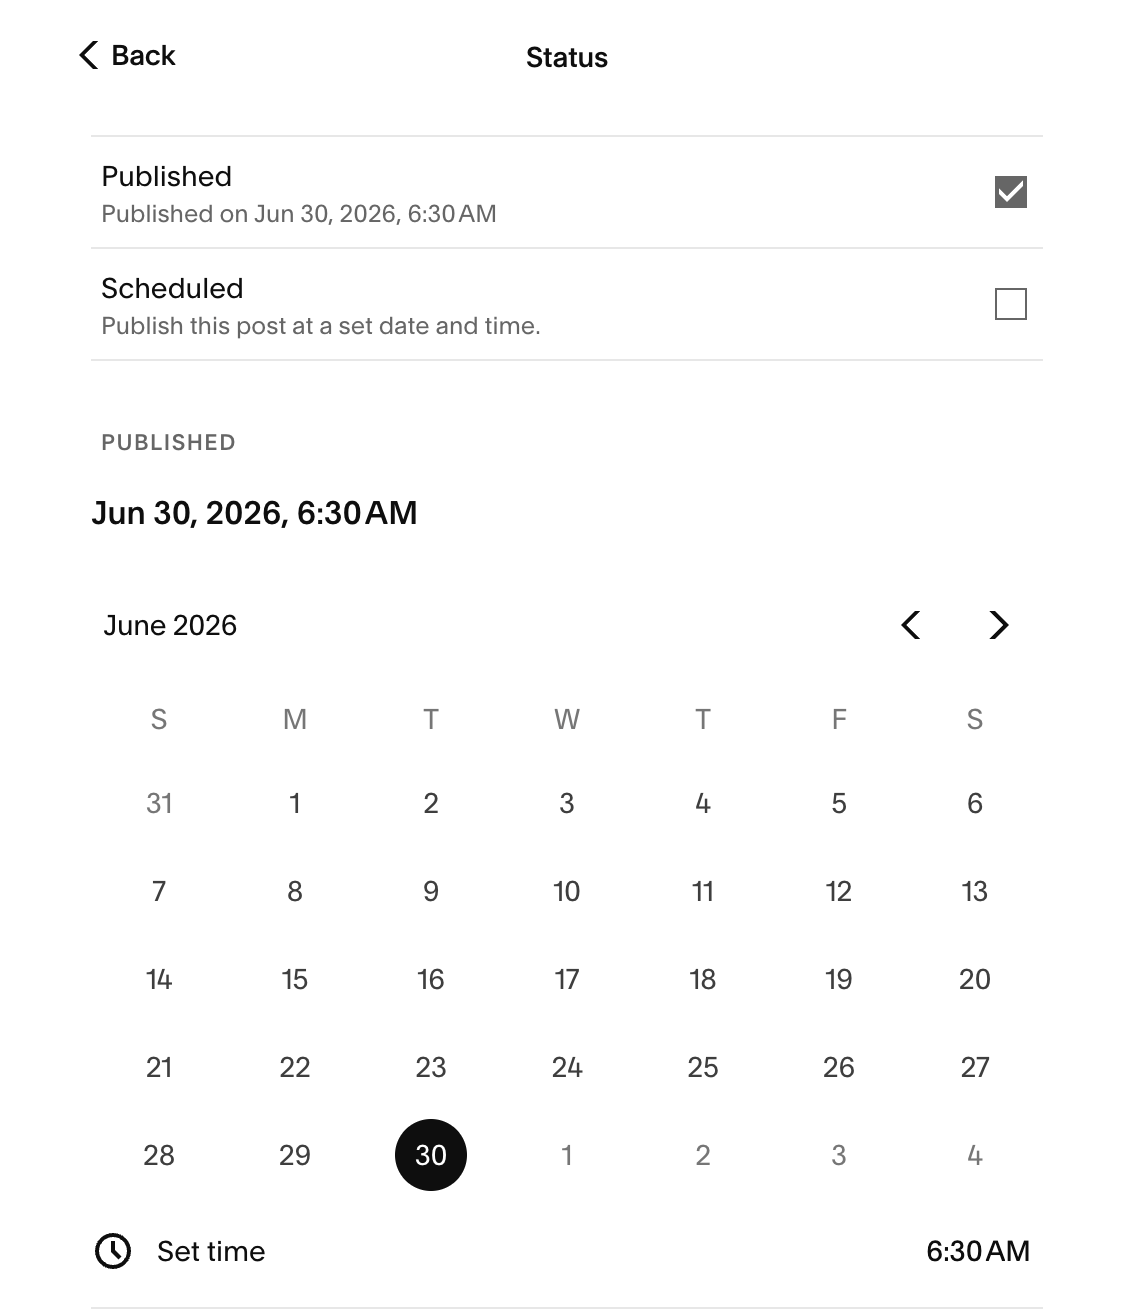
Now, hit Save in the top left corner of the panel.
This will schedule your Blog Post Template with the updated date.
Now all you need to do is head back into the Settings Panel > Options tab > Status and select Draft to set the post as a draft again.
Hit Save in the top left corner again and voila, you’re all done!
Step 3: Actually Using the Blog Post Template
This part’s easy! When you’re ready create a new Blog Post and you want to use the template, all you need to do is hover over your Blog Post Template in the Blog sidebar, click on the three dots and select Duplicate.
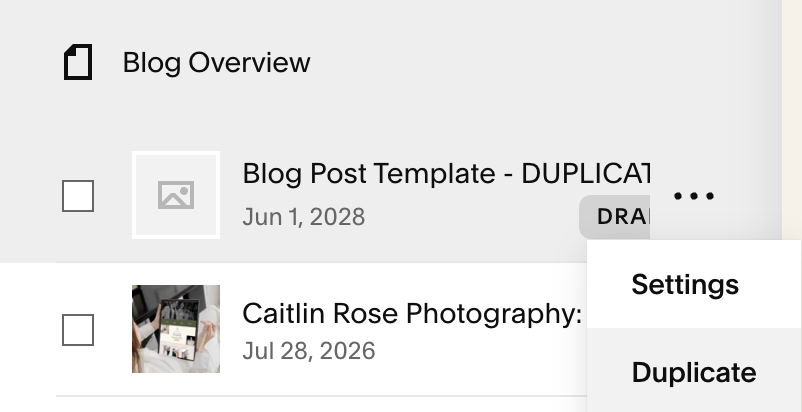
This will instantly create a copy of your Blog Post Template (it will be called Copy of Blog Post Template) and you can use this to create your new post. Easy!
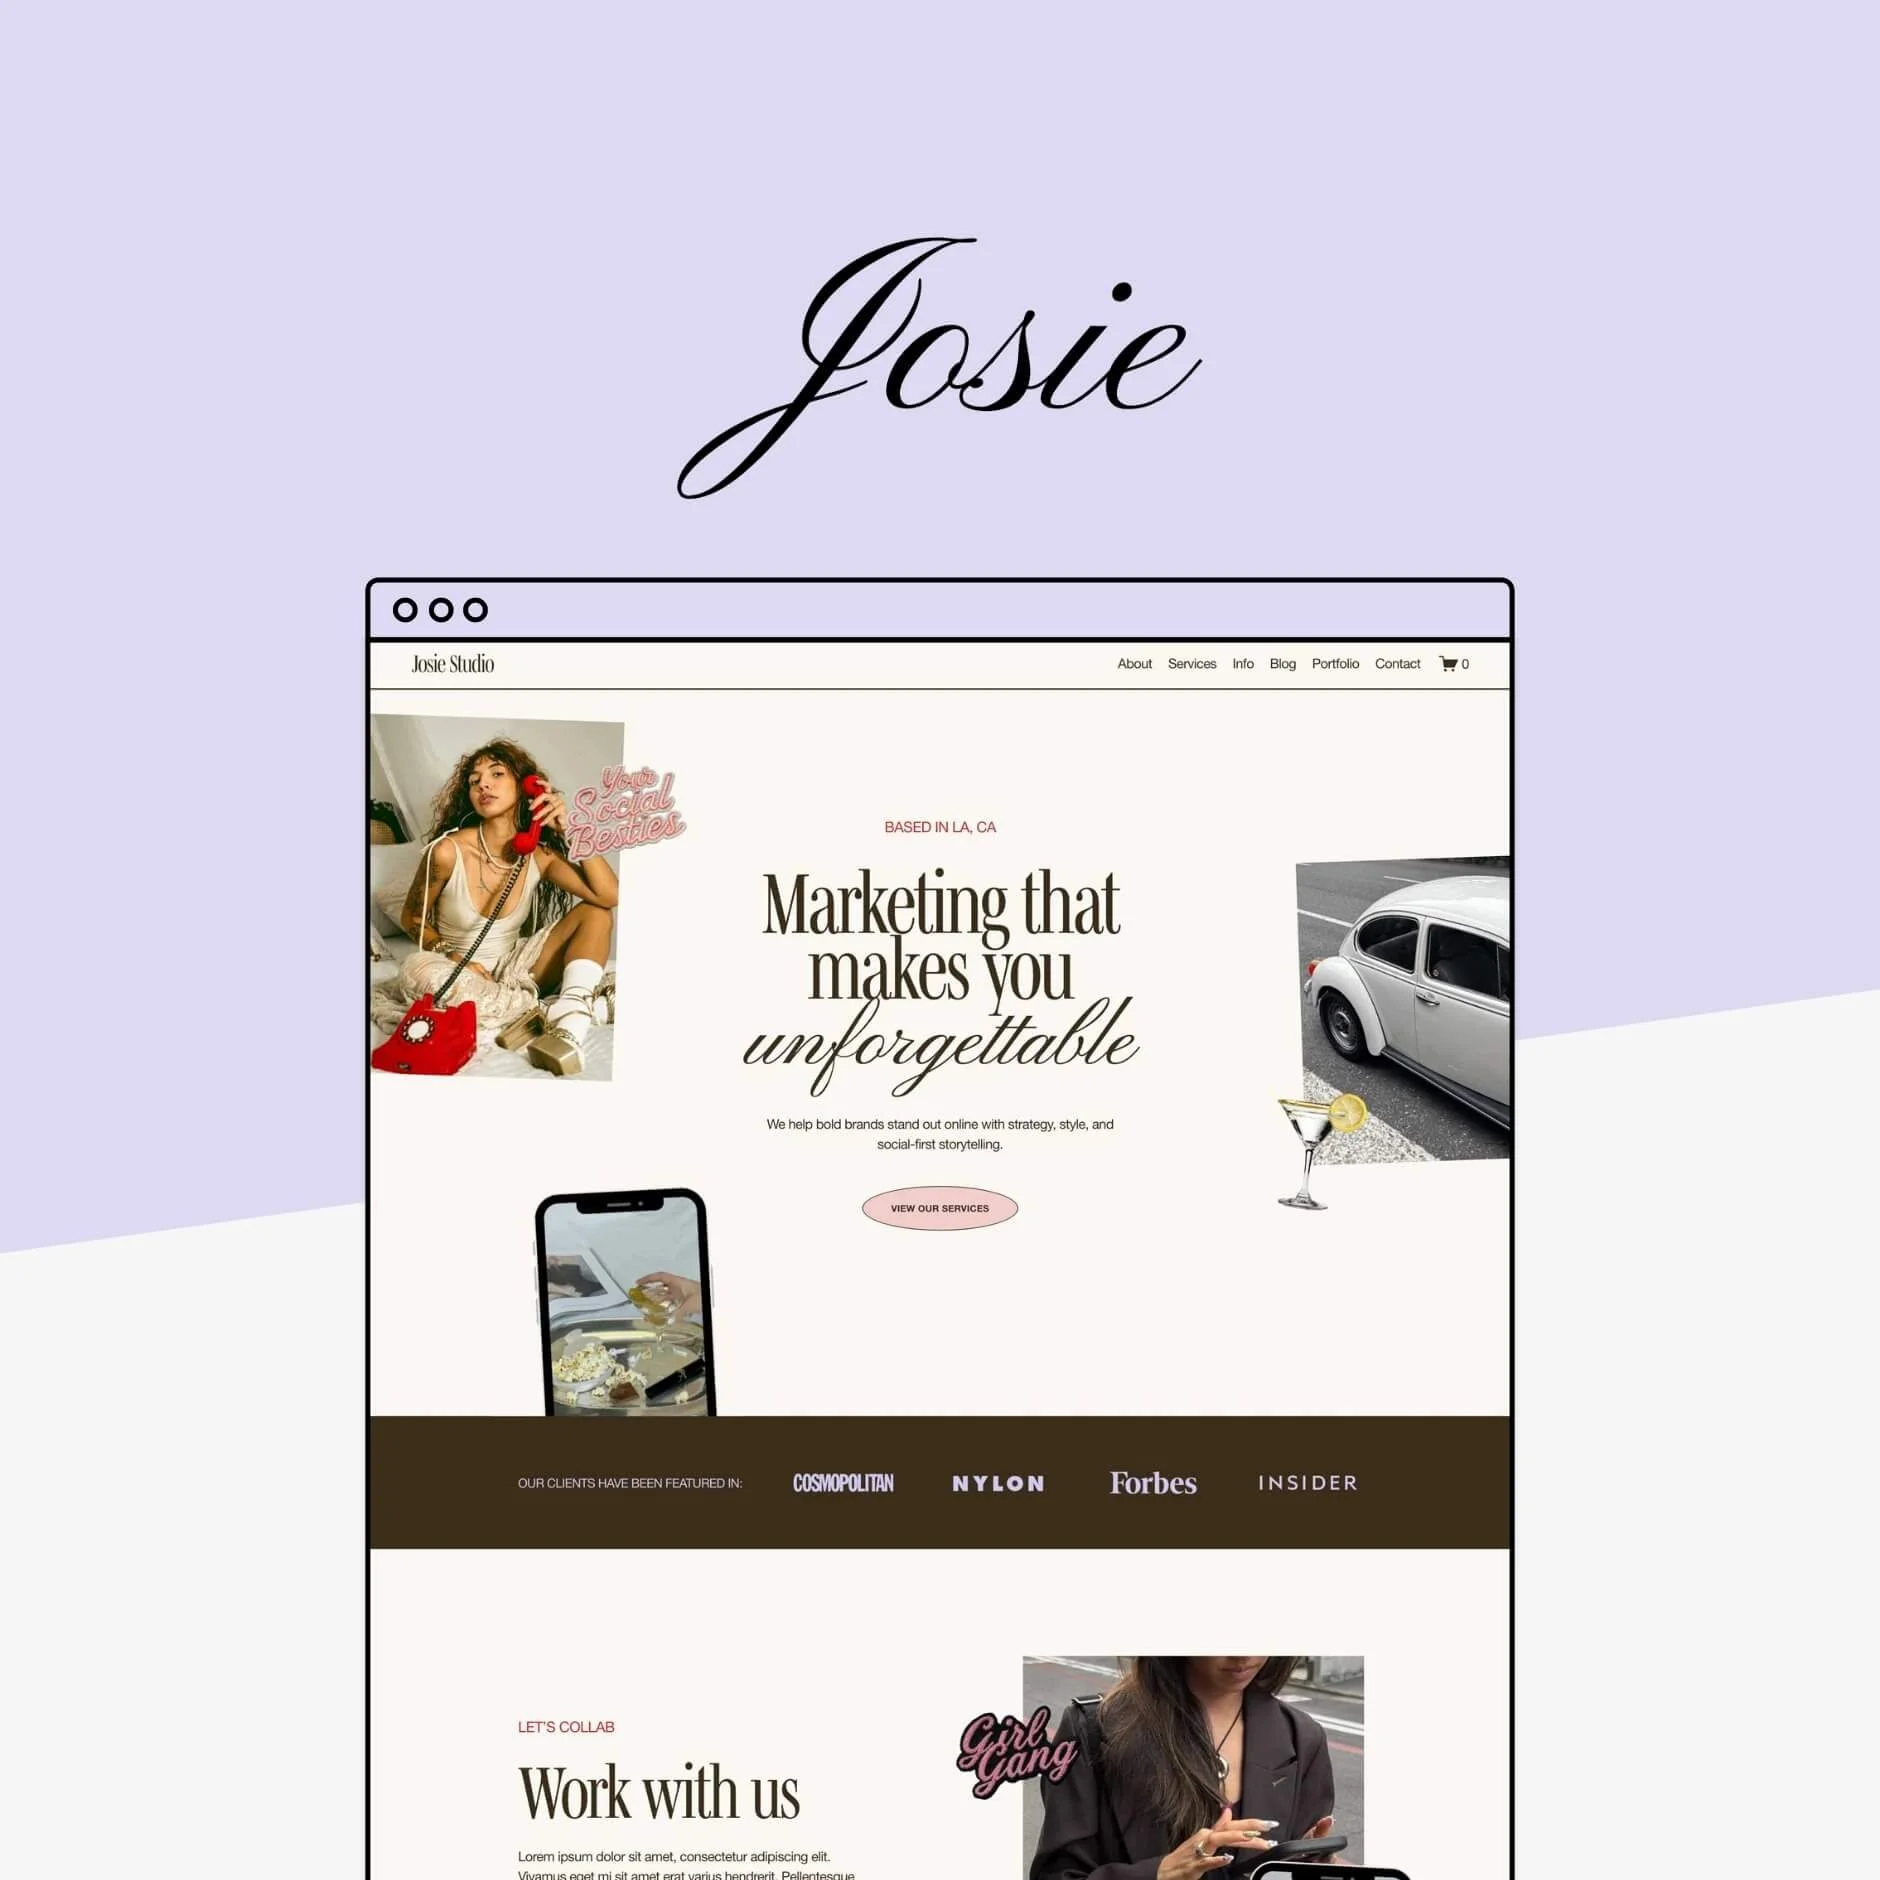
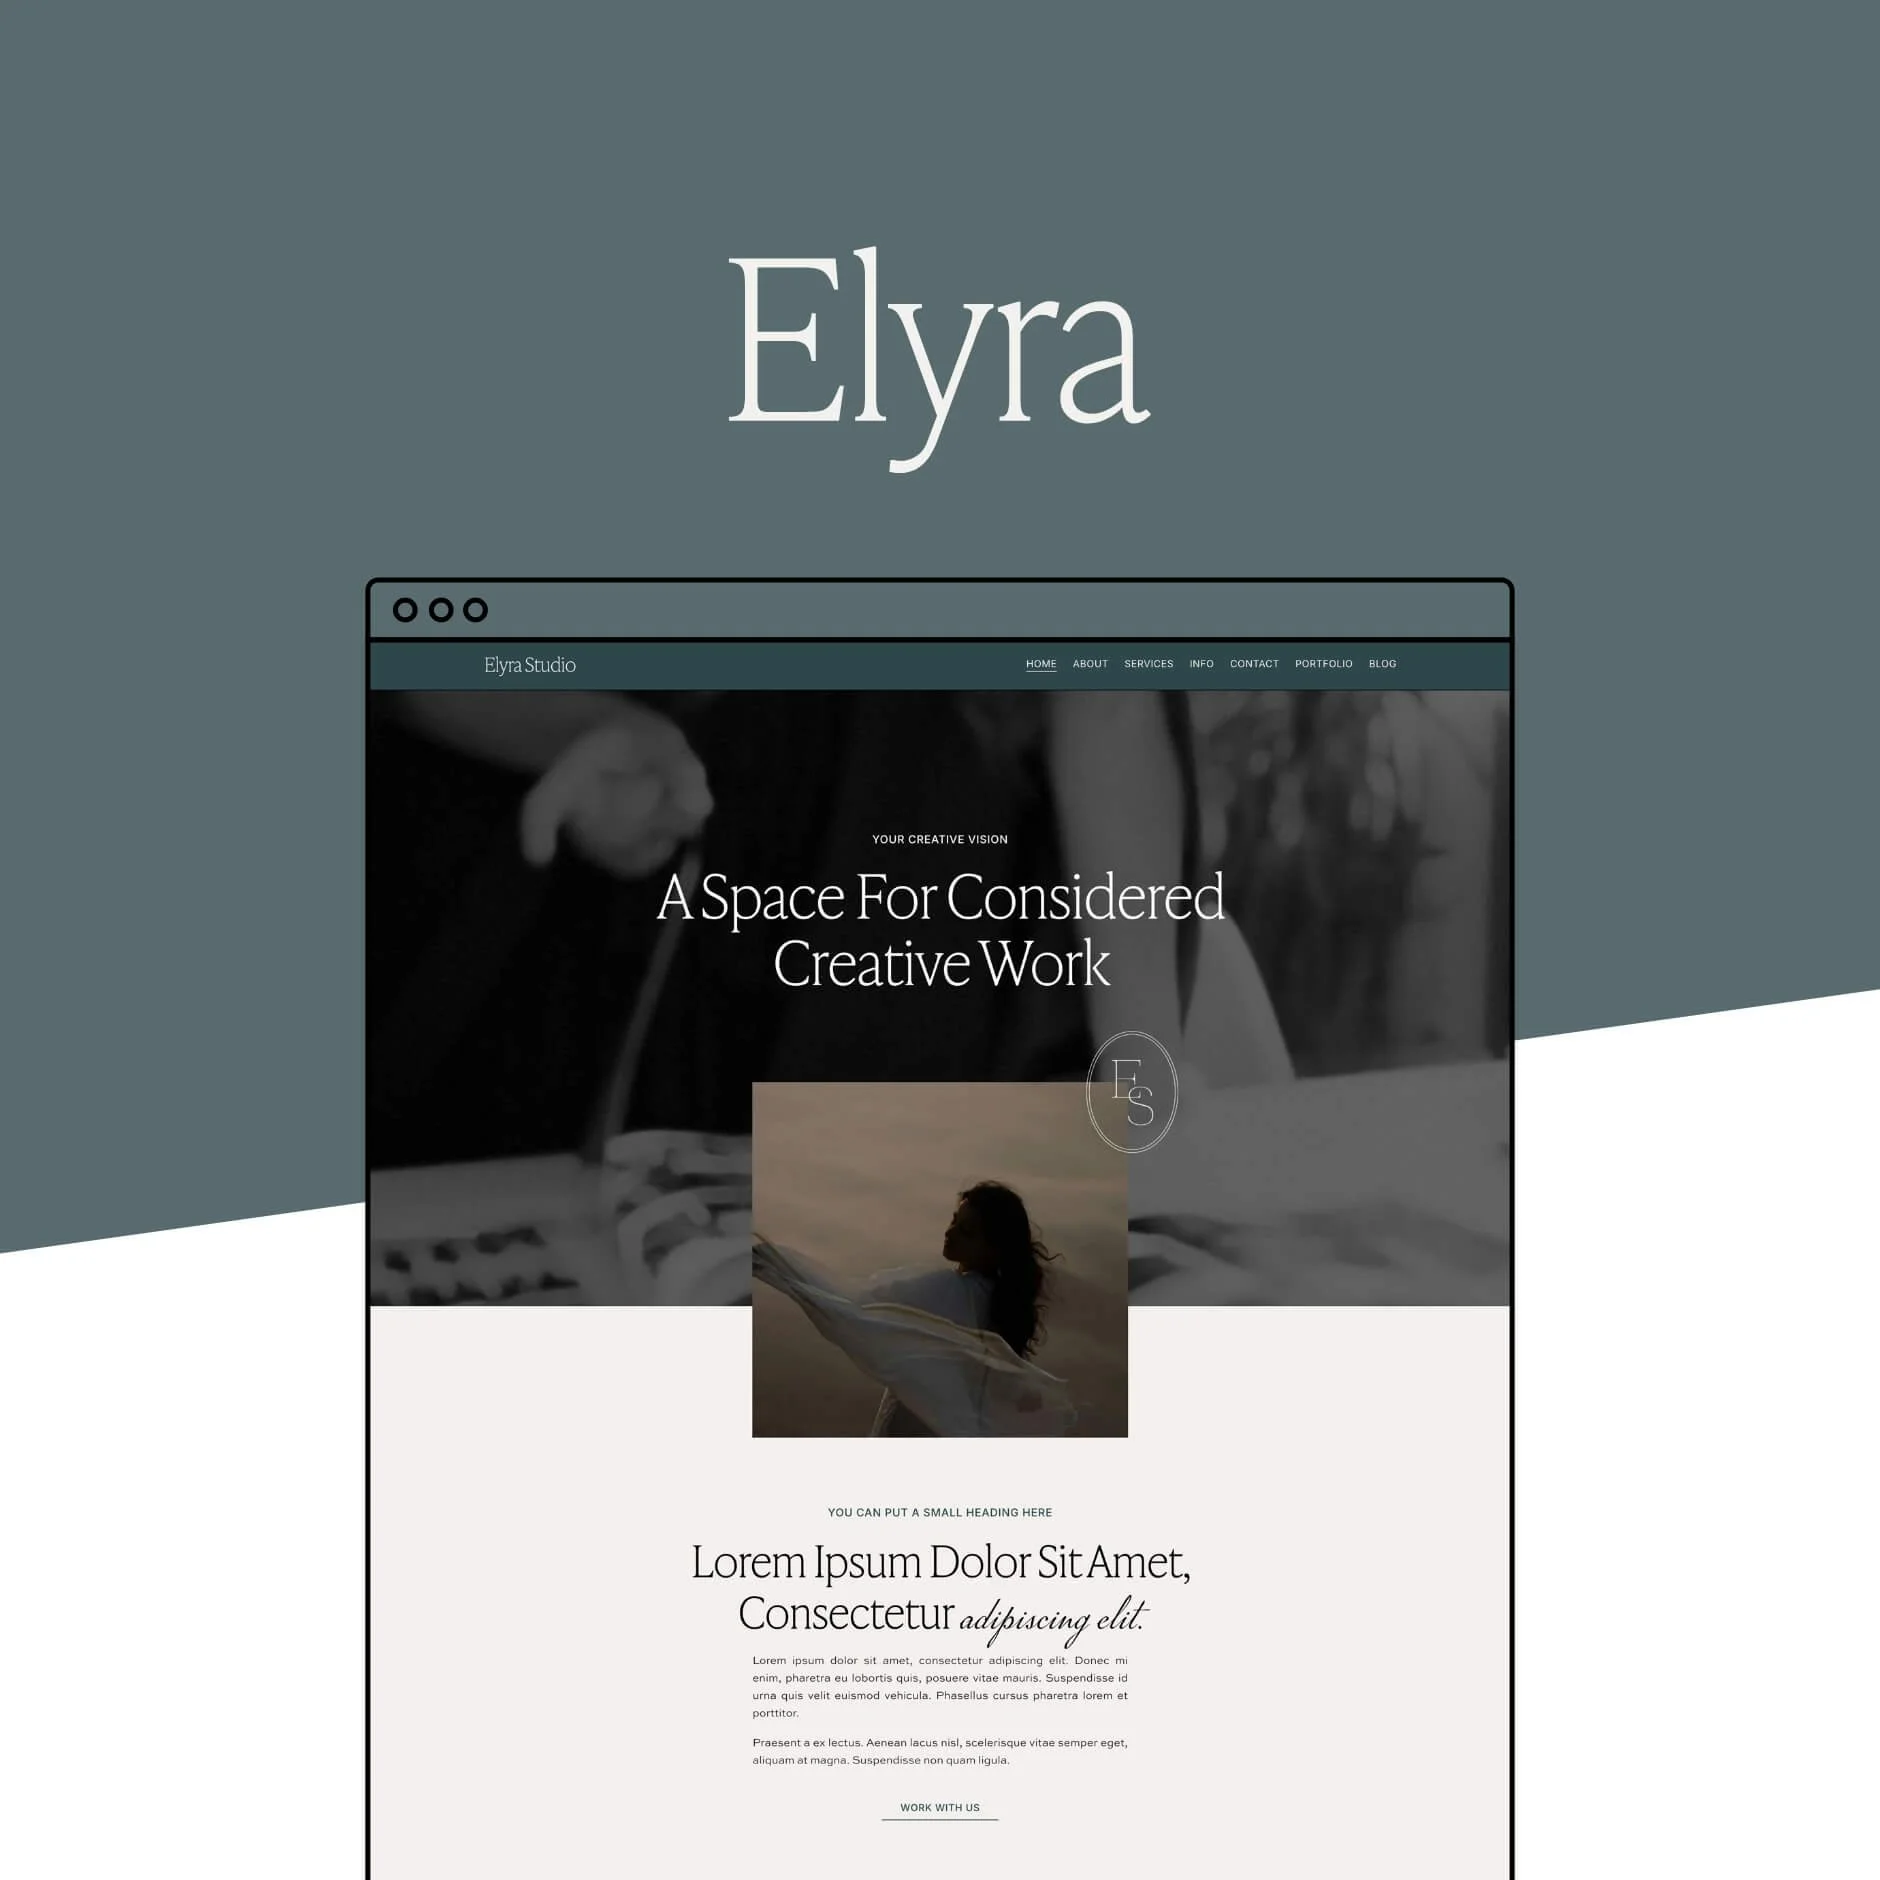
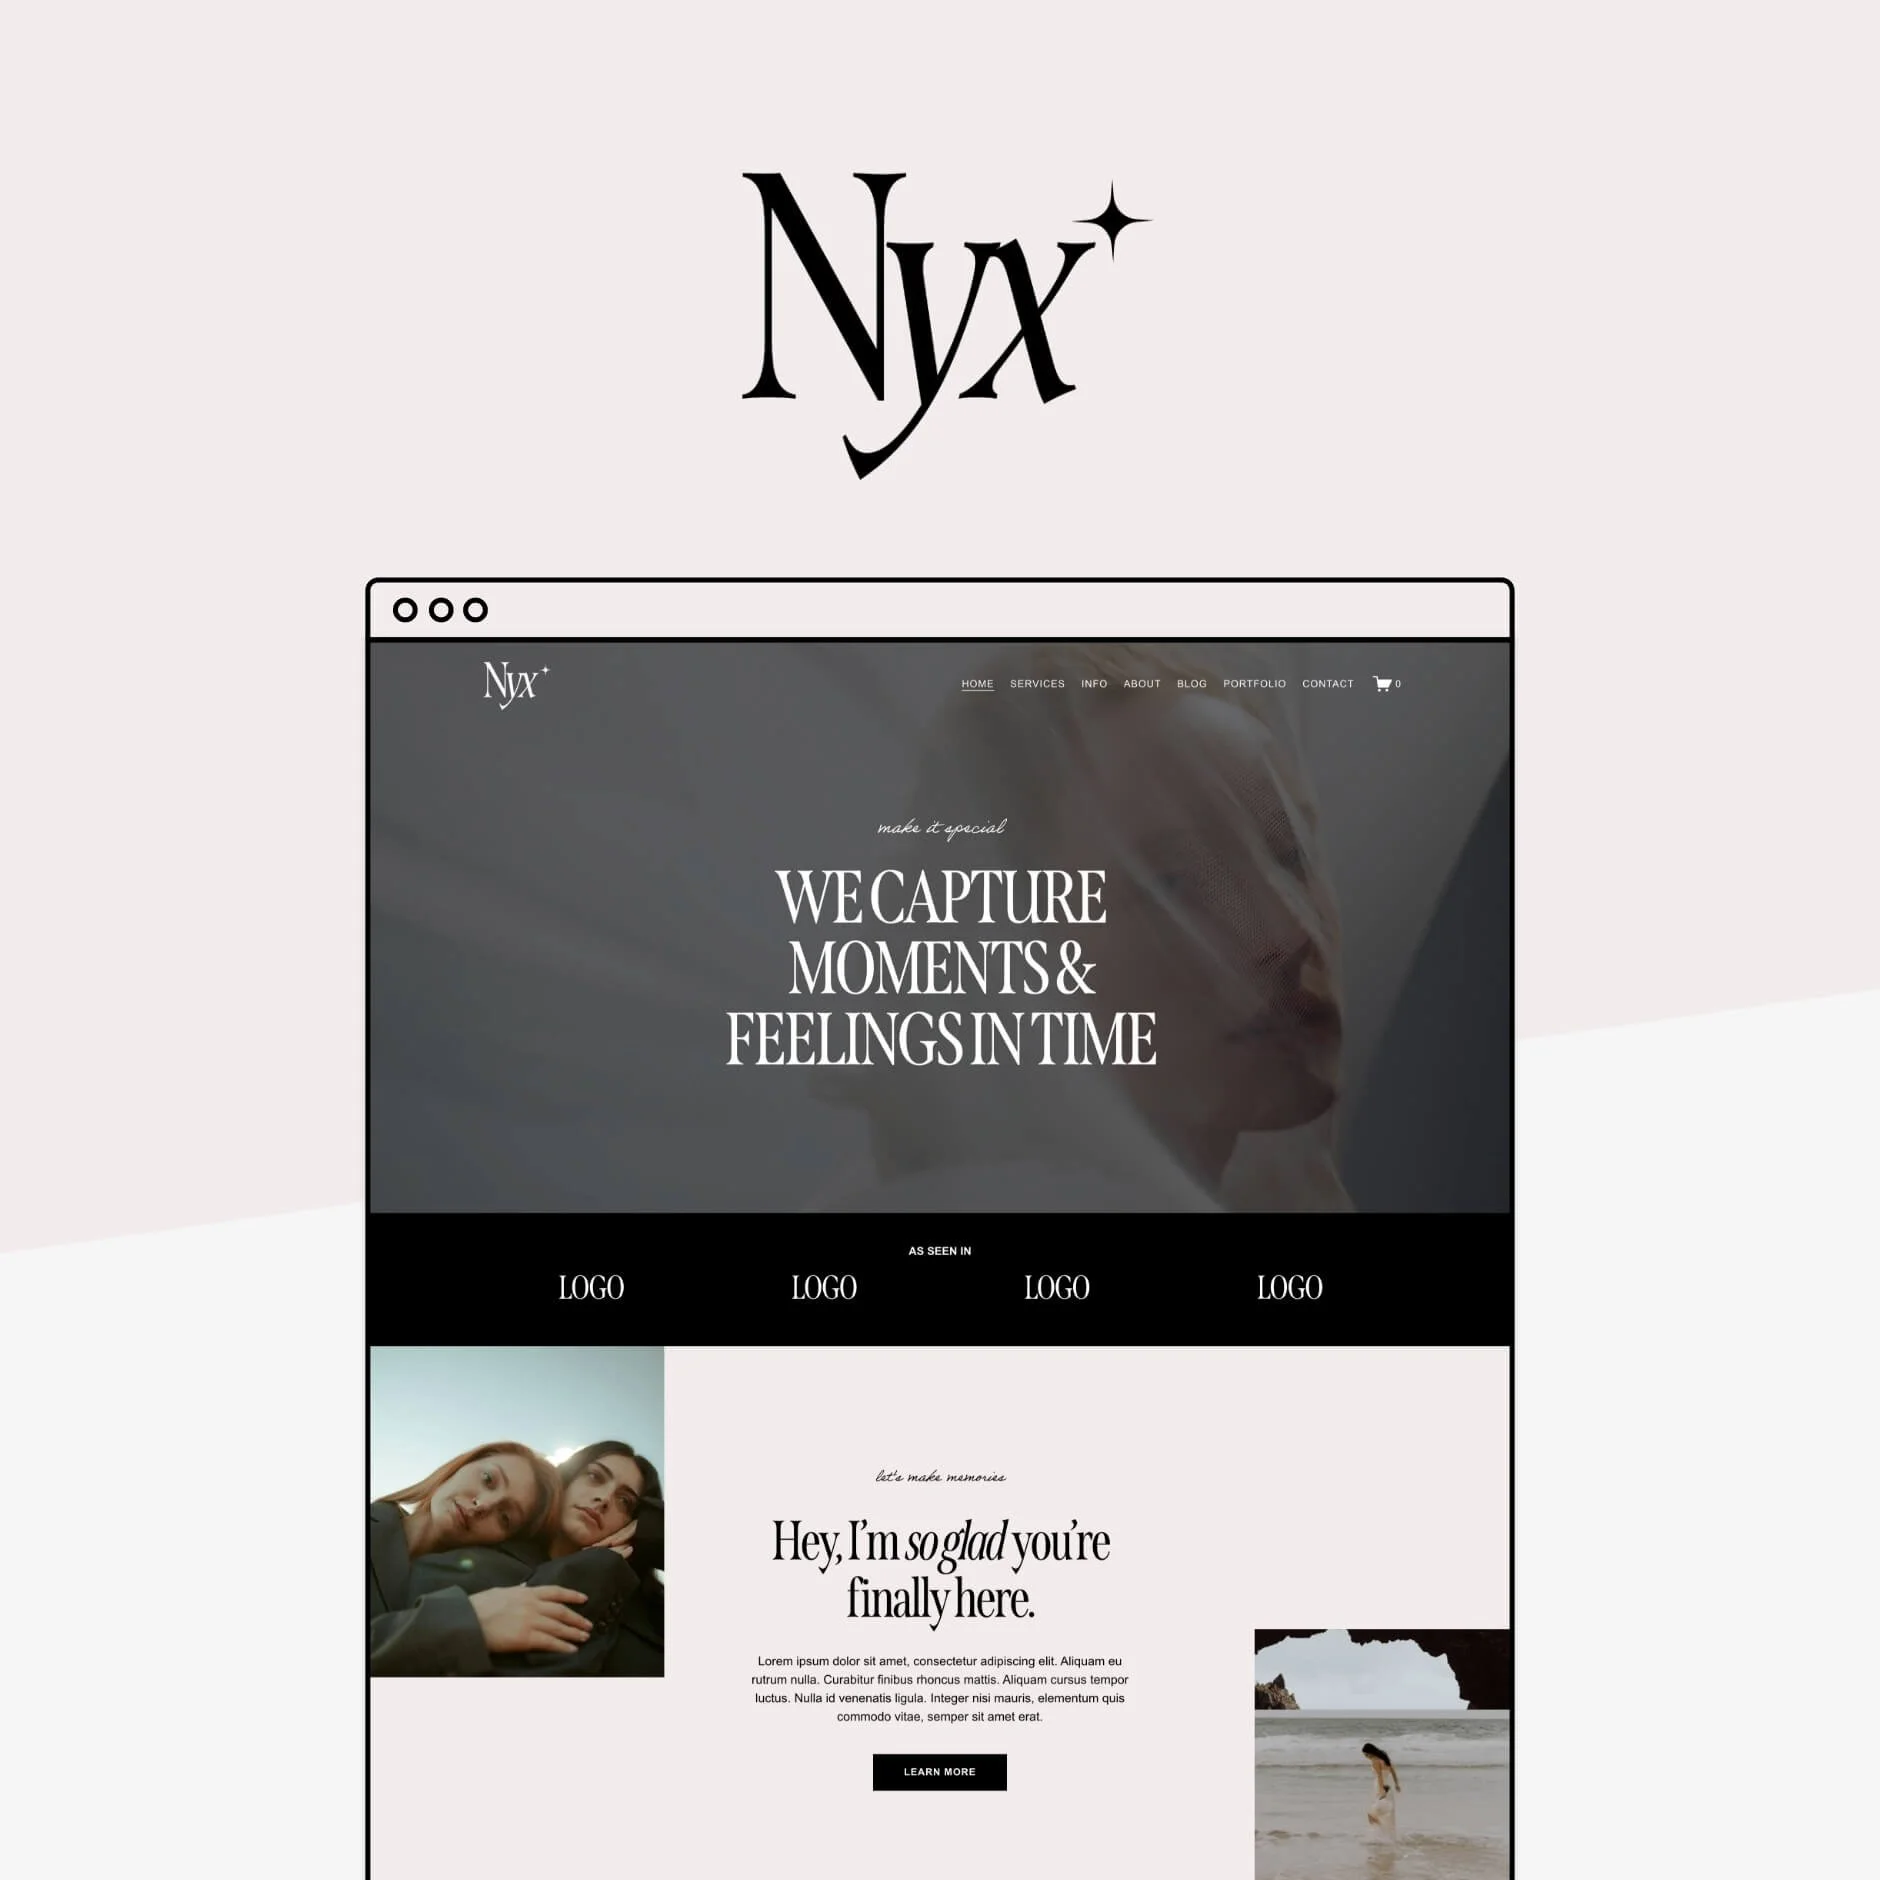
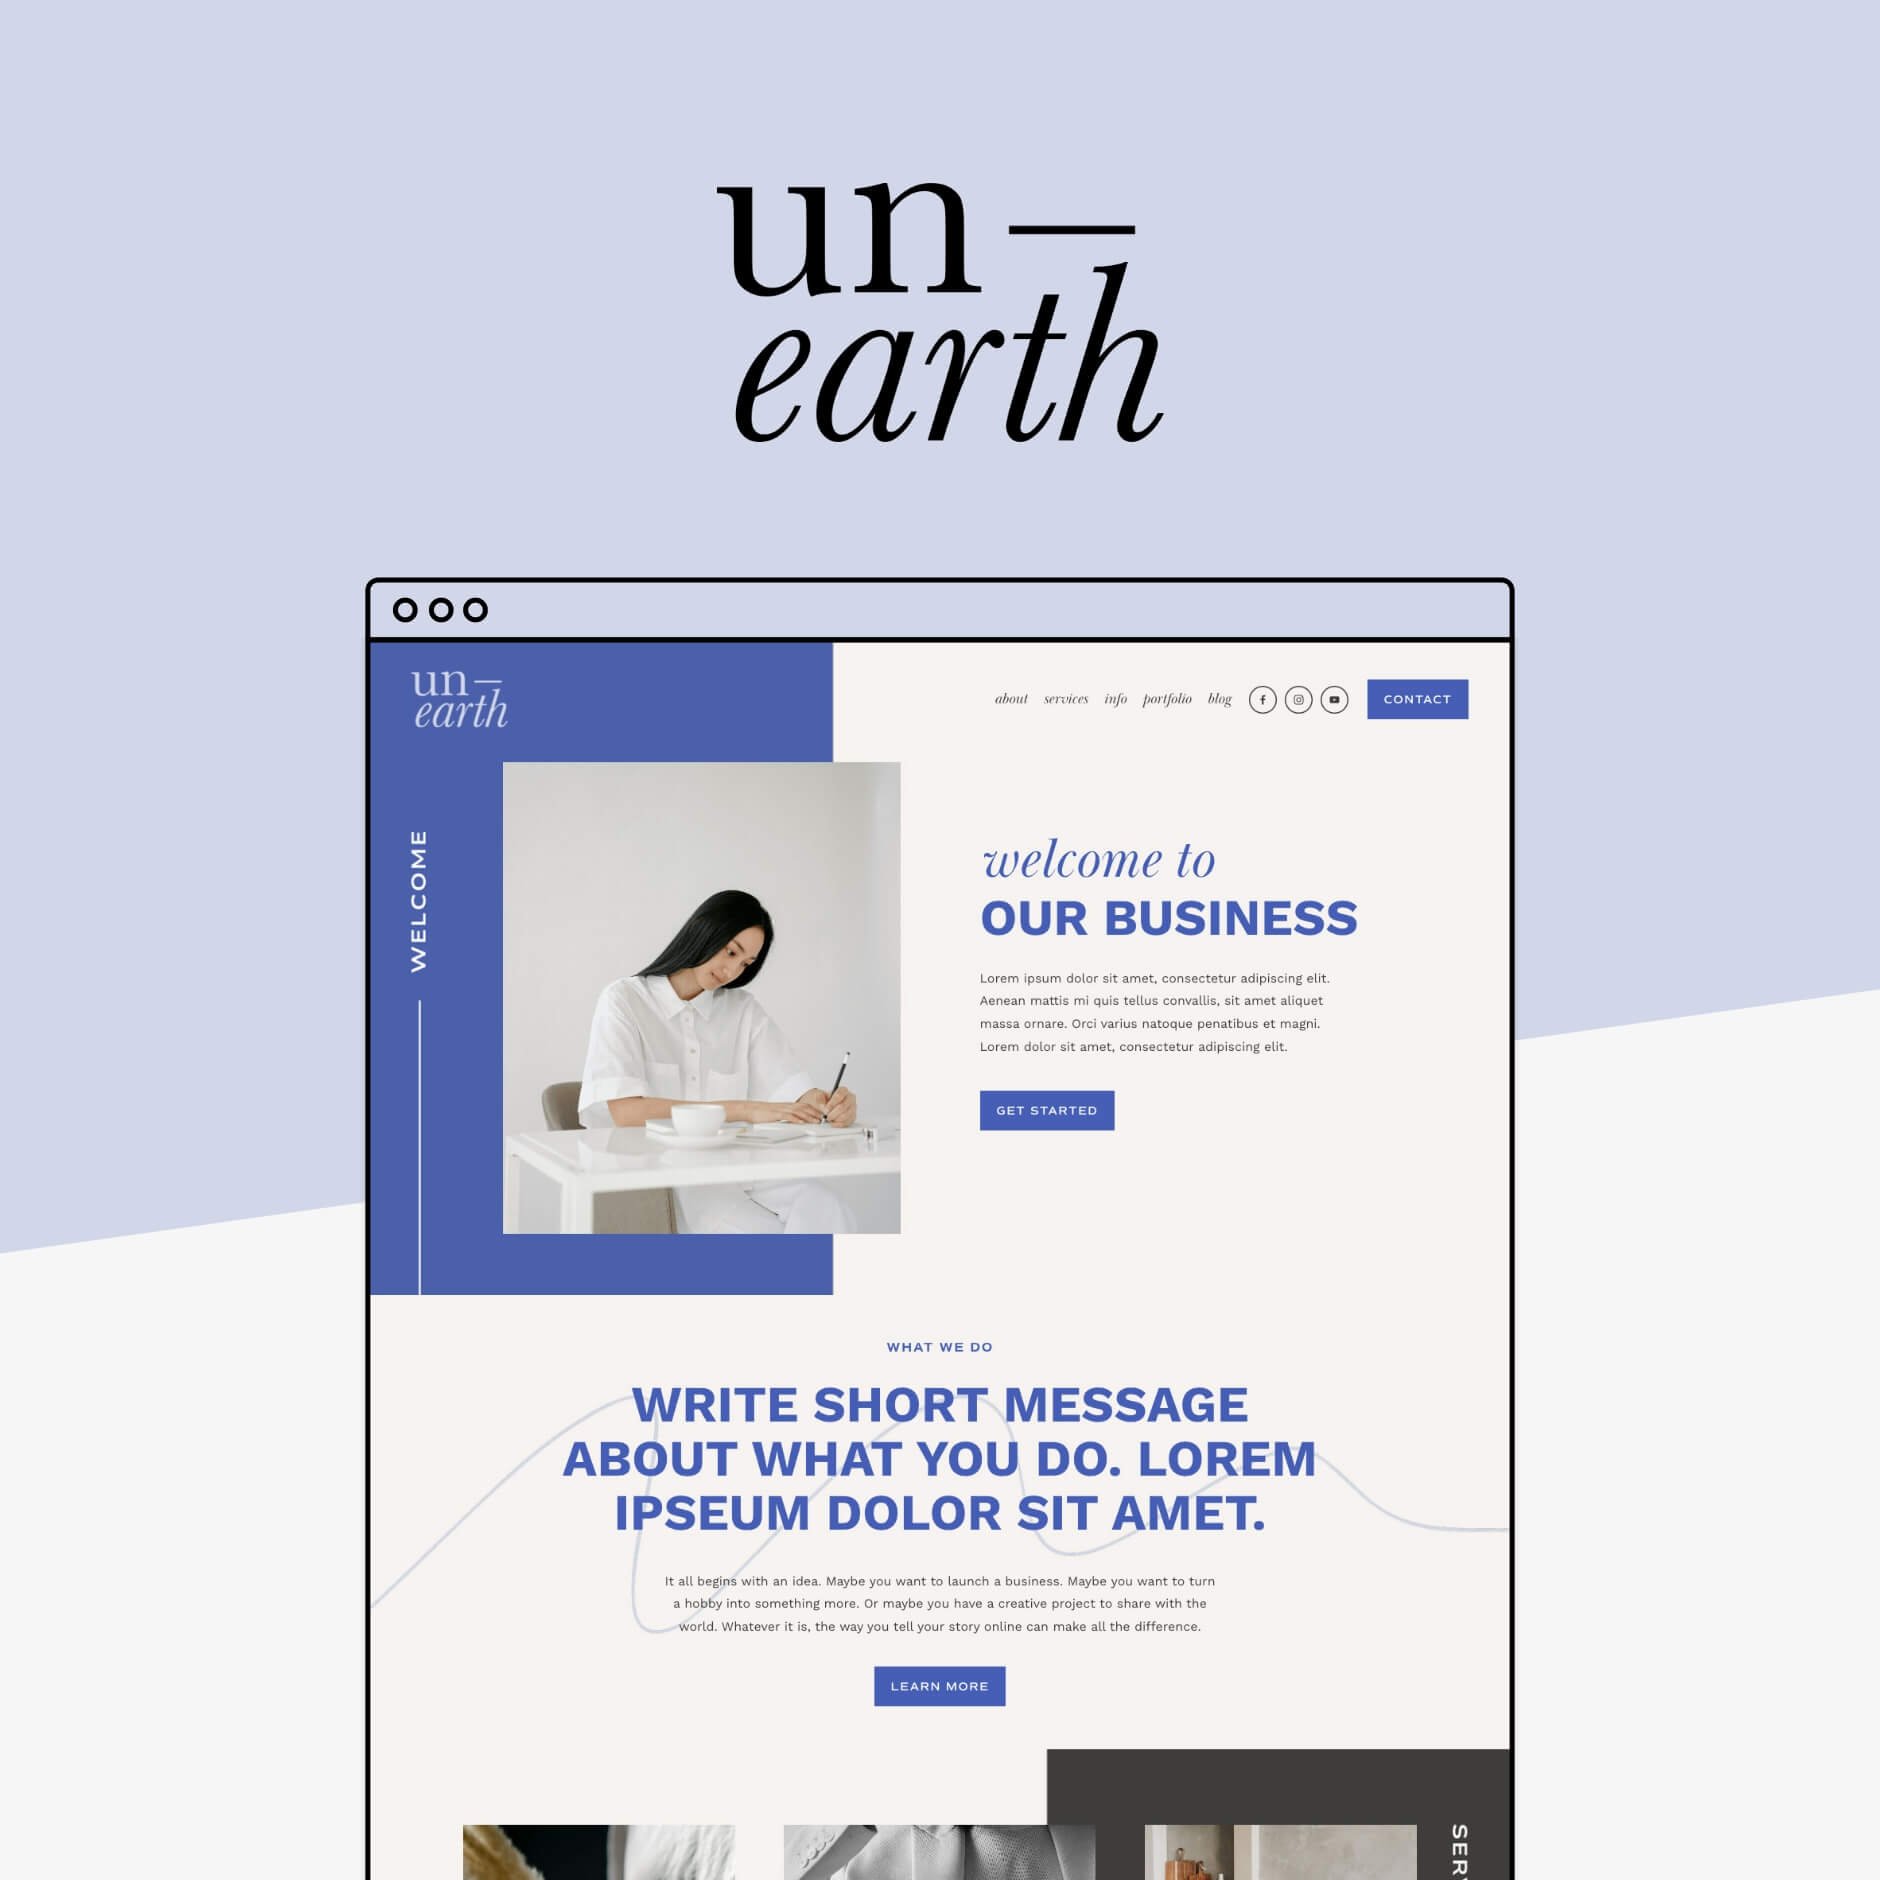
PS- Did you know that all of our expertly designed Squarespace Templates all come with a pre-designed Blog page and Blog Posts that you can keep reusing as templates? Check out all the best templates for bloggers.


Need more blogging tips? Check out the posts below!
6 blog design tips for Squarespace
How to link to your Blog Categories on your Squarespace Site
How to add a blog sidebar to your Squarespace site (7.1 and 7.0)
Why You Should be Blogging for Your Business
If you liked this post, Pin it to Pinterest! 👇🏻