

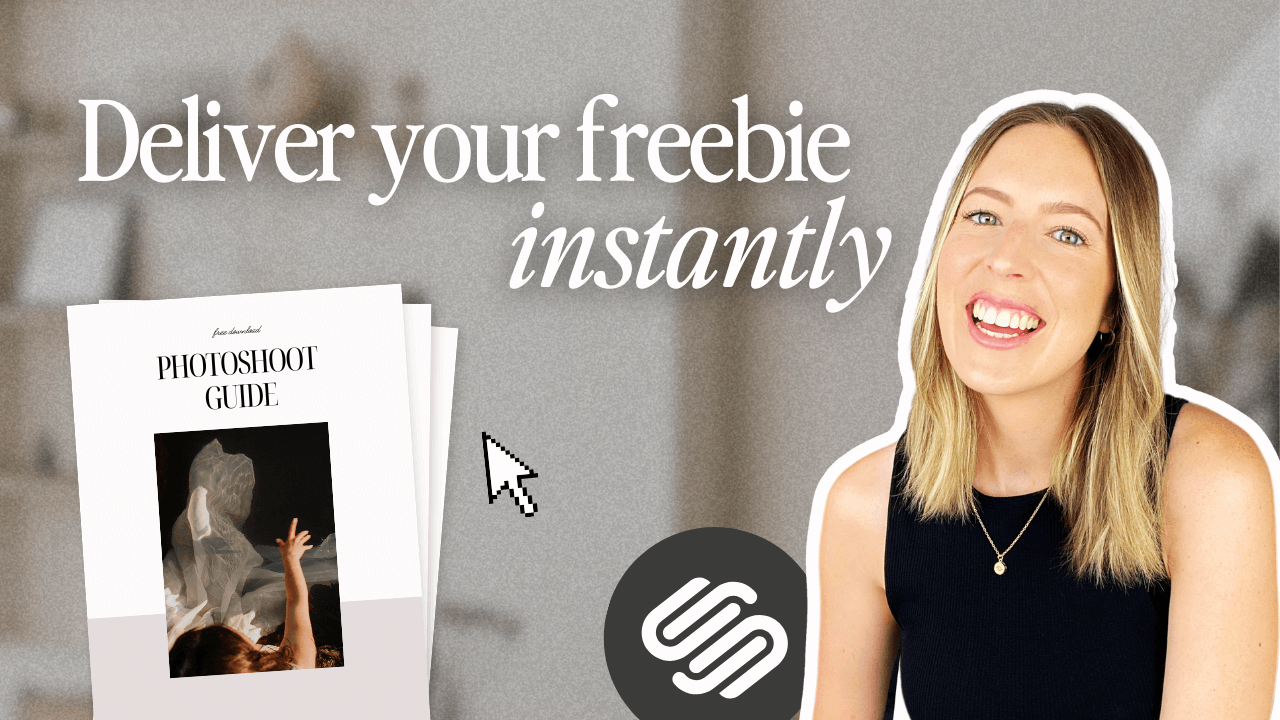
How to Deliver an Opt-In Freebie Instantly in Squarespace
Every business owner wants to grow their email list (and honestly, should!) and one of the easiest ways to get people to sign right up is by offering a value-filled freebie in exchange for their email.
Your freebie could be anything, from a helpful template, to an info-packed workbook, or even a mini-workshop, but figuring out how to actually get it into your new subscribers’ hands can sometimes feel a little confusing!
Most of the time, freebies are delivered through an email marketing platform. Someone signs up, and the platform automatically sends them an email with the download. But if you haven’t chosen (or aren’t ready to invest in) an email platform just yet, you can still start collecting subscribers right away! One simple solution that we love is to use a Squarespace form to gather sign-ups and deliver your freebie instantly, directly on your site.
This instant-delivery method is great if you’re just starting out, want something quick to set up, or need a free option while you grow. It’s less ideal if you want to run automated welcome sequences, track email engagement, or manage multiple freebies with complex tagging. In those cases, a dedicated email marketing platform will be the better long-term choice!
In this post, we’ll walk you through exactly how to set up an instant freebie download on your Squarespace site using a form block, so that you can collect subscribers and deliver your freebie in one automated sweep.
If you’re looking for a done-for-you option, our Freebie Add-On Page Templates make it super easy to launch a beautiful, high-converting opt-in page in minutes. They match our Squarespace website templates perfectly, so your freebie feels like an intentional part of your brand from day one.


Let’s dive in!
Step 1: Add Your Form
On your Squarespace site, navigate to the page where you would like to add your opt-in form.
Click Edit, then click the + Add Block button to add a Form block or Newsletter block.
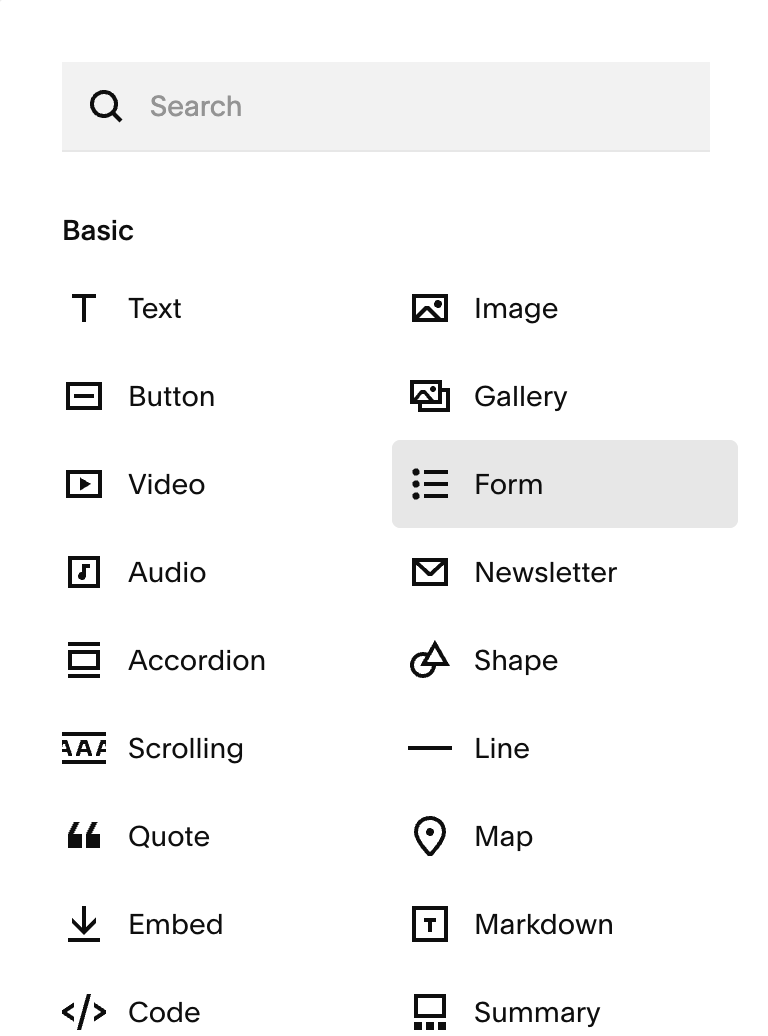
💡 Should you use a Form or Newsletter block?
Form blocks and Newsletter blocks are both built to collect information (like names and email addresses), but there are a couple of small differences!
A Form block is more flexible and customizable, and allows you to collect just about any data from your subscribers because you can add just about any field you like! You can connect it to a Google Sheet to easily collect subscribers even if you don't have an email marketing platform yet. You can also connect it to MailChimp and to Zapier (which allows you to connect to just about any other email marketing software out there).
Choose a Form block if you want:
A pretty looking form that can be customized to match the look of your site!
To collect more data than just the name or email address
A Newsletter Block is more restricted and not very customizable in terms of looks. It can only collect names and email addresses but in addition to Google Sheets, MailChimp, and Zapier, it also allows you to connect directly to Squarespace Email Campaigns if that's the email marketing platform you want to use!
Choose a Newsletter block if you want:
A simple form that only collects names and emails
To use Squarespace Email Campaigns for your email list
Step 2: Customize Your Form
If You're Using a Form Block
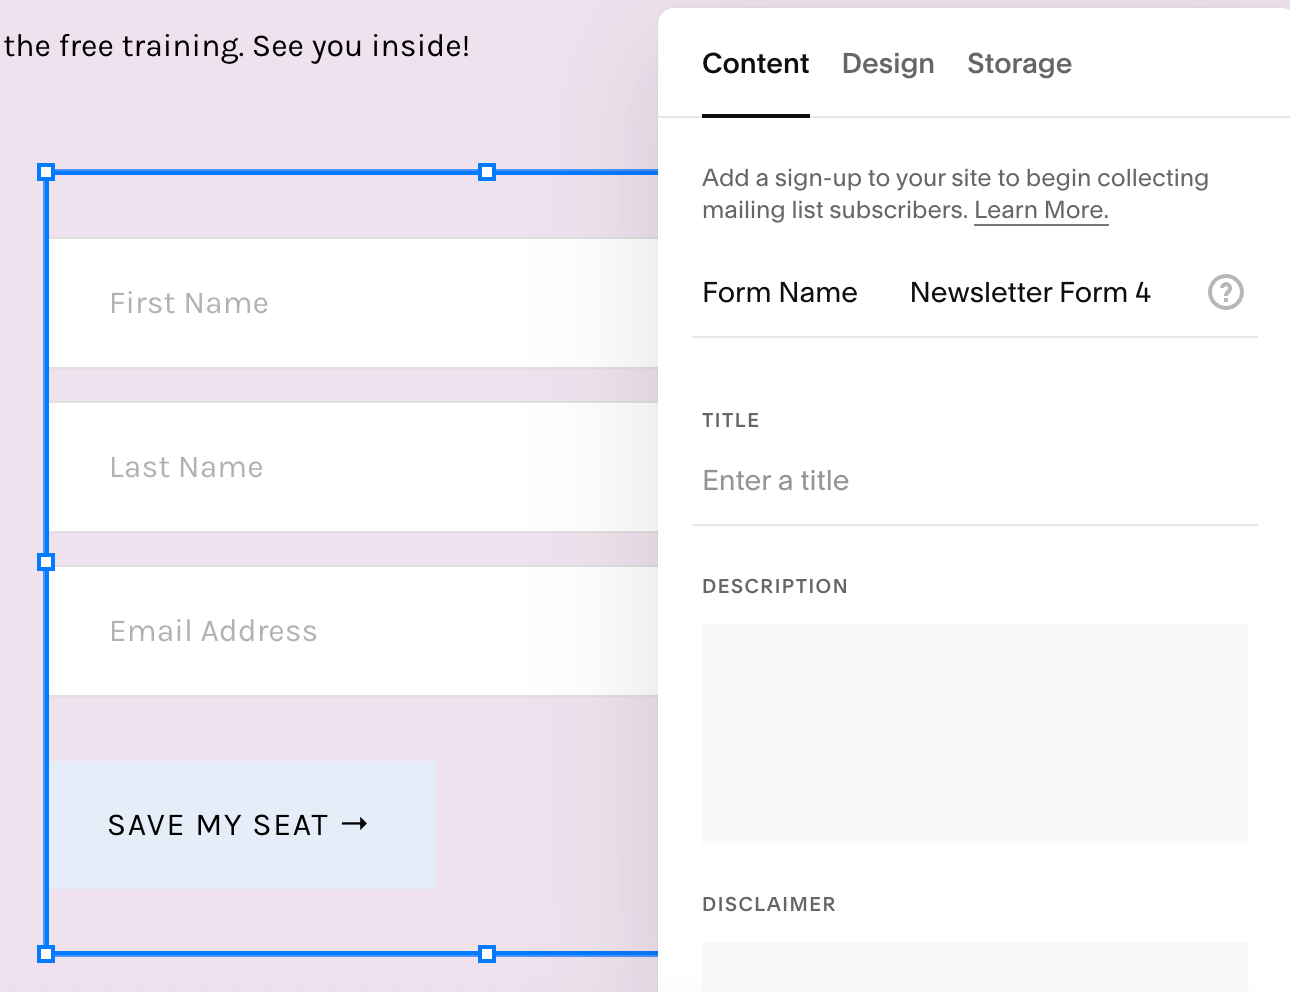
Double click on your Form block to access its settings.
In the Content tab, enter your form name and what you want the submit button to say.
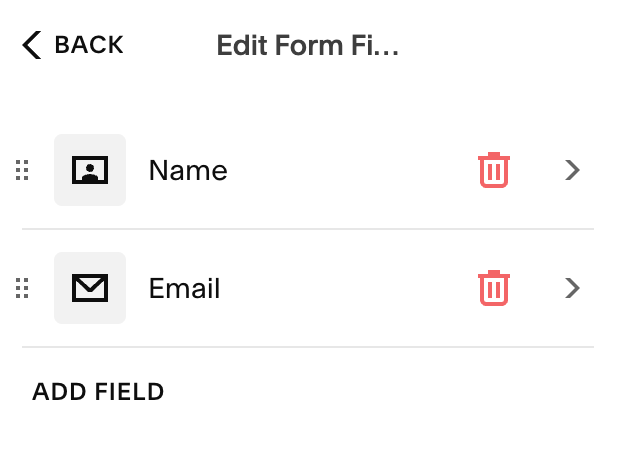
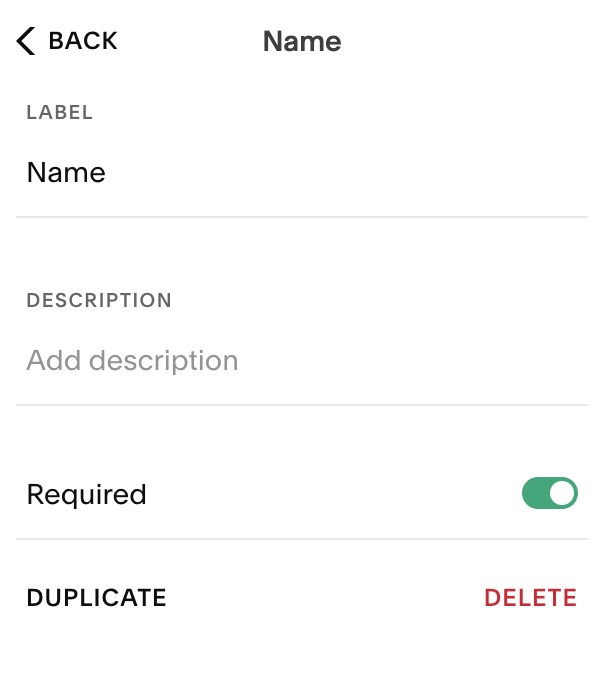
Then, click into Edit Form Fields to enter the details you want in the form.
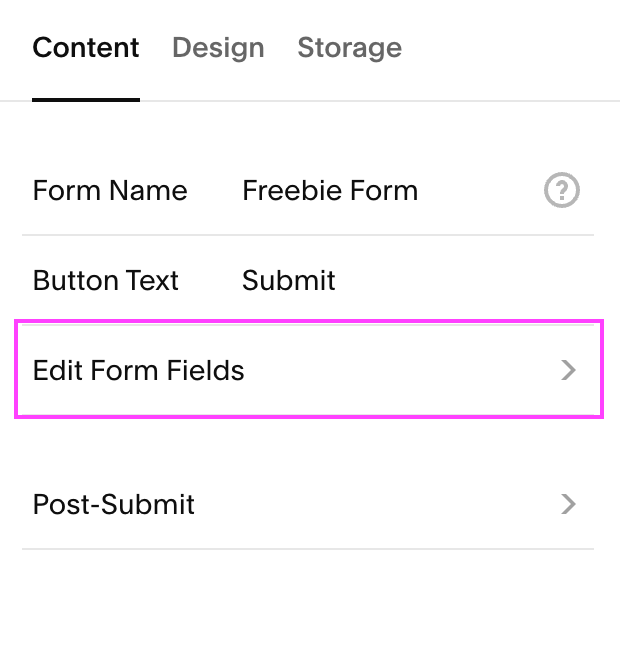
This would usually be Name and Email address. Make sure you make both of these required.
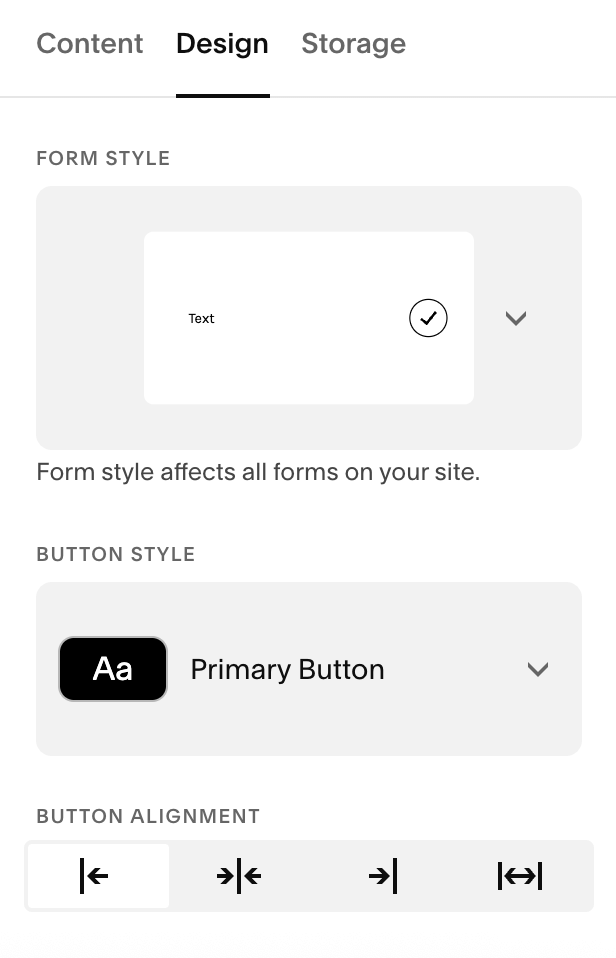
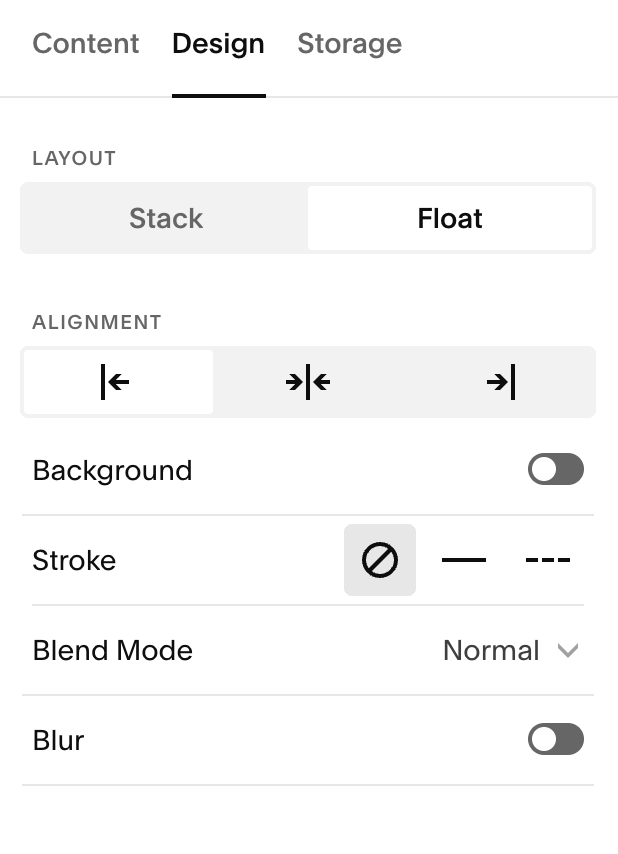
Switch to the Design tab to customize the look of your Form block. You'll be able to change the overall style, alignments, buttons, padding, add a background color, outline, and more:
If You're Using a Newsletter Block
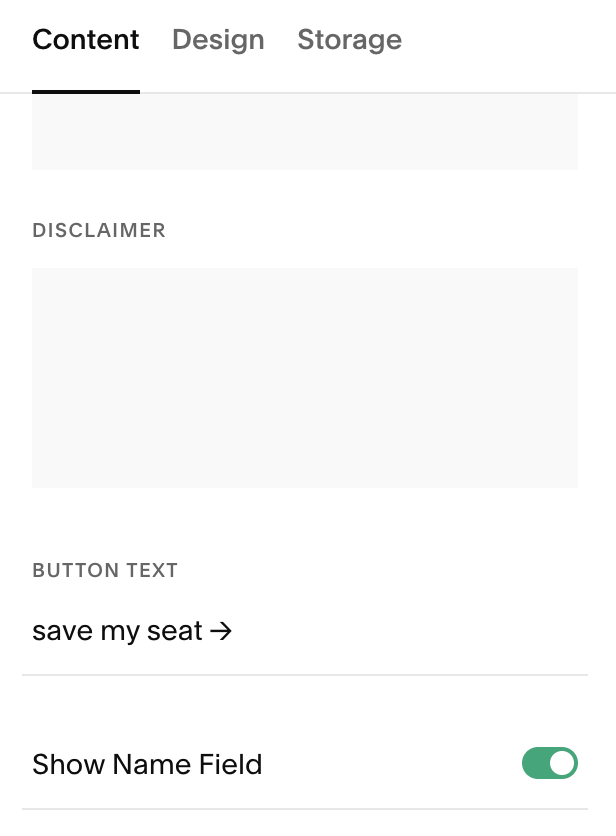
Double click on your Newsletter block to access its settings, then customize the name of the form and button text. Feel free to give your Newsletter block a title and description if you want to, or leave those blank!
By default, the Newsletter block will have an email address field. You can also enable a name field by toggling ON Show Name Field at the bottom of the Content tab.
Switch to the Design tab to customize the look of your Newsletter block. You'll be able to change the alignment, add a background color, or outline:
Step 3: Connect the Form
If You're Using a Form Block
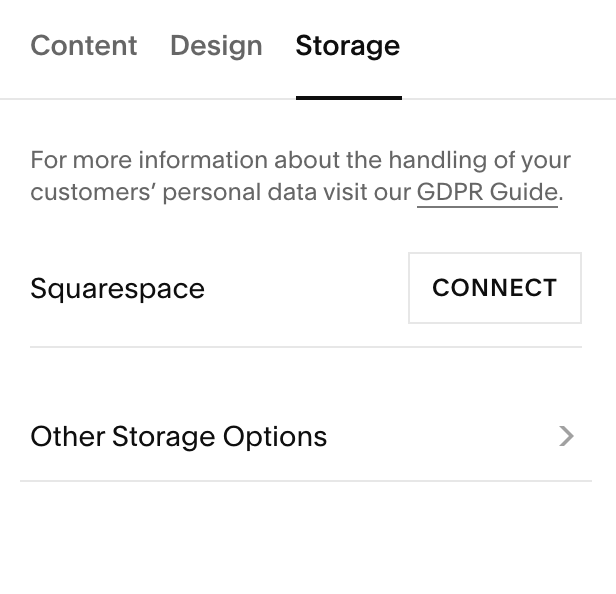
Now, switch to the Storage tab at the top of the settings panel.

Under Email Notification, enter your email address. This is where you will get a notification email every time someone completes the form. If this is the only storage option you select, you would have to manually take the information from each email and input it into your email list or email marketing software so make sure to also choose another option!
To do this, click into Additional Storage.
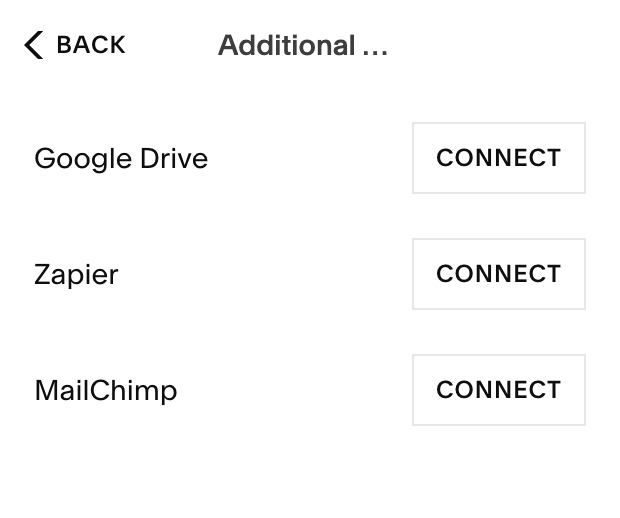
Squarespace gives you the option of connecting your:
Google Drive: this is a great option if you don’t have an email marketing platform yet. The form can automatically sync with a Google Sheet (spreadsheet) in your Google Drive, keeping all of your subscriber information super organized. If you choose to use an email marketing platform in the future, you can simply upload this sheet to easily import all of your past subscribers.
Zapier: Zapier is a tool that connects different platforms to each other. If you send this form data to Zapier, Zapier can then send it to almost any email marketing software. This is only needed if you are using an email marketing platform that doesn’t integrate well with Squarespace or doesn’t have many options for sending freebies.
MailChimp: A popular email marketing platform that Squarespace happens to have a direct integration with!
Click the Connect button and follow the prompts.
Make sure you connect one form of storage before you move on!
If You're Using a Newsletter Block
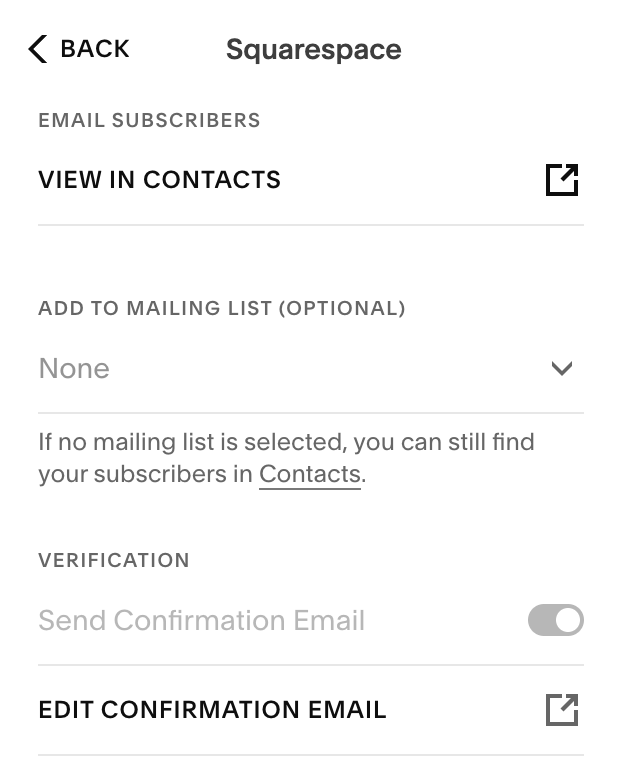
Switch to the Storage tab at the top of the settings panel.
Here, you'll have the option to connect to Squarespace. This is helpful if you choose to use Squarespace Email Campaigns as your email marketing platform.
Click the Connect button. On the next page, you'll have the option to choose a Mailing List which anyone who completes this newsletter sign up will be added to (this is helpful for segmenting your email list and keeping it organized for later!). You'll also have the option to edit your Confirmation Email (though this is the same for all newsletter block submissions so you don't necessarily want to add your freebie here).
If you aren't planning on using Squarespace Email Campaigns, click into s and select from one of the following:
Google Drive: this is a great option if you don’t have an email marketing platform yet. The form can automatically sync with a Google Sheet (spreadsheet) in your Google Drive, keeping all of your subscriber information super organized. If you choose to use an email marketing platform in the future, you can simply upload this sheet to easily import all of your past subscribers.
Zapier: Zapier is a tool that connects different platforms to each other. If you send this form data to Zapier, Zapier can then send it to almost any email marketing software. This is only needed if you are using an email marketing platform that doesn’t integrate well with Squarespace or doesn’t have many options for sending freebies.
MailChimp: A popular email marketing platform that Squarespace happens to have a direct integration with!
Click the Connect button and follow the prompts.
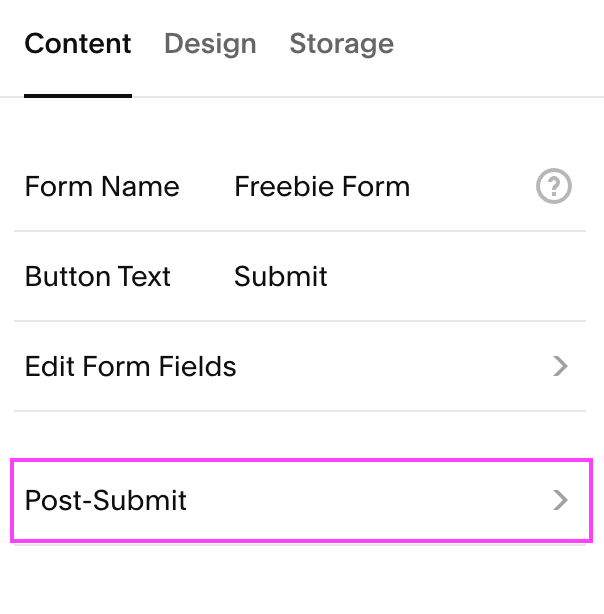
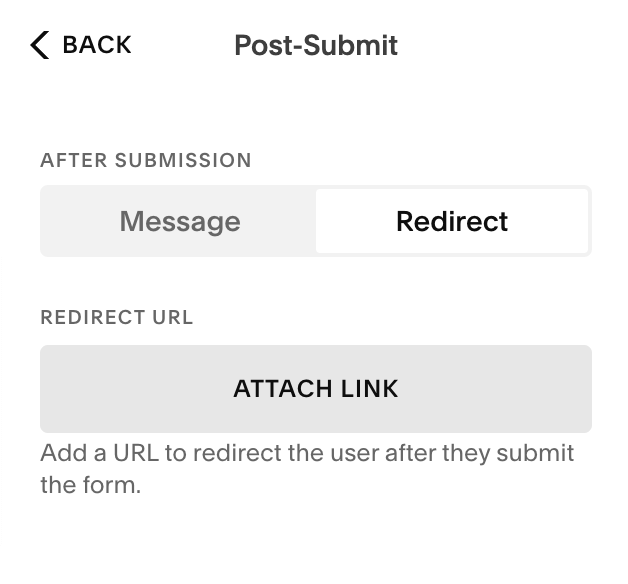
Step 4: Add your Post-Submit Message or Page
Whether you're using a Form or Newsletter block, go back to the Content tab, scroll to the bottom, and click on Post-Submit.
This is where you can set up what your new subscribers will see once they hit submit on the form (and where you can sneak in your freebie!).
Here, you'll have two options, Message or Redirect.
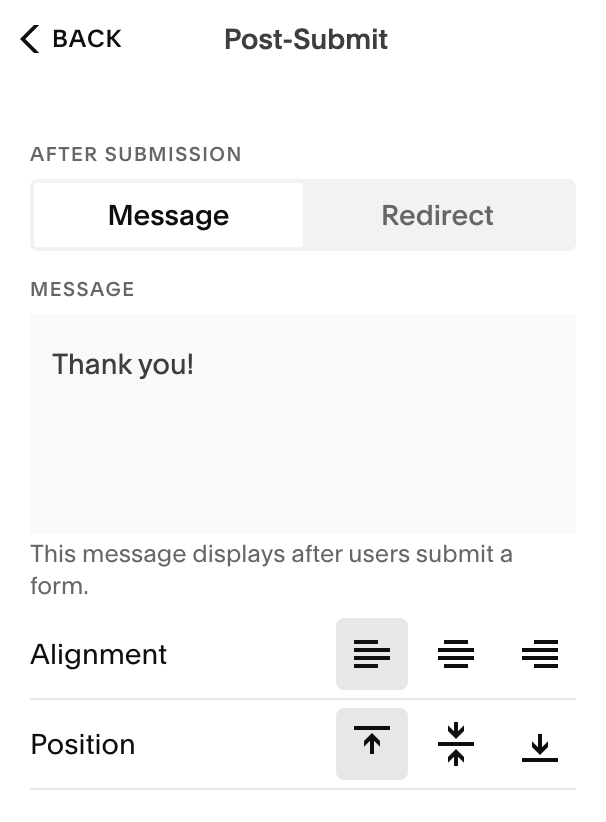
Message
This just pops up a little note right there on the page after your subscriber hits submit. It could be as simple as “Thanks!” or “Yay, your freebie is ready! Click here to download.”
Perfect for a quick and simple thank you and instant download link
Keeps people on the same page, so there’s no extra loading or clicking
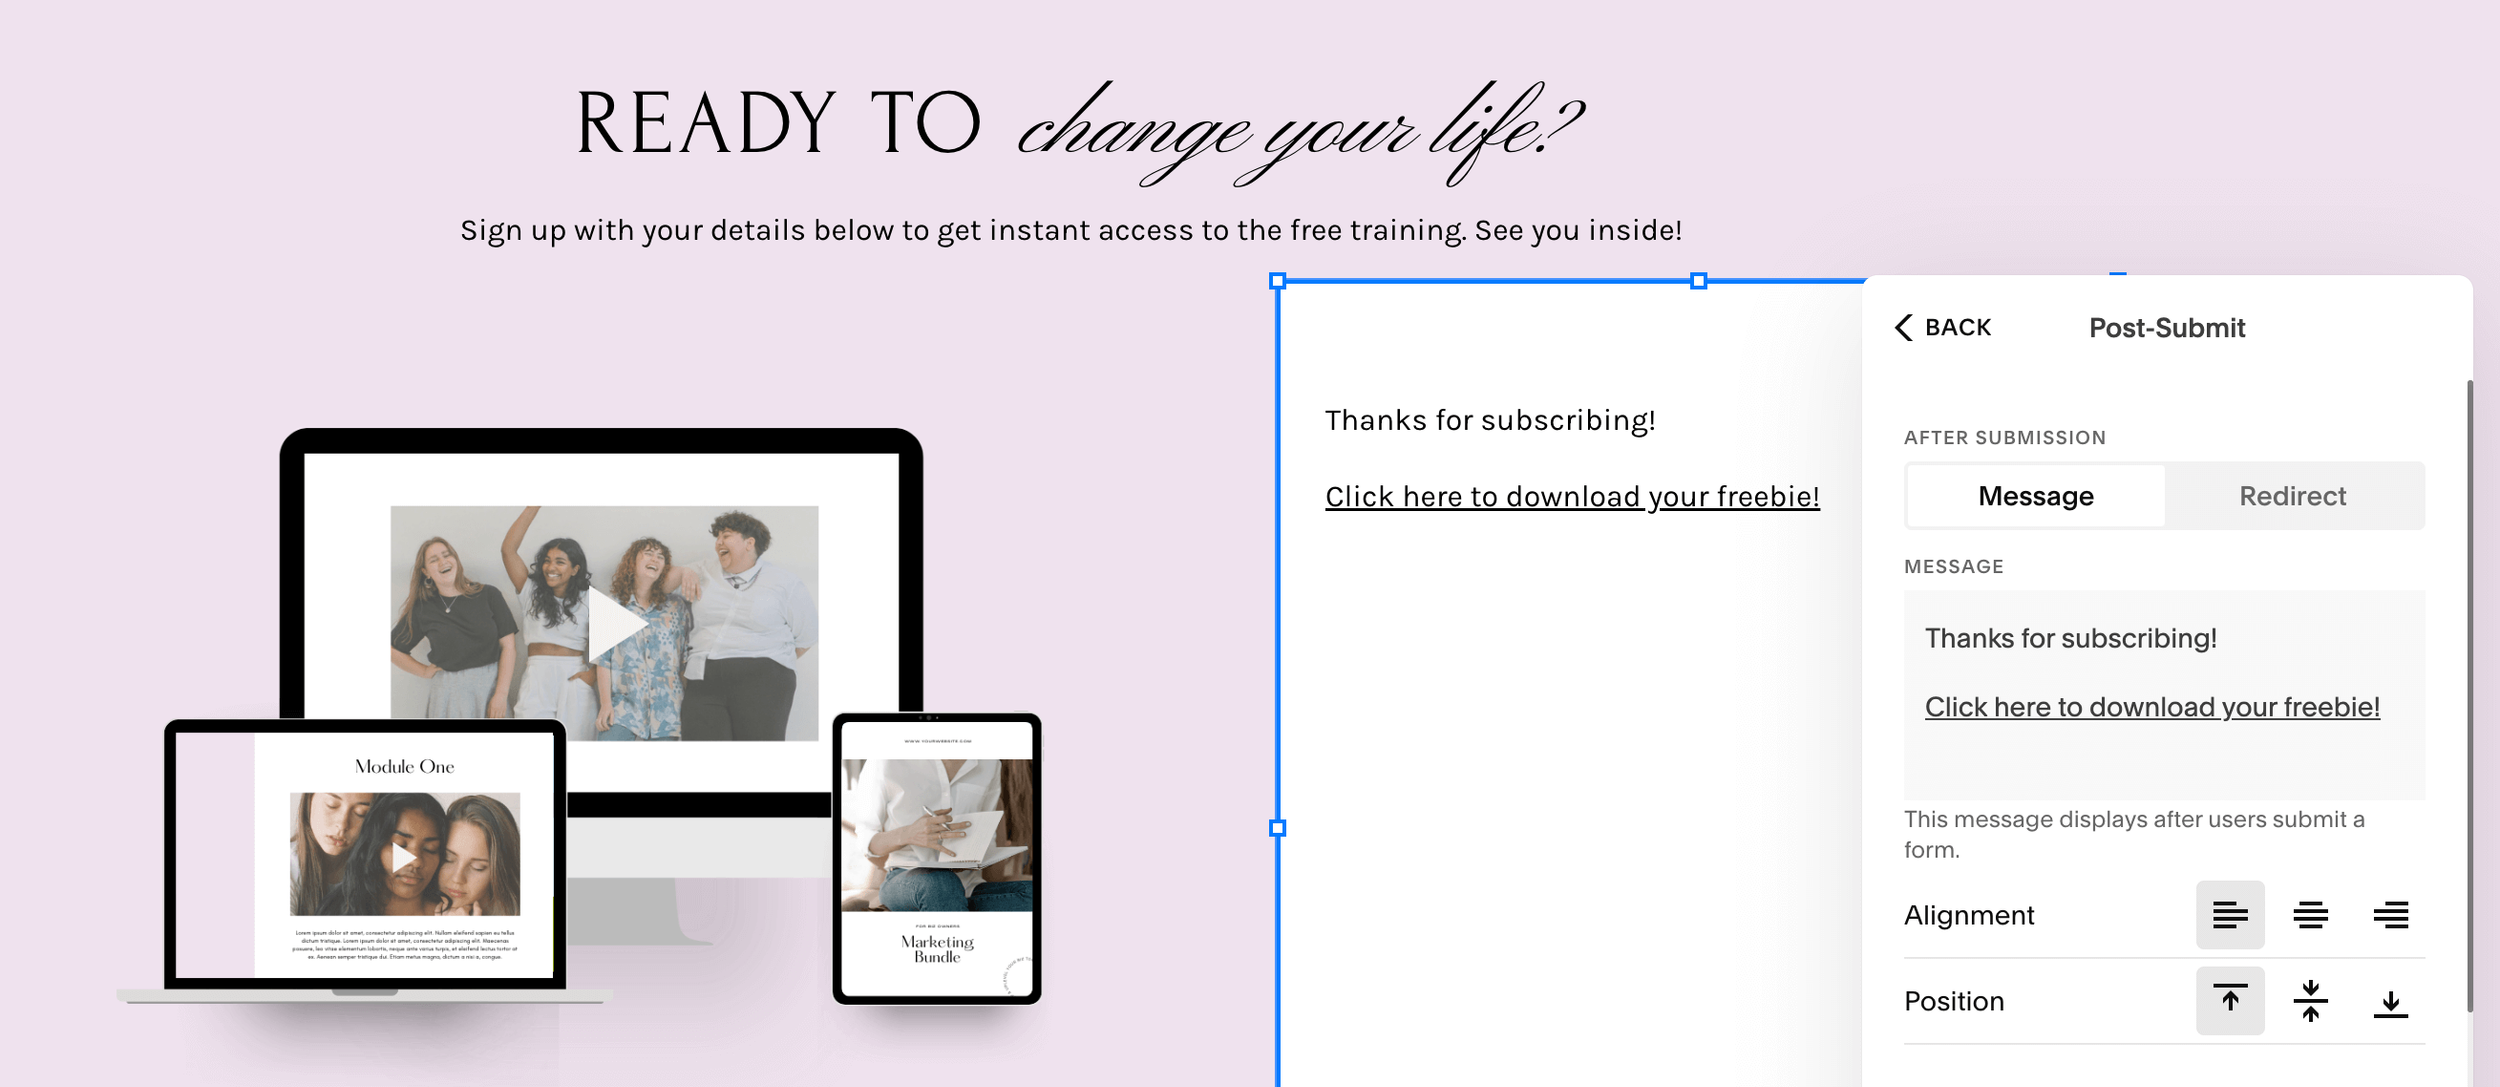
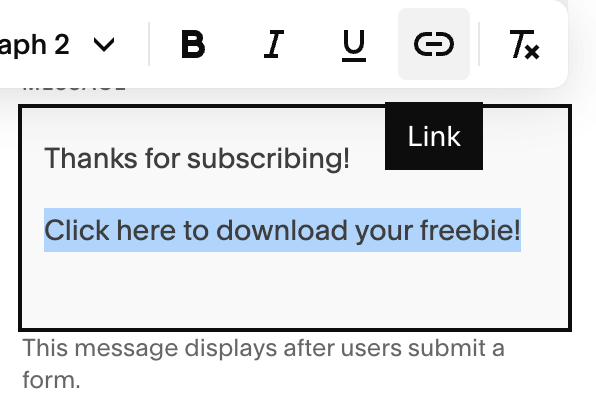
Simply fill in the Message box with whatever you want to say!
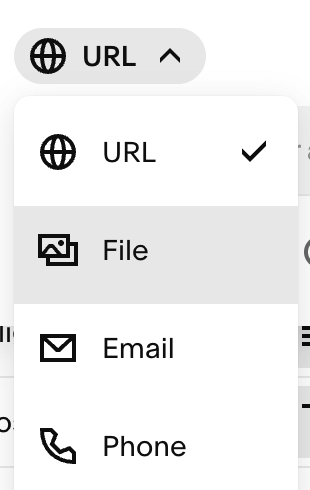
To link your freebie, highlight the text and click the link button to add a new link.
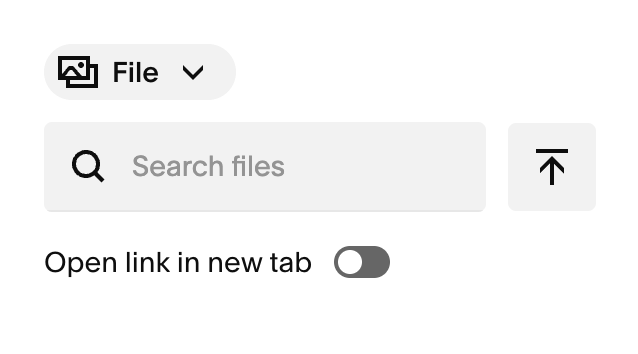
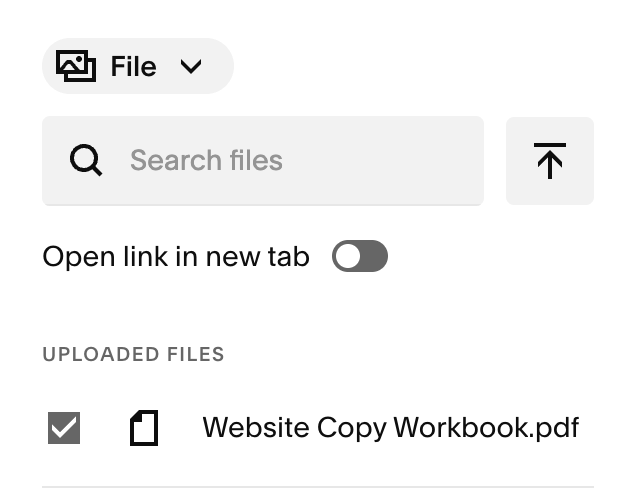
In the link editor, click the link type dropdown and select File.
In the pop up, click the Upload button and upload your freebie file.
This might be a PDF workbook or one that contains a link to a Canva template or workshop video for example.
👉🏼 How to create a fillable PDF workbook (in Canva for free!)
👉🏼 How to share Canva templates
Make sure the file that you upload is ticked, then click out of the window to save.
The file link should look something like this:
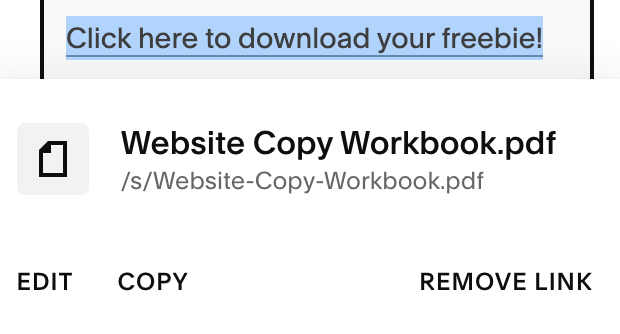
Click Remove Links or Edit to update the file at any time!
Now when someone submits the form and clicks on the link in the post-submit message, the freebie download will start automatically!
Redirect
This sends subscribers to a whole other page after they submit the form. That page could be:
A styled “Thank You” page that contains a link to your freebie or an embedded video
A direct link to your freebie mini-course which you can set up using Squarespace Courses, Member Sites, a Blog page, or a regular unlinked page depending on its complexity!
A link to a Youtube or Vimeo video of a free training
Or literally anywhere else you want to send your new subscribers!
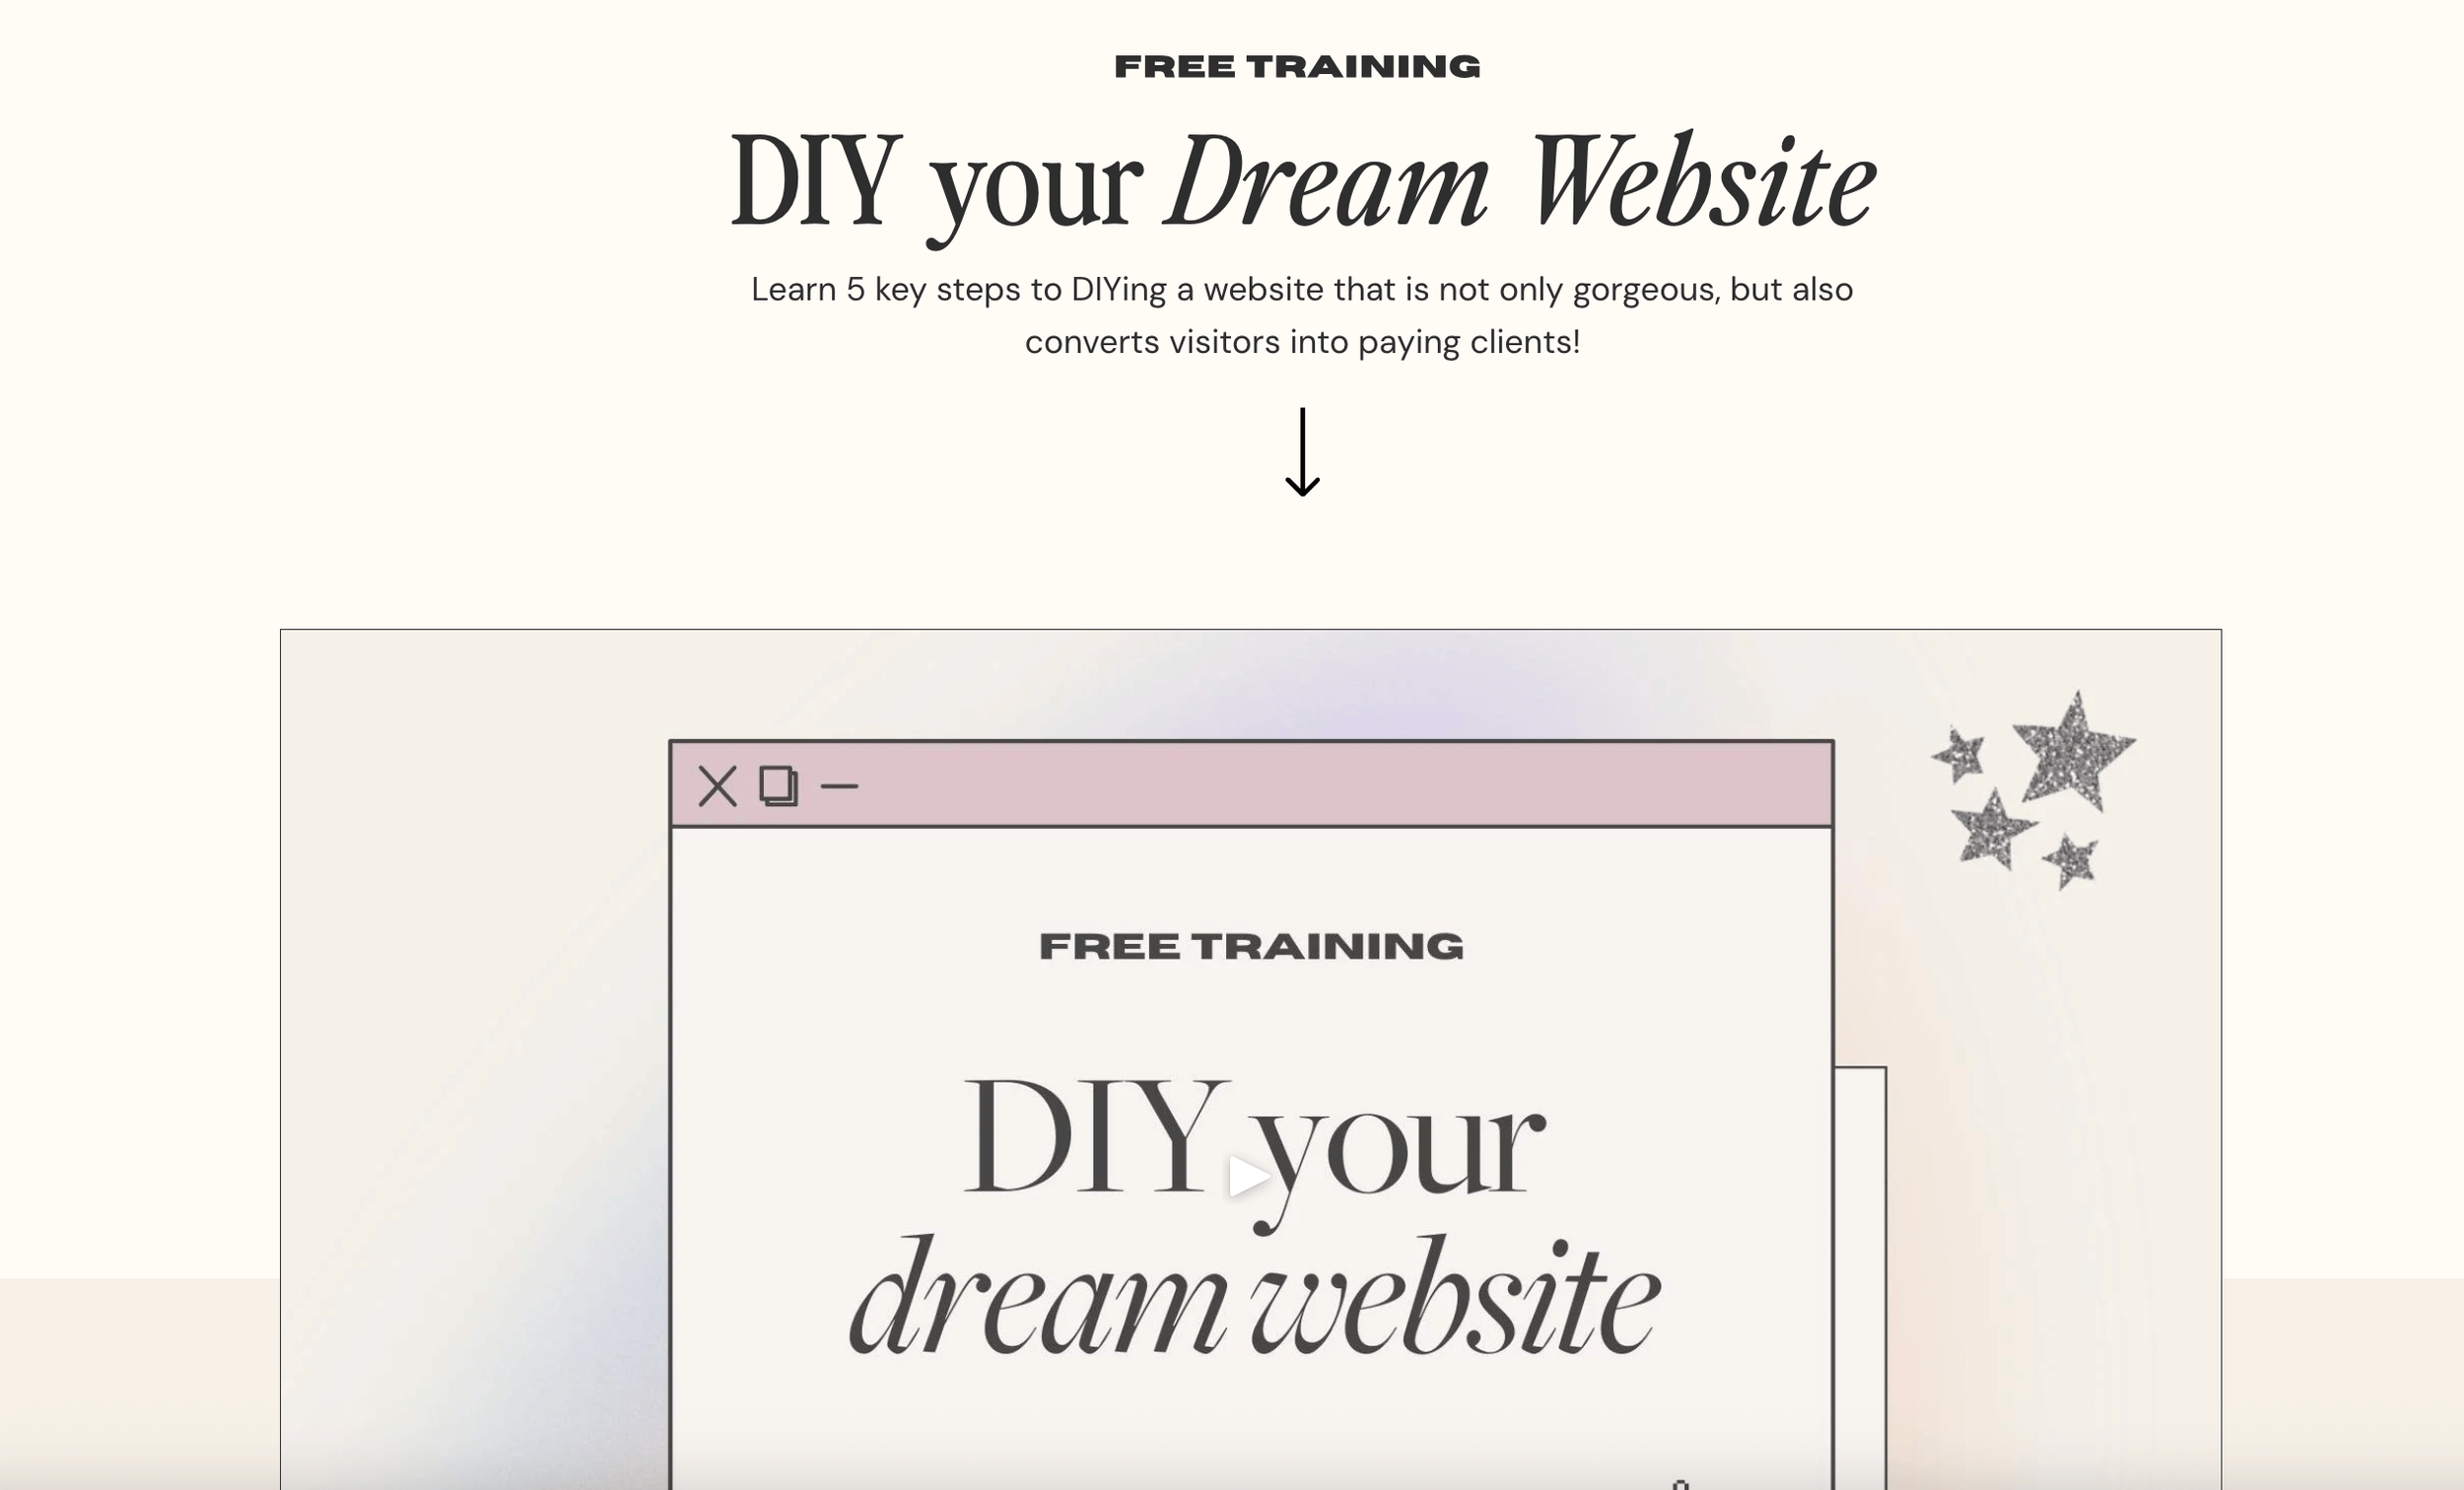
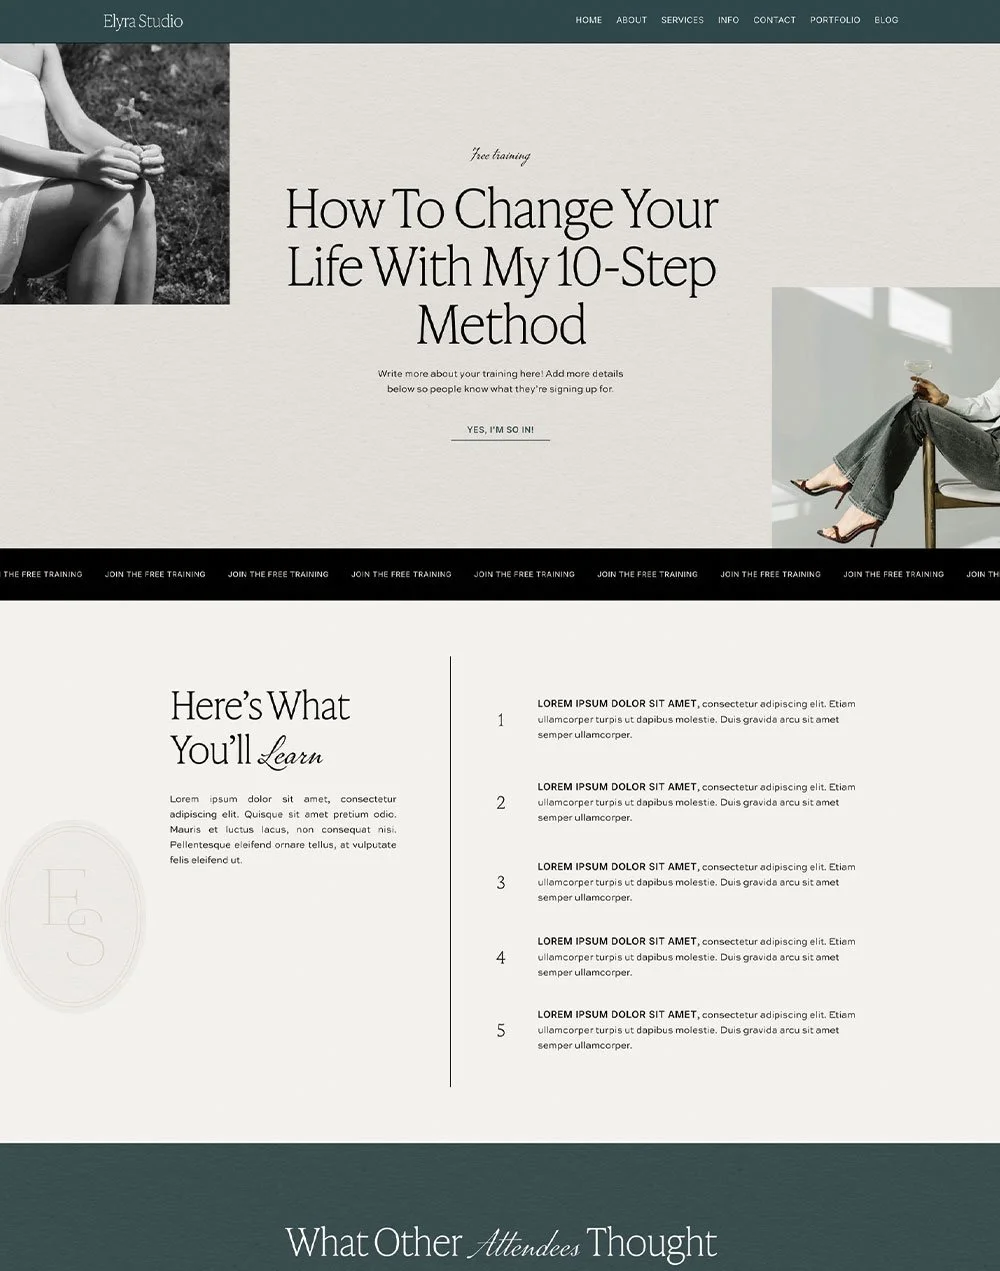
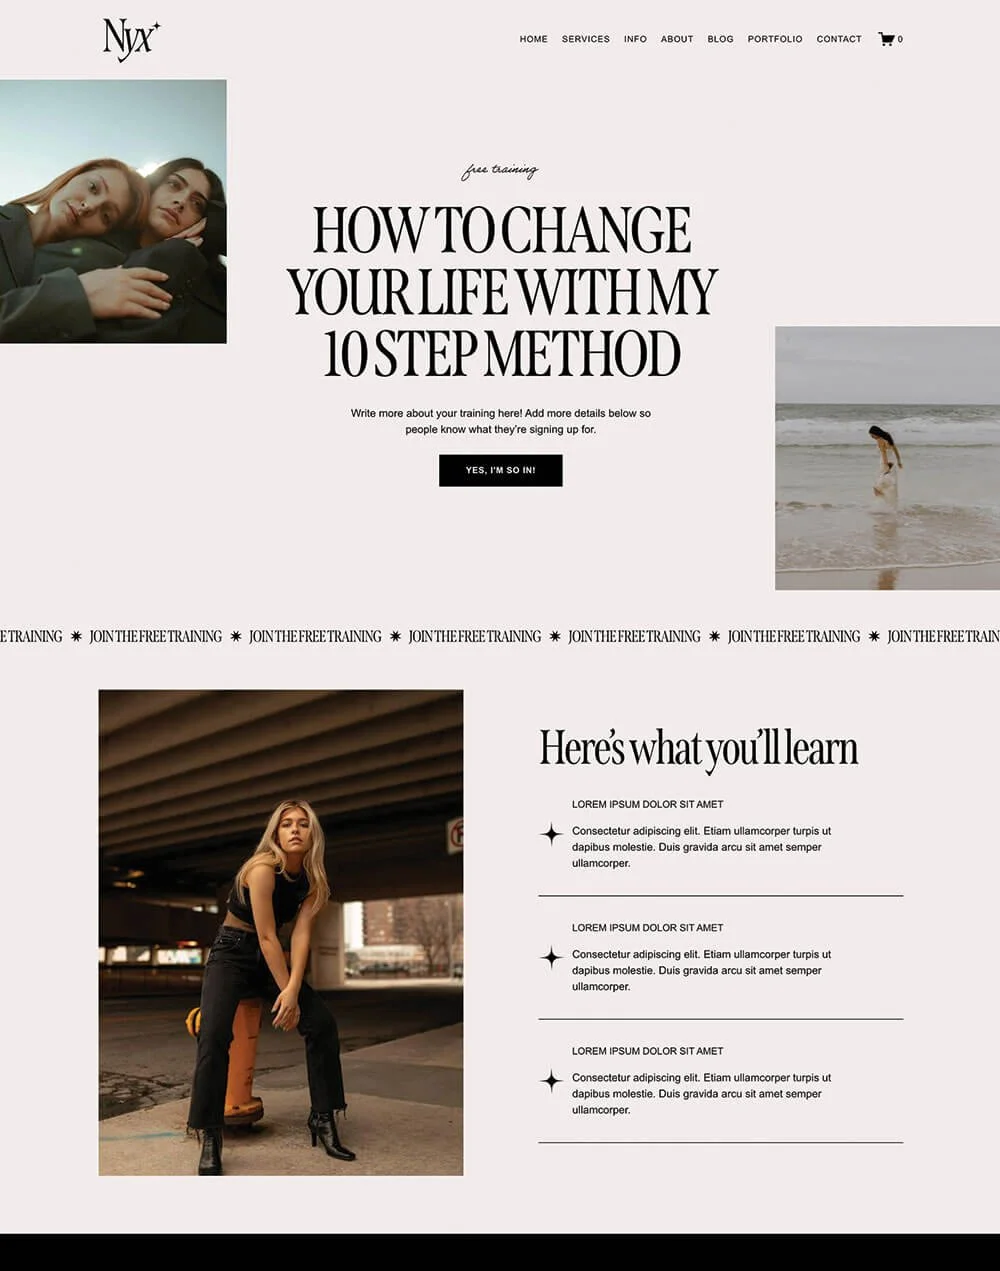
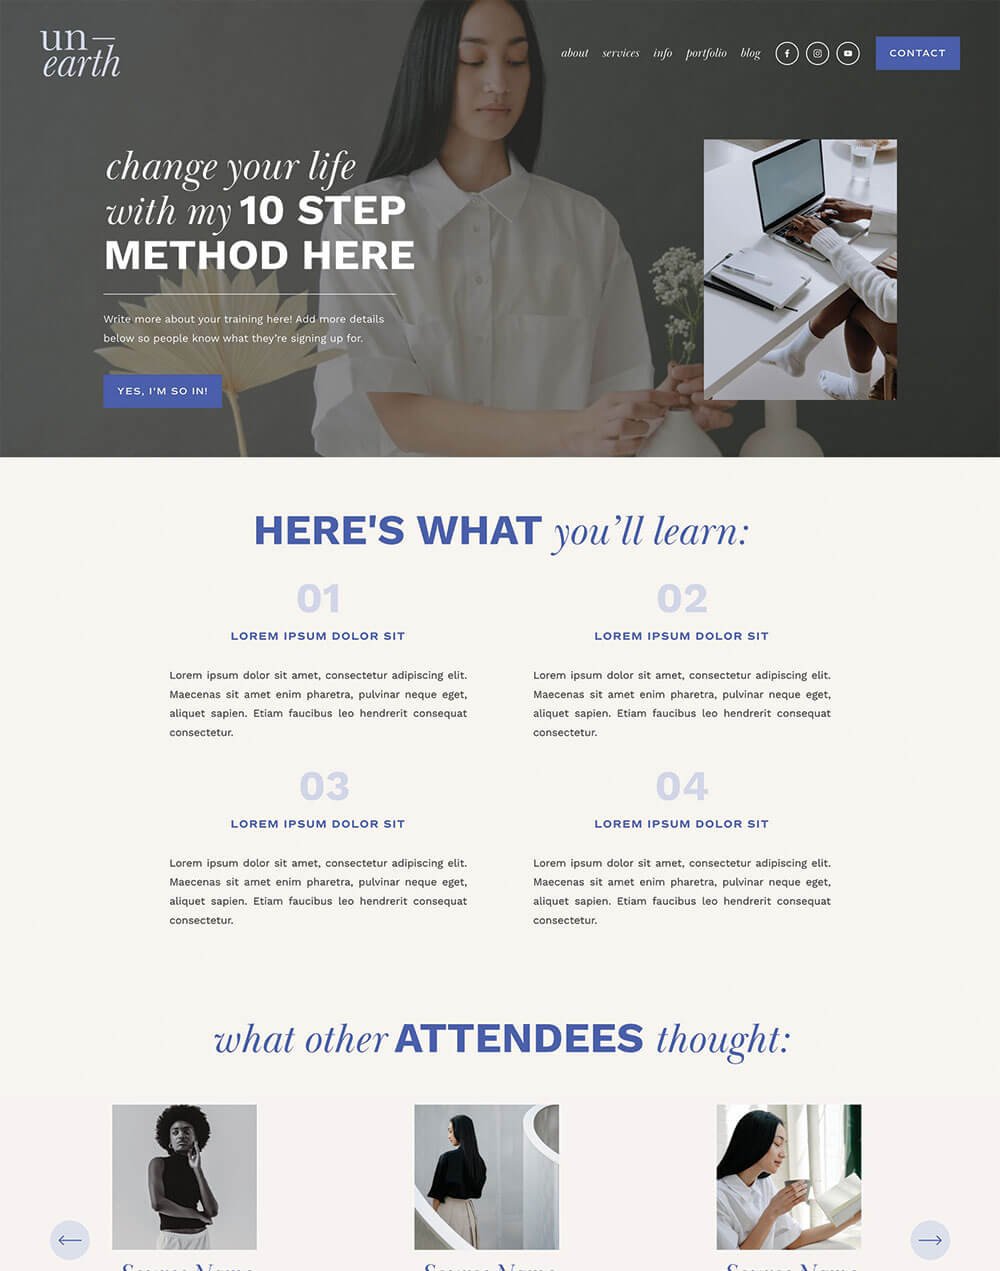
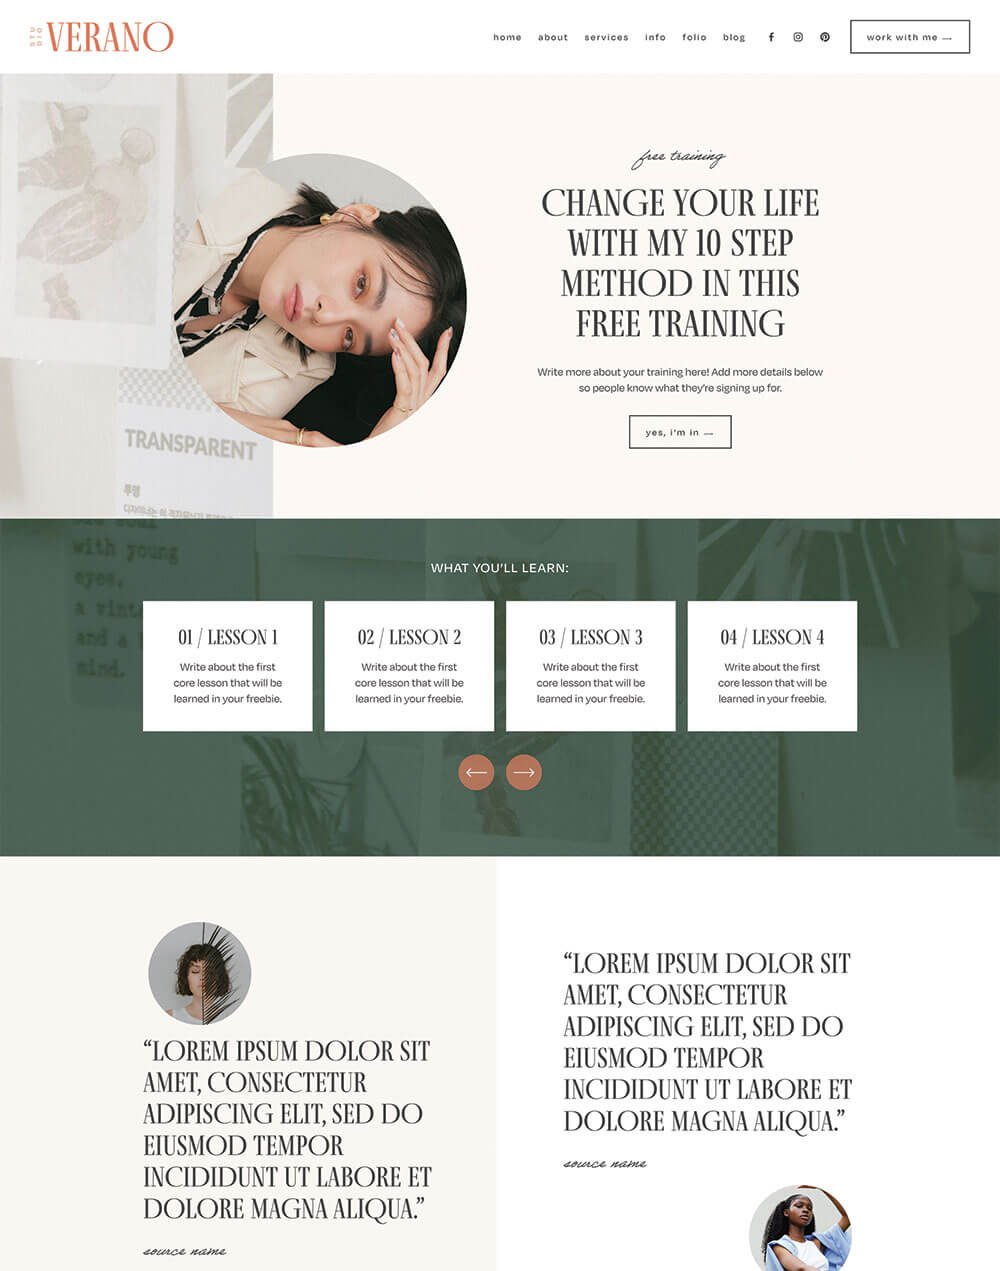
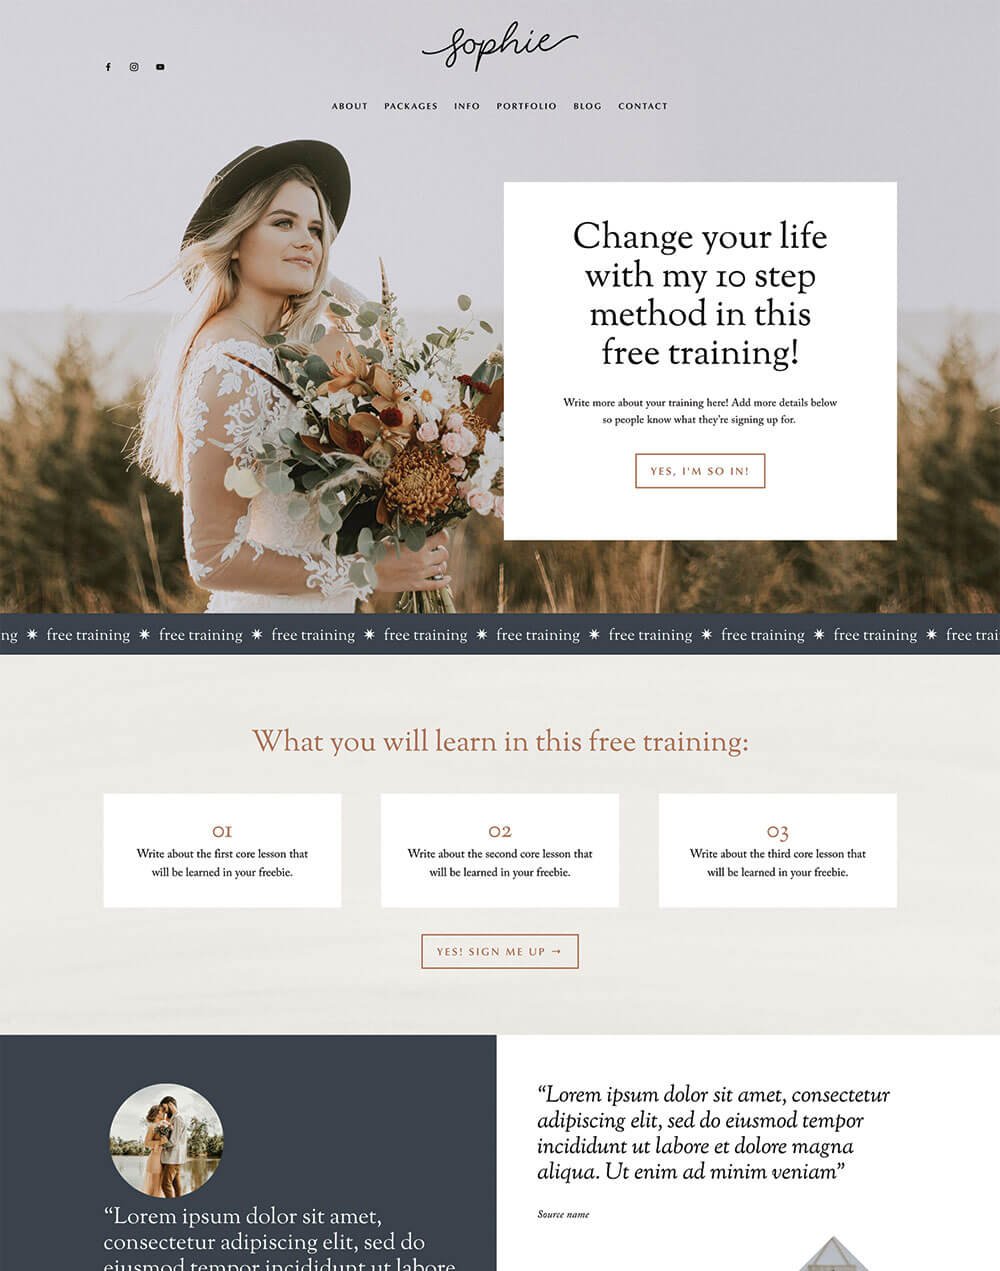
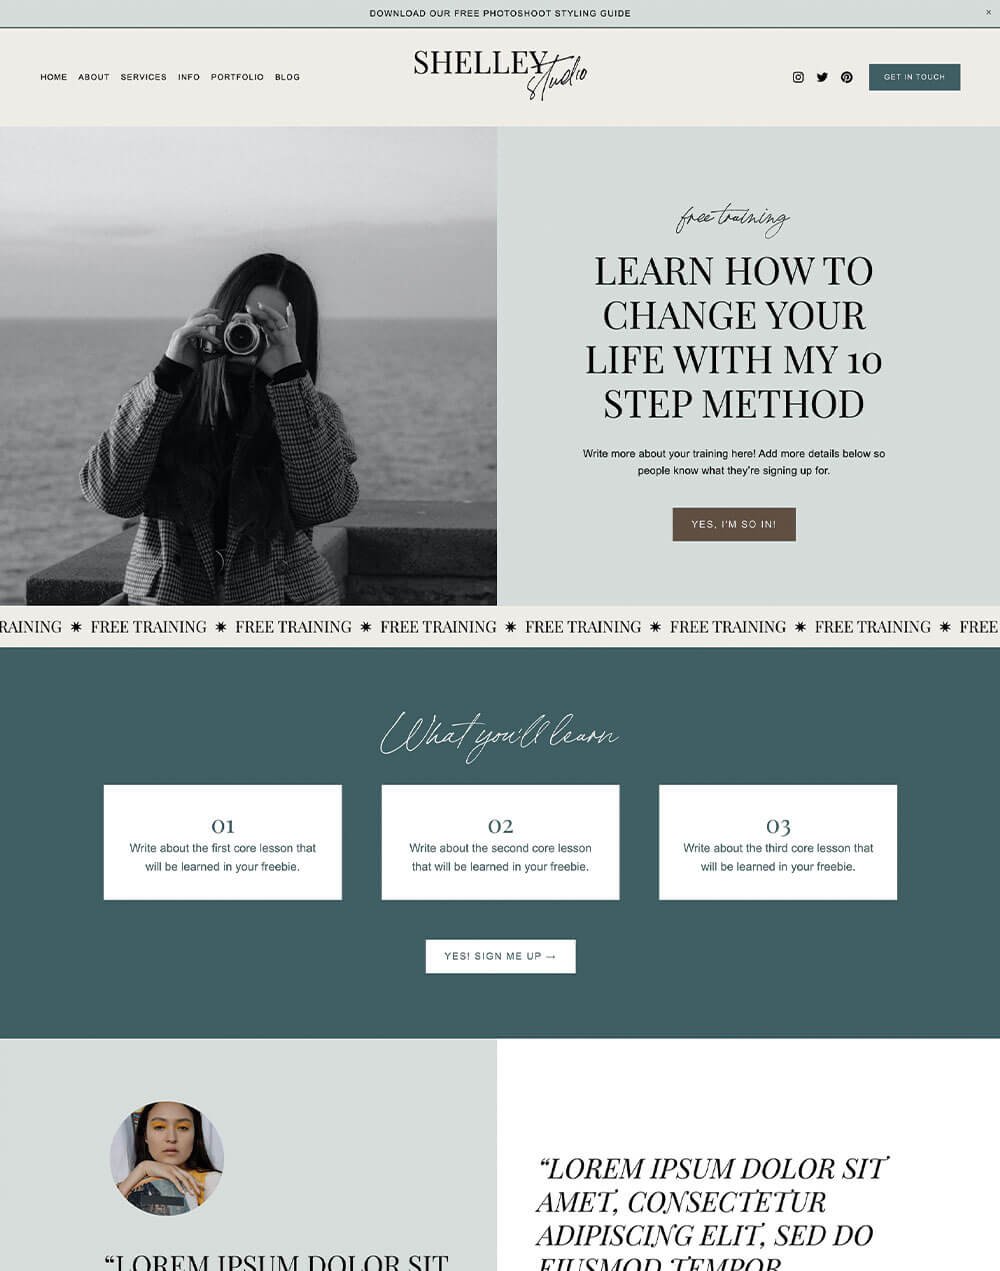
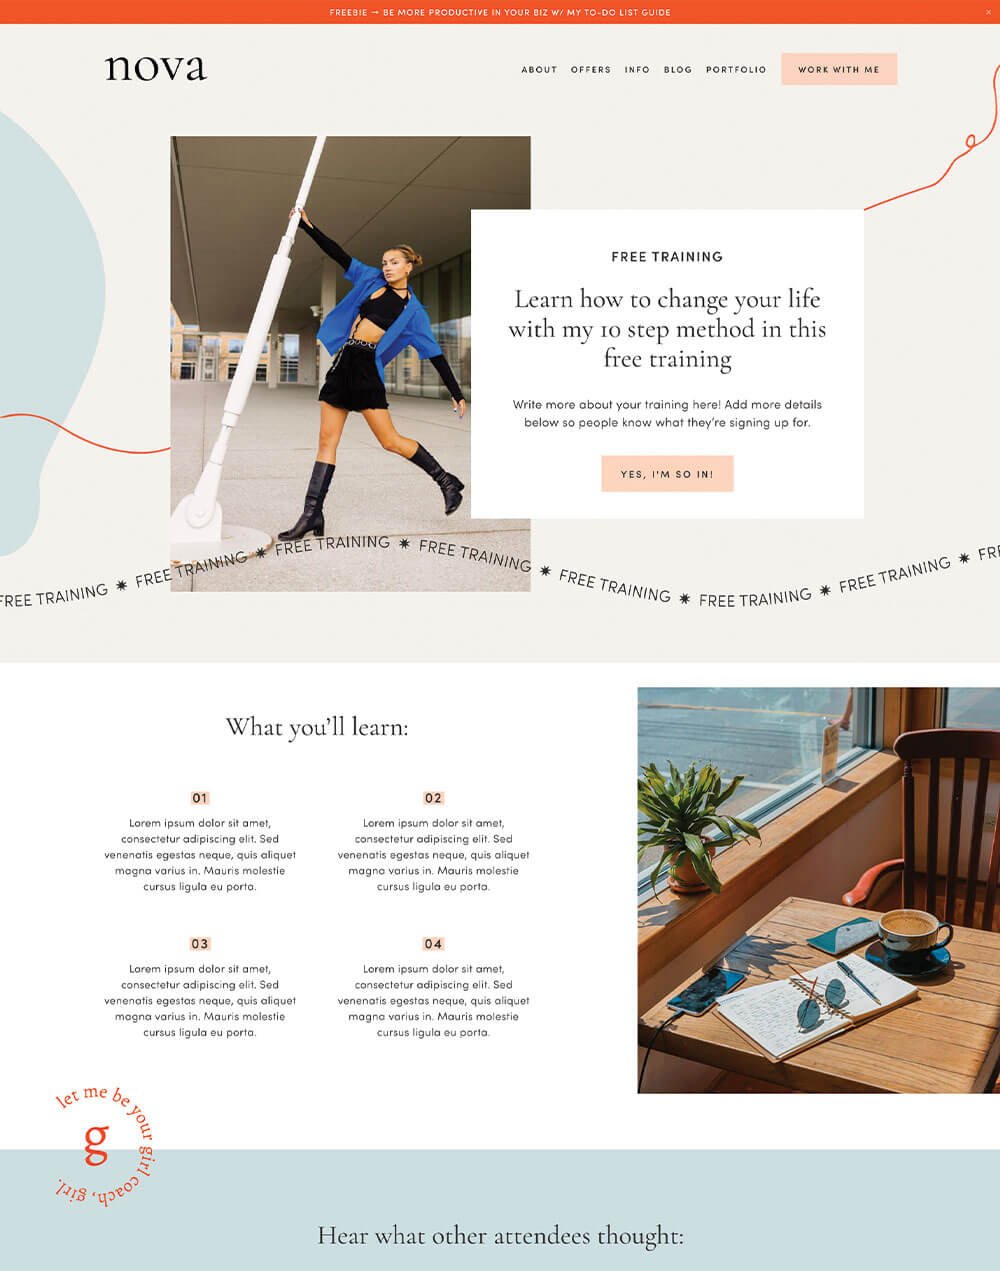
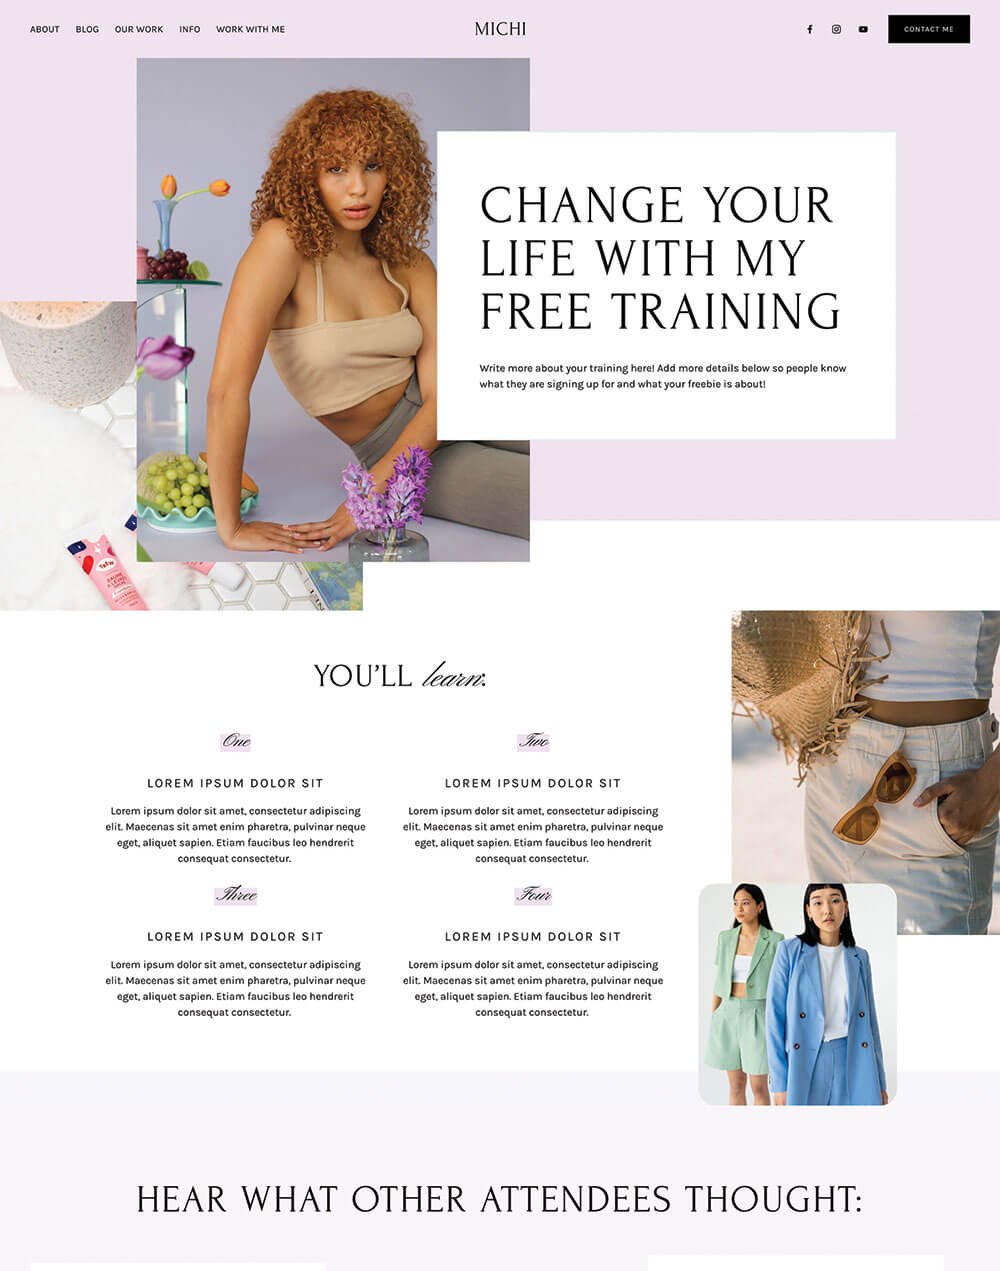
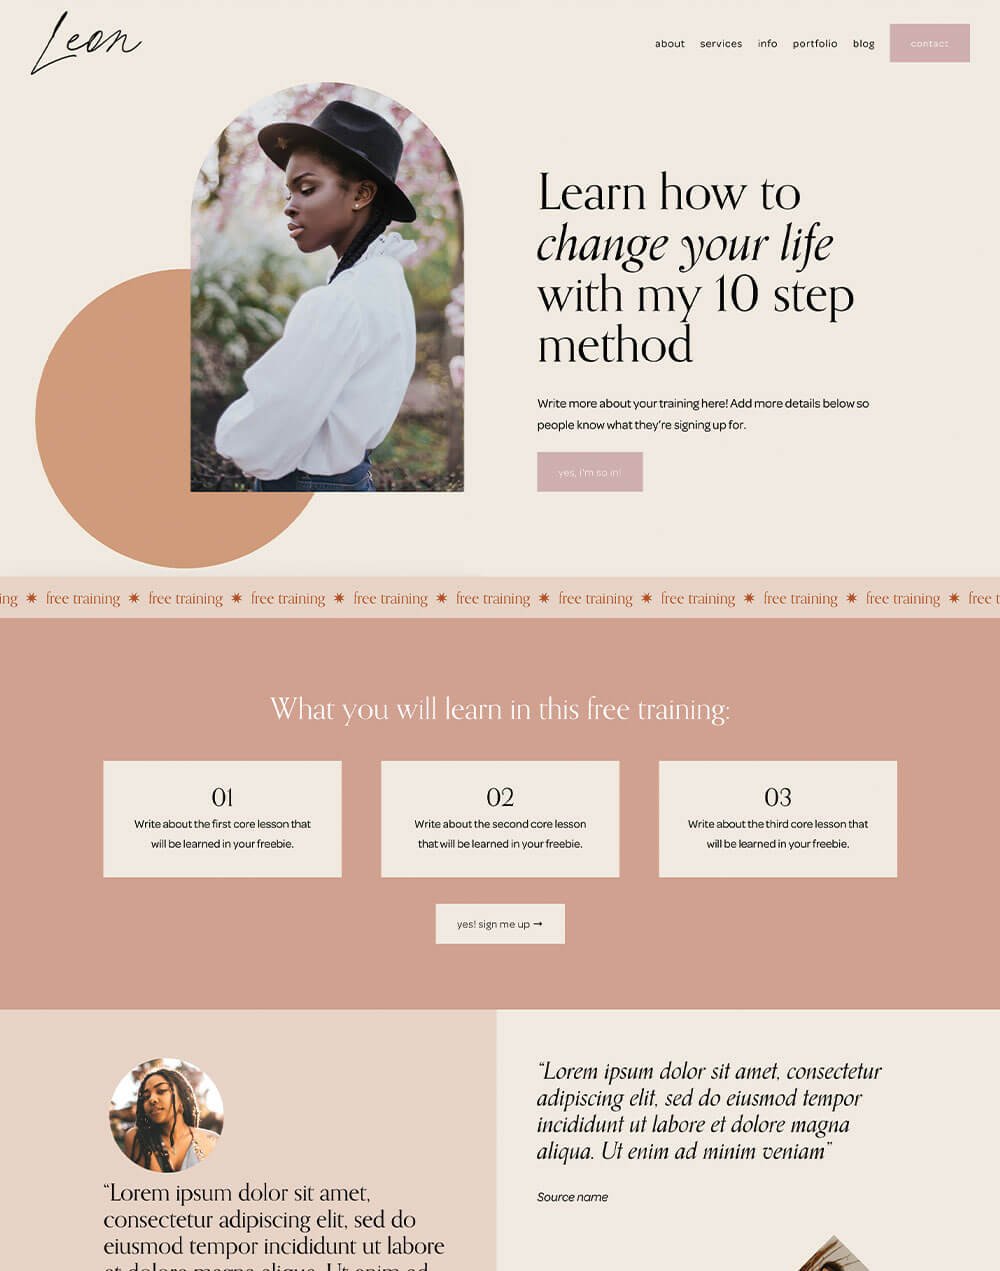
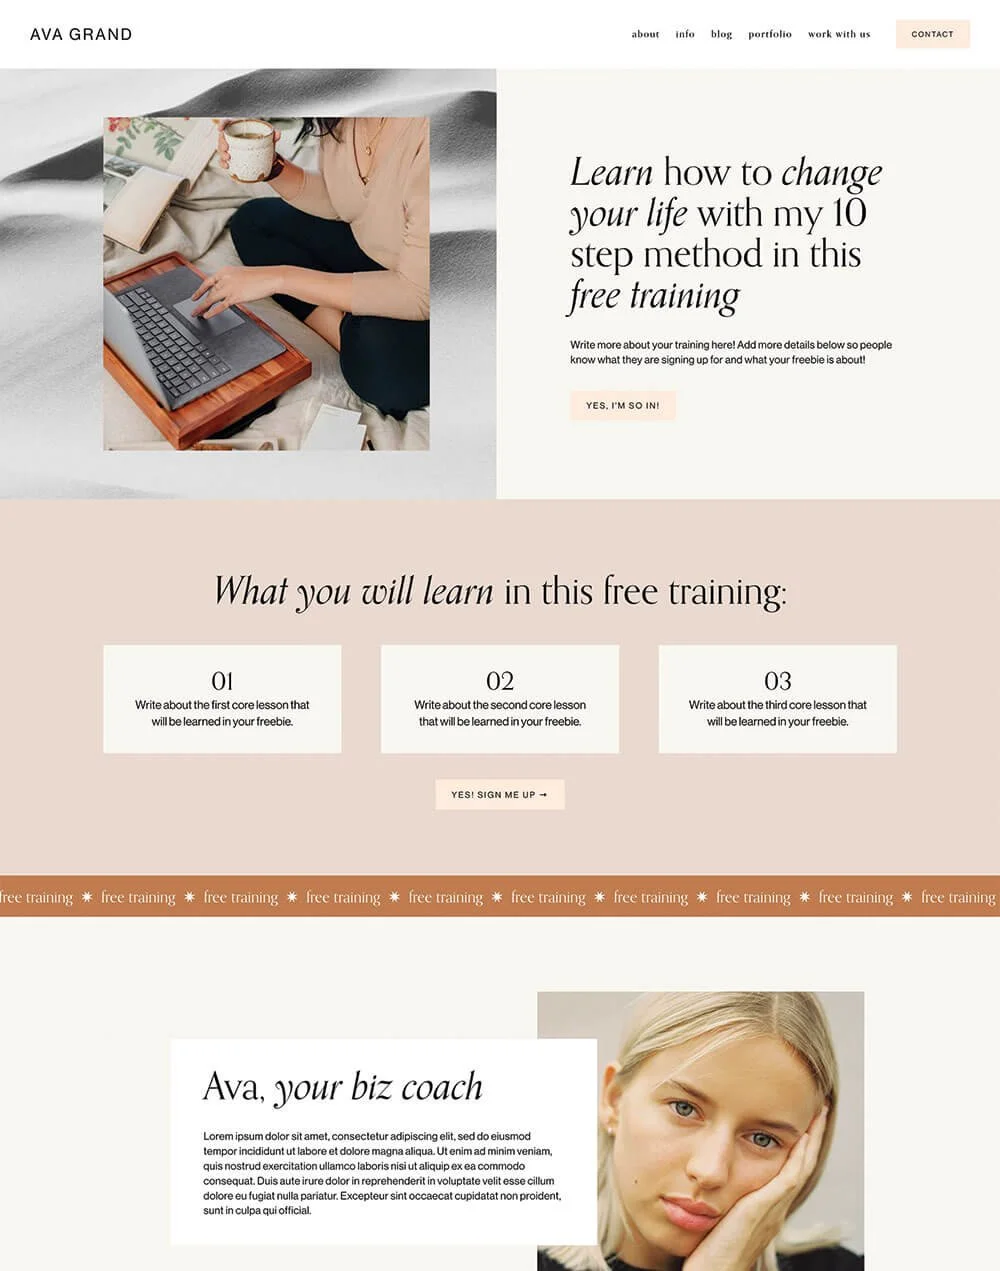
An example of our DIY Your Dream Site free training freebie page
Redirect is a great option if you want to give people a more designed, on-brand experience after signing up, share extra info, or guide them toward another offer.
Simply click Attach Link and type in the URL that you want your subscribers to land on.
And there you have it, a super simple way to start growing your email list and delivering your freebies instantly, even if you’re not using an email marketing platform yet.
With this setup, you can start building your audience today, keep all your sign-ups organised in one place, and give people a smooth, on-brand experience from the moment they subscribe!
Good luck growing that email list!
Want more Squarespace tips? Check out more posts below 👇
How to Upload a Custom Font to Squarespace (7.0 & 7.1)
The Best Linktree Alternative: How to Create a Custom Link in Bio Page on Squarespace
How to Link to a Specific Section on Your Squarespace Page (with Anchor Links)
How to Customize Squarespace Forms (and Say Goodbye to Boring Contact Forms)
How to use Squarespace's new Pinned Blocks
Did you enjoy this post? Pin it to Pinterest!

Josie is a bold and inviting freebie page designed to present your lead magnet in a fun, polished way. Its playful layout helps turn visitors into subscribers while keeping your brand feeling memorable and professional.
View Full Demo