

How to Upload a Custom Font to Squarespace (7.0 & 7.1)
Let’s be real, Squarespace has a huge selection of beautiful and free fonts available for you to use on your website, and we love them for that! But, do they have the stunning font that you purchased from Creative Market and used throughout all of your branding and social media graphics?
Chances are the answer is nope!
So that leaves you with three options:
1. Don’t use your brand font on your website - just go with something similar. (How important is brand consistency anyway? 😬)
2. Create graphics in your brand font and then upload those as an image every time you want to use the font on your website (shouldn’t be too annoying to update later on, right? 😅).
3. Upload your brand font directly to your Squarespace site so that you can use it easily and wherever/whenever you like.
Hopefully you see the clear winner here! And, thankfully, Squarespace has officially made it easier than ever to accomplish this. So, let’s get into exactly how you can upload your custom font directly to your Squarespace website, what you can customize with it, and where you can find gorgeous font options for your brand.
A couple of disclaimers before we start:
You need to make sure that you have the correct licensing on your font so that you are legally able to use it on your website! If you can’t find the details, it’s usually always best to email the font platform or font creator and ask. Better to be safe than sorry (aka, fined!).
There are options in this tutorial for both Squarespace 7.1 and 7.0 so be sure to check which version you’re using before moving forward!
Okay, now let’s dive in!

Step One: Download your Font Files
To kick things off, you'll first need to download your custom font from wherever you bought it from!
Typically, font marketplaces and foundries will make things super easy by sending you a download link once you've purchased the font. Even better, your font will (most likely) automatically come in a .TTF and/or .OTF format which means you’re all good to go.
Squarespace accepts the following font file types:
.OTF
.TTF
.WOFF
.WOFF2
Alternatively, if you have a choice of which file to download, make sure to choose one of the above types so that you know it’ll be supported by Squarespace. And if you aren't seeing any of these file types as an option, just reach out to the font platform to make sure you're getting everything you need.
Once you have your font downloaded and saved in a safe place, move onto step 2!
Step Two: Upload your Font
Getting your custom font uploaded is as simple as drag and drop, but the steps are slightly different for 7.0 and 7.1 so just follow the directions for your version below.
Uploading to Version 7.1
Start with navigating to your Site Styles by clicking on the Paintbrush icon in the top right corner of your screen.

Next, click on the arrow next to the Fonts tab to access all of your font settings.

From here, you can click into any of the specific font format tabs to upload your custom font (ex: Headings, Paragraphs, Buttons, etc). For the sake of this tutorial, we’ll take a look in the Headings tab.
In the formatting panel, under “Font”, click the dropdown menu where your currently activated font choice is displayed.

You’ll then click on the Upload icon that appears in the top right corner of the pop-up window.

In the Uploaded Fonts panel that appears, you can directly drag and drop your font file or click the “+” icon to choose a file from your computer.

And that’s it! Once uploading is complete, click the back arrow and your custom font will appear alongside all of Squarespace’s built-in fonts under Uploaded. In this example, we’ve uploaded the font “Botanica”.

You can then repeat this process and upload as many custom fonts as you’d like!
To delete a font that you’ve uploaded, from the main font list, click Manage and then click the “x” icon next to the name of the font you want to delete.


Uploading to Version 7.0
Start with navigating to your Site Styles by clicking Design > Site Styles.
Once in your Site Styles panel, locate any font tweak that you’d like to customize and click on the dropdown menu where it says “Font”.
Remember that, in version 7.0, only the elements in use on the page you’re currently viewing will show up in the Site Styles panel, so make sure that you navigate to each page individually to view all font tweaks throughout your site.

Next, click the dropdown menu where your currently activated font choice is displayed.

You’ll then click on the Upload icon that appears in the top right corner of the pop-up window.

In the Uploaded Fonts panel that appears, you can directly drag and drop your font file or click the “+” icon to choose a file from your computer.

And that’s it! Once uploading is complete, click the back arrow and your custom font will appear alongside all of Squarespace’s built-in fonts under Uploaded.
You can then repeat this process and upload as many custom fonts as you’d like!
Step Three: Using your Custom Font
Once your font is uploaded, you’ll be able to choose it when making font customizations just like you would any other font in Squarespace, no additional code needed 🙌 All you need to do is access a font type or specific font tweak and choose your custom font from the list of uploaded fonts!
Once you’ve chosen your custom font, you’ll also be able to adjust any of the built-in font styling options like line height, letter spacing, and font size. Everything can be done directly within the Squarespace editor making tweaks quick and convenient.

Note for 7.1 Users: For Headings and Paragraphs you, unfortunately, cannot choose different fonts for different styles (ex: H1 vs H2 or P1 vs P2). If you did want to customize the fonts for these individually, you’ll have to use a tiny bit of (very simple) coding! We have the instructions for doing that below, so scroll down to view those if you’re interested.
Customizing using 'Assign Styles' in Version 7.1
In version 7.1, you can customize individual text elements around your website by utilizing the Assign Styles tab which you can access by navigating to Site Styles > Fonts > Assign Styles.

Once in the Assign Styles panel, locate a specific element you’d like to edit (for example, your Site Navigation) and click on it to access further styling options. Then, under Style, make sure that the “Custom” option is selected. If it’s not, you can choose it from the dropdown menu.

From there, you can click on the Font dropdown menu and choose your custom font from the list of uploaded fonts!

That specific element will then adopt your custom font without it affecting any other element throughout your website which is great for creating detailed customizations and adding further creativity around your website.
Customizing Different Headings and Paragraphs in Squarespace Version 7.1
Like we briefly mentioned earlier, for those using Squarespace 7.1, you’ll still need to implement a little bit of code if you want to get even more custom with your font tweaks!
Unfortunately, the new Squarespace update doesn’t include individual tweaks for all 4 Headings and all 3 Paragraph styles. So, for example, if you wanted your Heading 1 and Heading 2 to be different fonts, the only way to accomplish that is by adding a short line of code. But don’t worry! It’s really just a matter of copy and paste and we’ll walk you through step by step.
1. Upload your Custom Font to the Miscellaneous Font Section
To make things super simple, you'll want to first upload your custom font to the Miscellaneous Font section in your Font Site Styles!
To do this, click on the Paintbrush icon in the top right corner of your screen and then navigate to Site Styles > Fonts > Miscellaneous.

You can then click on the font dropdown menu and either follow the steps (from above) to upload a new custom font OR choose from one of your already uploaded fonts.


Doing this will assign your custom font to all text throughout your website using the Miscellaneous style.
But don't forget that you can always hop into the Assign Styles tab and individually edit the font for any element listed. So, if changing your Miscellaneous font messes with other tweaks you've made, you can fix those manually via Assign Styles!
2. Assign your Font to a Specific Style Using the Root Code
Next up, you'll have to actually assign your custom font to a specific style, which you can do by using the Root Code for all Miscellaneous text in Squarespace!
Navigate to the Custom CSS Panel by clicking the " / " key on your keyboard and typing in "Custom CSS". This will take you directly to your Custom CSS Window.

Next, you'll want to copy and paste the following code into the Custom CSS Window. This piece of code is using the "h1" selector, so will only affect Heading 1:
h1 {
font-family: var(--meta-font-font-family) !important;
}
"Meta" is the indicator for Miscellaneous, so pasting the above code into the Custom CSS Window will change only your H1 (Heading 1) text to whatever font is set as Miscellaneous in your Site Styles.
You can use the same exact code to change the font for your other headings and/or paragraph text. Just replace “h1” with a different Selector! See below for the full list of basic text Selectors for Squarespace 7.1:
h1 = Heading 1
h2 = Heading 2
h3 = Heading 3
h4 = Heading 4 (only available in Squarespace 7.1)
p = All Paragraph Text
p.sqsrte-large = Paragraph 1 / Large Paragraph (only available in Squarespace 7.1)
p.sqsrte.small = Paragraph 3 / Small Paragraph (only available in Squarespace 7.1)
It is important to note, that when you add this code, the text will officially take on the style properties for whichever Selector you've used. For example, using the h1 selector will cause the text to take on the size, letter spacing, and other properties that are currently set for your Heading 1 text in the Site Styles.
If you wanted to to tweak individual parts of the text style separately, you could try adding these unique settings to your code:
h1 {
  font-weight: 700;
  font-size: 16px;
  font-style: italic;
  text-transform: lowercase;
  letter-spacing: 0.5em;
  line-height: 1.5em;
}
You can then experiment with these values and adjust, add, or remove certain lines depending on what you might want.
And that’s all there is to it!
Creating New Selectors with Code Blocks
Now, there might be a situation where you don’t want your custom font to replace one of your existing Heading fonts (ex: if you want to upload an extra accent font to compliment the fonts you’re already using from Squarespace).
Maybe You want to use your custom font throughout your site, but also don’t want to lose access to your existing Headings.
The easiest thing to do in this case is to create your own selector!
You can replace the h1 selector from above with “h5” or something else unique that isn’t used anywhere else around your site. Eg:
h5 {
font-family: var(--meta-font-font-family) !important;
}
Squarespace doesn’t automatically have a Heading 5 option built-in, so h5 can be a good choice. This means that you’re actually creating a whole new Heading.
The biggest difference with this method is that you have to type your text within a Code Block as opposed to a regular Text Block, since you won’t find a Heading 5 option there.
First, add your custom font code to the Custom CSS Window (see above).
Then, on your page while editing, you can add a Code Block wherever you want to use your new font! Just click to add a regular block and choose “Code”.

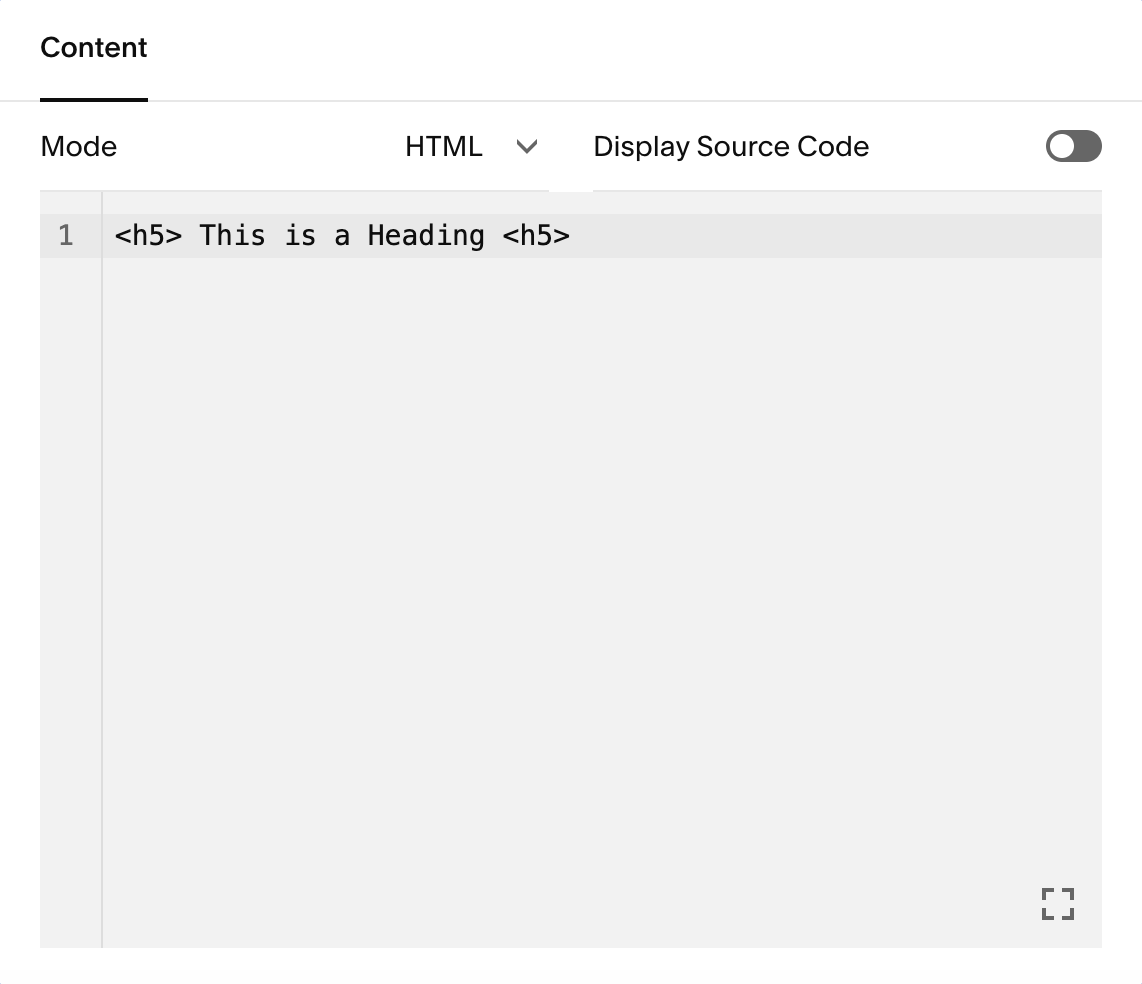
Within the Code Block field, type in your text and add <h5> tags (or whatever selector you have decided to use) around whatever it is that you add. For example:
<h5> Place your text right here <h5>
Now you’ll see the new font on your page.
Another thing to note is that if you’re using this method and want to change the font settings (size, line height, etc.), you won’t be able to change them in your Site Styles as these new selectors you’re creating aren’t going to show up as an option within Squarespace.
The good thing, is that you can still change them within the Custom CSS Window by adding these unique settings to your code:
h5 {
  font-family: 'font-name';
  font-weight: 700;
  font-size: 16px;
  font-style: italic;
  text-transform: lowercase;
  letter-spacing: 0.5em;
  line-height: 1.5em;
}
Paste this code into your Custom CSS Window and play around with the different settings until you find something you’re happy with! You can adjust or remove different lines depending on if you want them or not.
Where to Find Custom Fonts
Okay, so now that you know exactly how to get your font added to your Squarespace website (and how to implement it using some code), let’s talk about where you can go to find the best custom fonts!
Here are our favorite places to find both free and paid fonts that will elevate your brand and leave a lasting impression on your website visitors.
Creative Market
Creative Market is a design marketplace with one of the biggest premium font offerings around. You can browse all different kinds of font styles and aesthetics (seriously, they have everything) and find options of all price ranges.
And the best thing about Creative Market is that you’ll be able to clearly see if a font is licensed for web use before purchasing it! And if it’s not, they offer all different types of licensing options for you to add-on to your purchase so that you’ll be covered no matter what.
Adobe Fonts
Next up is Adobe Fonts which is sort of in between free and paid. You don’t need to pay per font, however you can only access Adobe Fonts if you have an Adobe Creative Cloud Subscription. Once you do, you get unlimited access to their massive library of fonts!
Within the platform you can filter by font style to find exactly what you’re looking for, and you can even browse font packs which are curated packs of similar fonts. Perfect for creating a cohesive brand and website design.
Google Fonts
Google Fonts is great because they have a huge library of beautiful fonts all completely free!
It’s also super accessible and doesn’t require a ton of previous font knowledge. Once you find a font you like, simply download it to your computer and it’s yours to use as you please. It’s easy to browse the platform, you can filter by style and font type and can even type in your own piece of text to see how it looks in each font.
At the end of the day, there are so many stunning font choices out there, and we know it can be a daunting task to find the perfect one. Try taking some time to really figure out what it is you’re looking for and to browse all of your options. Trust us, spending the time now will be worth it in the long run!
Woohoo! You did it! You’ve officially added your own custom font to your Squarespace site (and if you haven’t found a font yet, you now know exactly where to look).
With Squarespace's new update, all it takes is a little drag and drop action (or a tiny bit of code) and you have yourself a custom, professional grade website. Now off you go, type away!
Make sure to check out some of our other quick code tricks for customizing your Squarespace site below! 👇
How to customize your Squarespace cookie banner design
How to animate your links on hover in Squarespace 7.0 & 7.1
How to create a sticky header nav in Squarespace
6 fun code snippets for your Squarespace web design
If you liked this post, Pin it to Pinterest! 👇🏻
