How to Change Your Logo Color on Different Colored Backgrounds in Squarespace
Today we're sharing a quick and super useful Squarespace trick: how to change your logo color depending on the background color of your page.
This is especially handy if you have a mix of pages with dark backgrounds, and others with light backgrounds, and want your logo to automatically switch between light and dark versions for visibility.
However you can also use this for any color logo you like. So if you want to have a pink logo on one page, a green on another, and a blue on another, you can do that too!
It only takes a tiny bit of CSS, and we have it below for you to copy + paste. Let’s get into it!
Why You’d Want to Do This
If your site has both dark and light backgrounds across different pages, your logo might not always be easy to see. For example, I’m working on a template right now (the Nyx template!), and I wanted:
A light-colored logo on the homepage because it has a darker background
A dark-colored logo on other pages with lighter backgrounds
The way Squarespace is set up means it only allows for one logo image across all pages. Meaning that if I upload my dark logo, it looks great on pages with light backgrounds... 👌

But it doesn't look too good on any pages that have a dark background... 😬

So, to fix this we can use CSS to automatically change the logo based on the page background color theme.
What You’ll Need:
At least two versions of your logo (e.g. one black, one white—or any colors that work for your brand)
You can use logos that are different sizes, but that makes the CSS a bit more complicated. For simplicity, we recommend using the same logo in different colors and sizes.
Step 1: Create & Export Your Logos
I made the Nyx logo in Canva—just some text and a shape—and exported two versions: one black, one white.
I exported them as transparent PNGs so they don't have a white background, and blend nicely over the site background.
Step 2: Upload Your Main Logo
In your Squarespace editor, upload one of your logo files. It doesn't really matter which one, but probably choose the one that would be used most.
I'm going to use the Black version as that is used more around the site.
Click EDIT on your Squarespace site
EDIT SITE HEADER

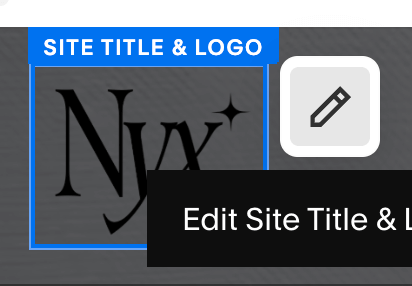
Edit Site Title & Logo
Upload your logo file here, and just the sizing to how you want it to look.

Click out of this panel the click SAVE + EXIT in the top left.
Step 3: Upload Your Alternative Logo Files to the CSS Panel
In your Squarespace sidebar go to Pages > scroll to the bottom of the panel > Custom Code > Custom CSS
Tip! If you can't find the CSS panel, press the SLASH ("/") key on your keyboard to open up a search module. Search "CSS" and click on Custom CSS.
Click Custom Files then Add Images or Fonts
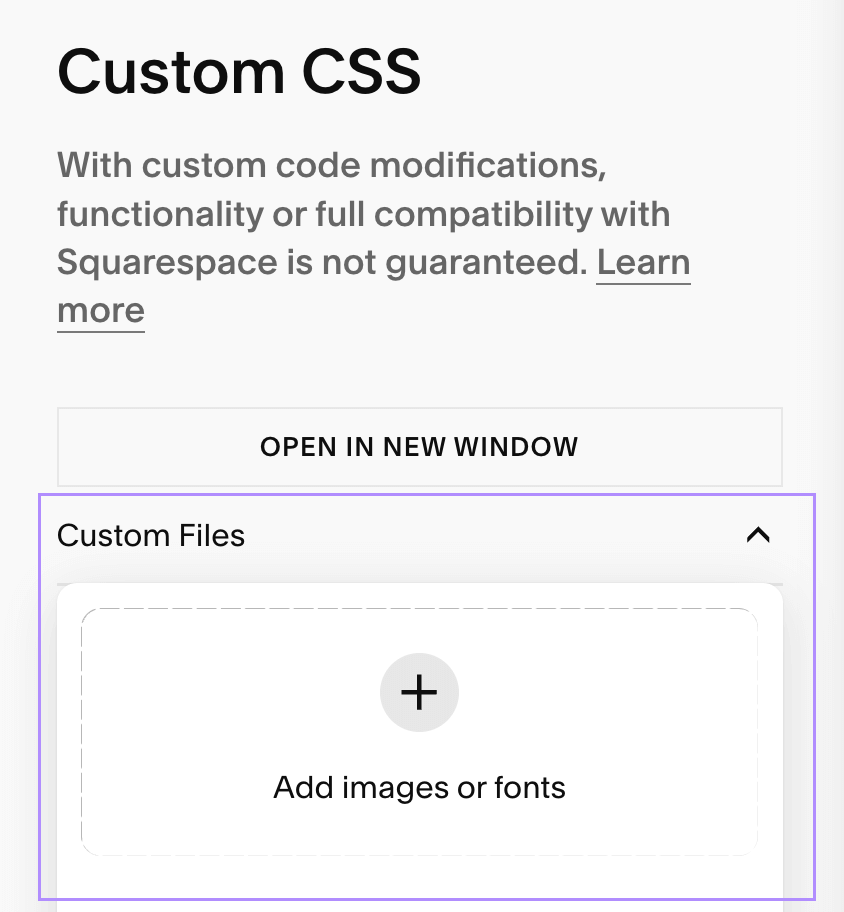
3. Upload your alternate logo (the one you want to swap in). For this example I'm uploading my white version.
Step 4: Understand Color Themes in Squarespace
Before we add the code, we need to make sure we understand Squarespace Color Themes so we can apply the code correctly.
Squarespace uses something called Color Themes to manage how different sections look.
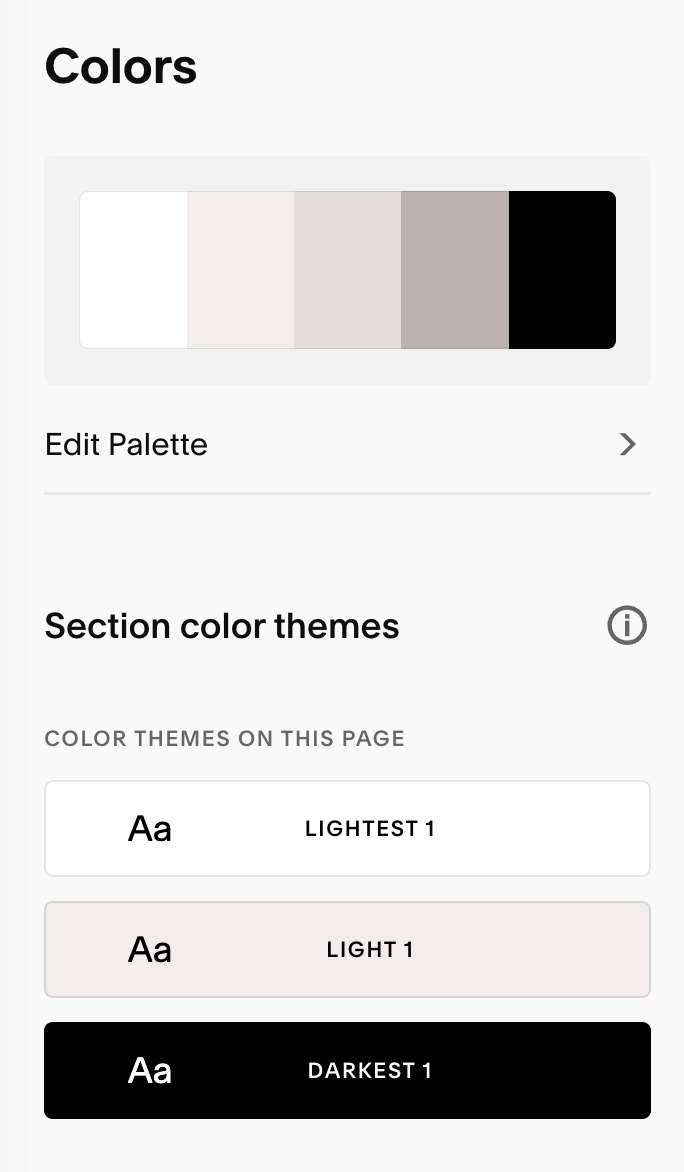
What are Color Themes?
A group a colors created by Squarespace based on your color palette. You can adjust your Color Themes in the your Site Styles in your Color settings:
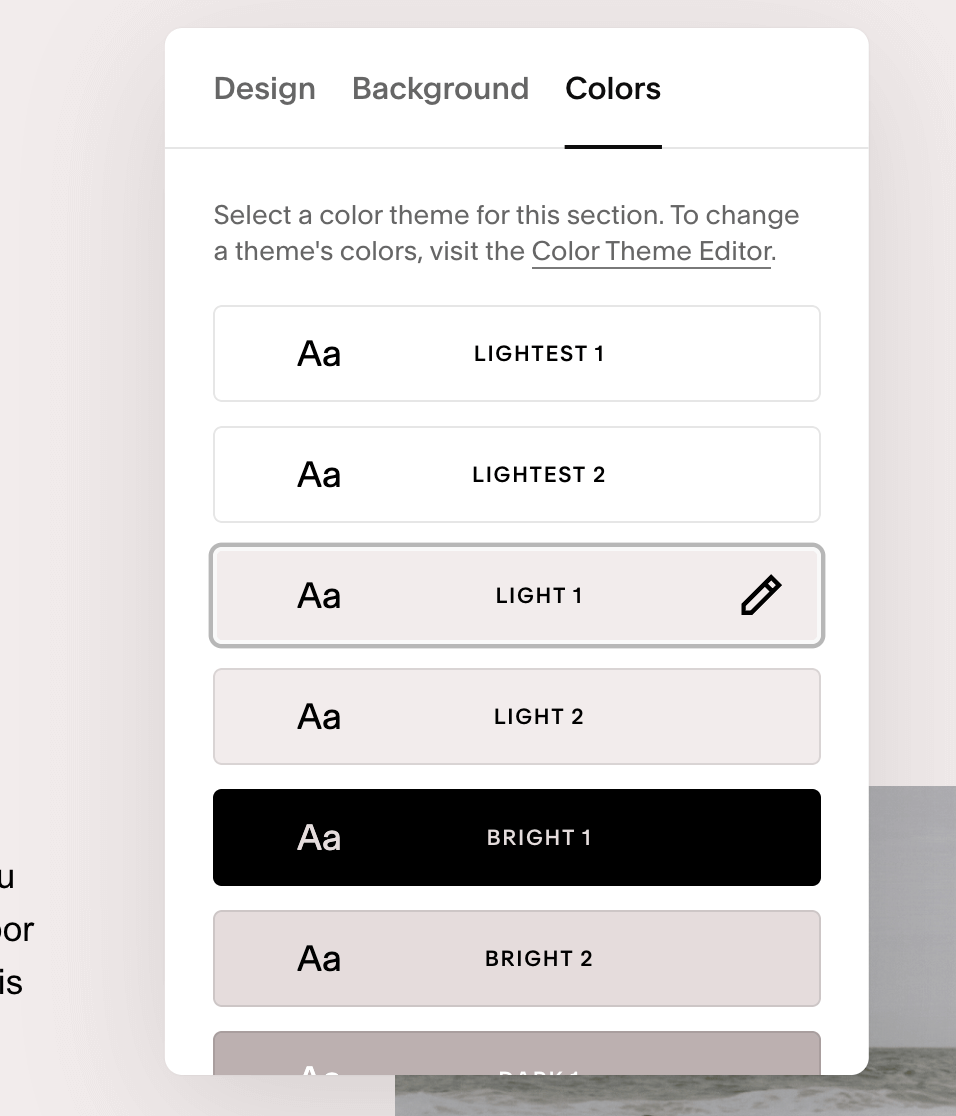
Each section on every page in Squarespace will have a color theme "set". You can set this in the Section Settings under "Edit Section > Colors".

How do Color Themes apply to your header?
In Squarespace, your header (where your logo lives) is treated like its own section—and yes, it can use a Color Theme just like the rest of your page sections.
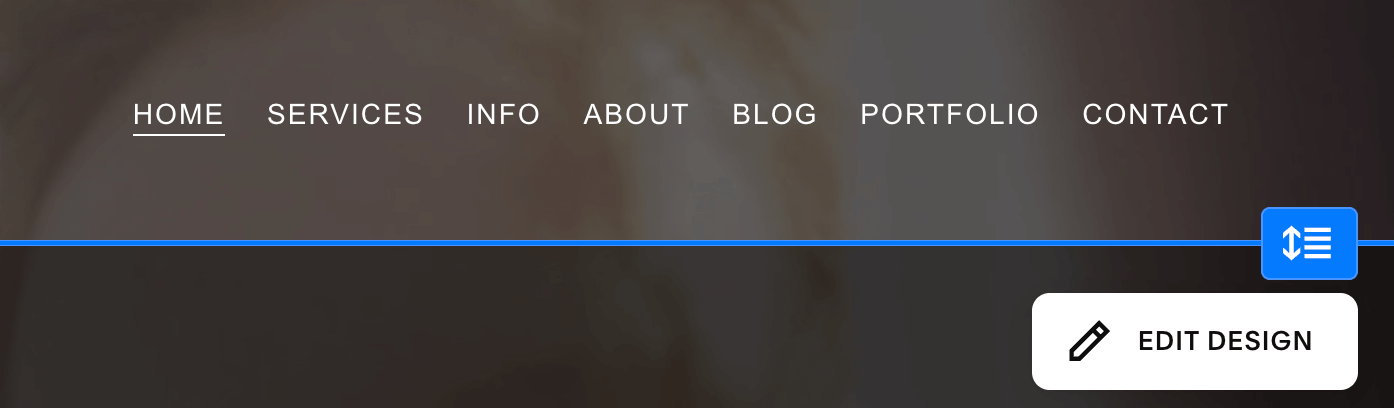
Click EDIT SITE HEADER > EDIT DESIGN > Color to view your header color settings.


You can choose from Adaptive, Gradient or Solid.
Note: These settings will apply sitewide: Not just to the page you're currently on! So if you choose Solid and select a color theme, you'll have that color on every page.
For this tutorial, we'll need to use Adaptive. This adapts the Header Color Theme to whatever Color Theme the first section on your page is set to.
Step 5: Add the CSS Code
Simply put, this code is going to target a color theme and change the logo to our file for that color theme.
So depending on the color of the logo that you uploaded, and what colors you have set in your color themes, you will need to adjust this code to suit you.
For this example, I have uploaded a white logo to my CSS, so I want to target all of the dark sections (where I want to apply the white logo).
1 - Paste this into your Custom CSS:
[data-section-theme="black"] .header-title-logo img {
  content: url("YOURURLHERE")!important;
}
It should look like this:

2 - Add in your Logo URL
Remove the text YOURURLHERE but make sure to keep the quotation marks ("")
Put your cursor inbetween the quotation marks:

Click on Custom Files above, then click on your uploaded logo file. This will add the URL to of your uploaded logo in between the quotation marks, like this

3 - Change your Color Theme Selector
The last step is to make sure you're targeting the correct Color Theme in your code. You can see in my code, I am targeting "black".
Below is a list of the different codes to use for the different color themes. As you can see, "black" targets the Darkest 1 color theme.
You can switch out "black" for whatever color theme you want to target.
Lightest 1: [data-section-theme="white"]
Lightest 2: [data-section-theme="white-bold"]
Light 1: [data-section-theme="light"]
Light 2: [data-section-theme="light-bold"]
Bright 1: [data-section-theme="bright"]
Bright 2: [data-section-theme="bright-bold"]
Dark 1: [data-section-theme="dark"]
Dark 2: [data-section-theme="dark-bold"]
Darkest 1: [data-section-theme="black"]
Darkest 2: [data-section-theme="black-bold"]
That's it! Once you have selected the correct theme, and added in your logo URL, like SAVE in the top left.
How to Target Multiple Color Themes
Want your uploaded logo to show on both “Darkest 1” and “Darkest 2” (or more?). Here’s how to do it:
[data-section-theme="black"] .header-title-logo img,
[data-section-theme="black-bold"] .header-title-logo img {
content: url("YOURURLHERE")!important;
}
Just add a comma and repeat the selector with the second color theme. You can do this for mutiple color themes.
How to Use Different Logos for Different Themes
If you want to use an entirely different logo (e.g. pink version on “Bright 1”), you’ll just need to repeat the entire code with a different logo file:
/* White logo on Darkest 1 */
[data-section-theme="black"] .header-title-logo img,
content: url("Your-white-logo-url-here")!important;
}

/* Pink logo on Bright 1 */
[data-section-theme="bright"] .header-title-logo img,
content: url("Your-pink-logo-url-here")!important;
}
That's It!
Once you’ve added your CSS and uploaded your logo files, Squarespace will handle the rest. Your logo will update automatically based on the background color theme—no more settling for a logo color that doesn’t work everywhere.
And if you’re curious, the template I showed in this tutorial is the Nyx Template—you can check it out right here. It’s one of our newest Squarespace templates and perfect for service-based businesses.
Want more Squarespace tips? Check out the posts below:
How to Upload a Custom Font to Squarespace
How to Link to a Specific Section on Your Squarespace Page (with Anchor Links)
How to Change Mobile Logo on Squarespace 7.1 (Plus Code Solution for 7.0)
How to use Squarespace's new Pinned Blocks
Where to Find the Best Plugins to Enhance your Squarespace Website
If you liked this post, Pin it to Pinterest! 👇🏻