


The scratching post
Our Squarespace & Small Biz Blog
Take a break from DIY to get inspired, learn something new, and sharpen your website skills.
Allll the tips, tricks + tutorials

How to Secure Your Squarespace Website & Why You Need to!
A simple guide to securing your Squarespace website and keeping your content, visitors, and customer info protected.
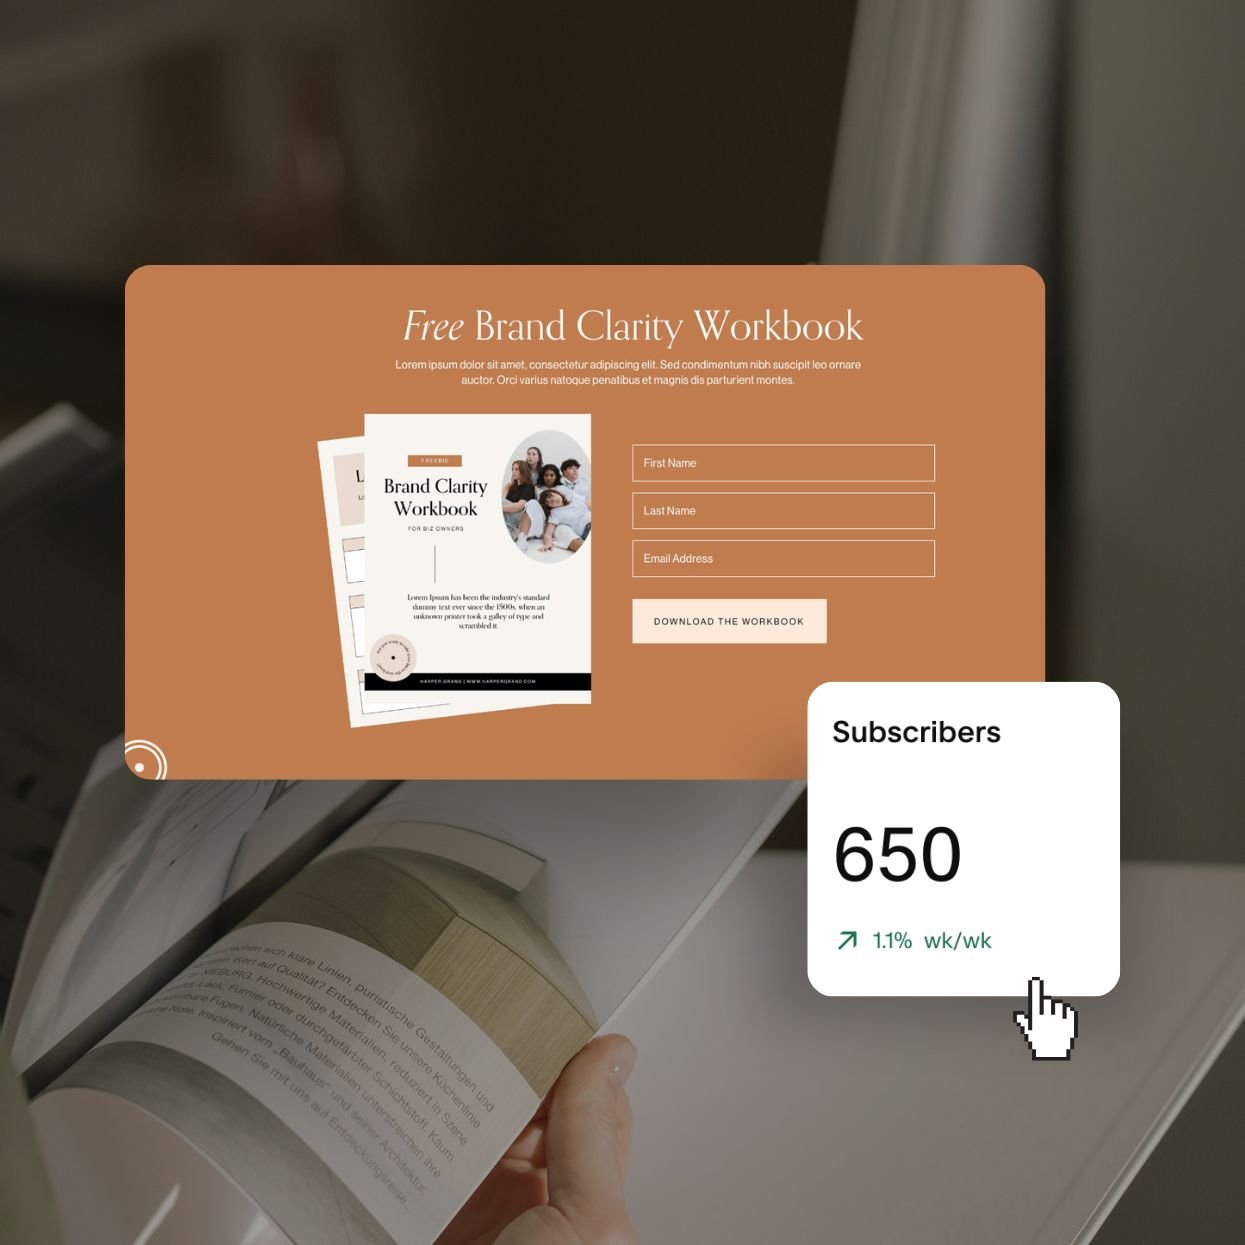
Why Every Business Needs an Email List (And How to Start One)
Wondering if you really need an email list? Learn why email marketing matters, how it compares to social media, and simple steps to start.

Where to Promote Your Offers on Your Website (So They Actually Convert)
Learn how to promote freebies and products on your website using simple, strategic Squarespace features that help boost clicks and conversions.

The Best Platforms for Selling Digital Products in 2026
Compare the best platforms for selling your digital products, from websites and storefronts to marketplaces, courses, and memberships.
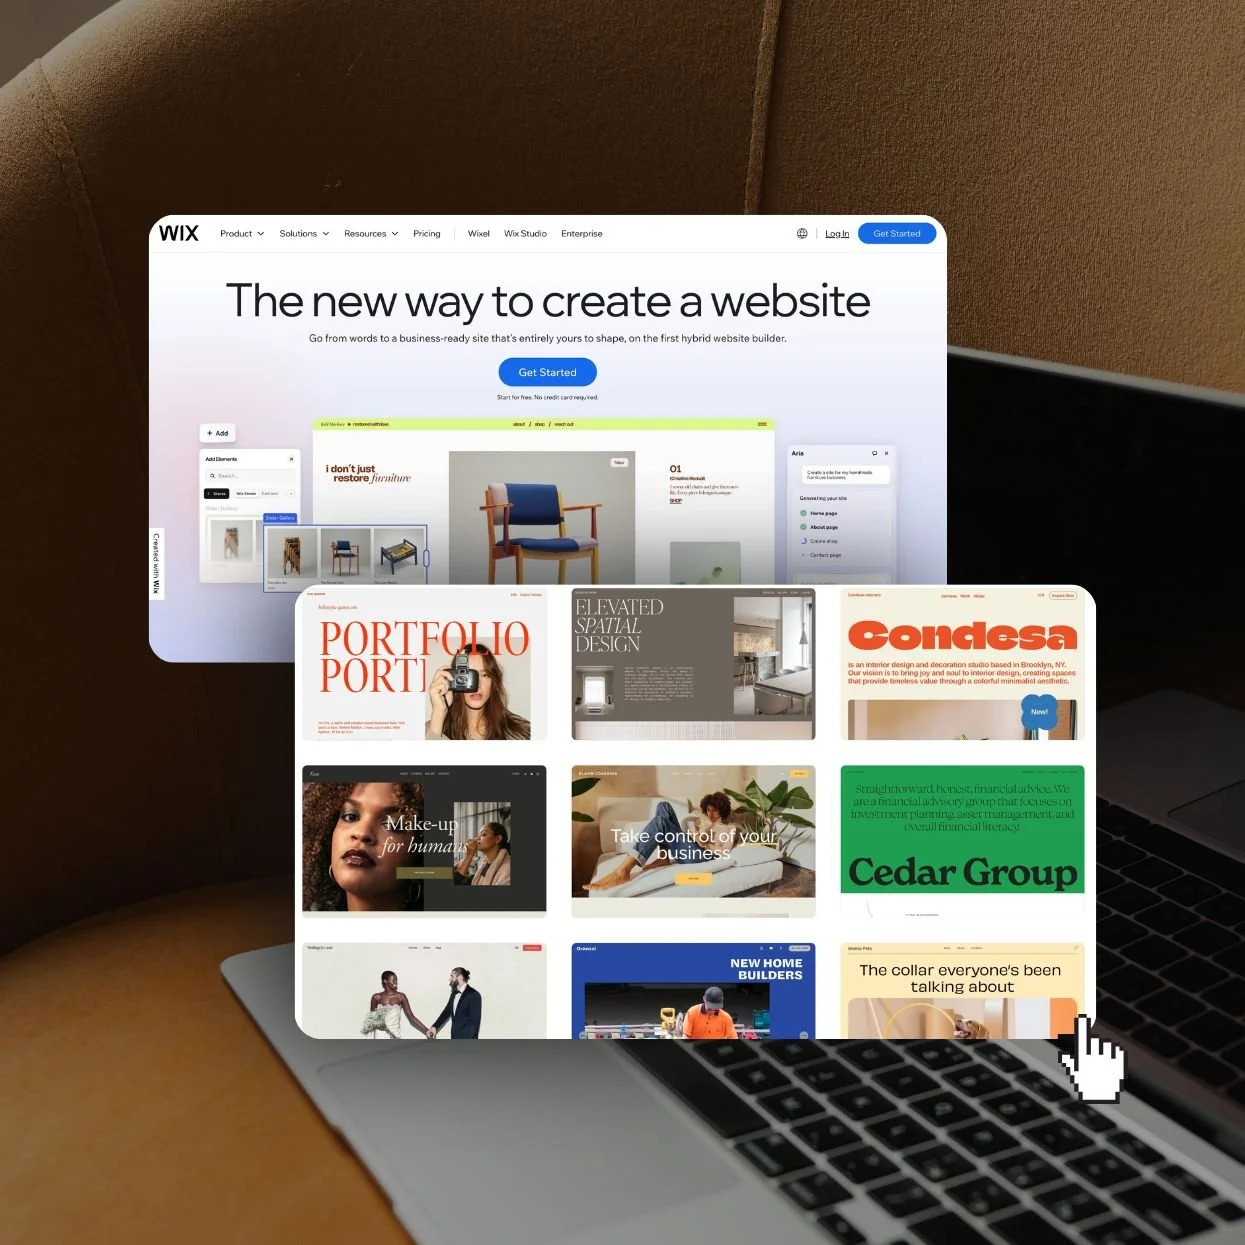
Squarespace vs Wix: Which Website Builder Is Best for Your Business?
Choosing between Squarespace and Wix? This friendly comparison breaks down design, SEO, pricing, features, and ease of use so you can pick with confidence.

Framer vs Squarespace: Which Website Builder Is Better for Designers, DIYers, and Growing Businesses?
Discover which website builder is best for design freedom, SEO, blogging, ecommerce, and built-in business tools.

How to Move Your Website from WordPress to Squarespace (Step-by-Step Guide)
Thinking about moving your website from Wordpress to Squarespace? Check out this blog post for a simple way transfer your site and switch from Wordpress to Squarespace.

How to use a Website Template if you Already Have an Existing Squarespace Website
Learn how to use a Big Cat Creative Squarespace website template with your existing site. Explore options to install, start a new site, or restyle your website.

How to add an Email Sign-up Form to your Squarespace Website
How to add an email sign-up form, opt-in, or newsletter block to your Squarespace site, so you can capture visitors emails and market to them!

How to add a Border to Shape & Image Blocks in Squarespace
Want to give your Squarespace design a little extra personality? Adding borders is one of the easiest ways to create visual contrast and polish. This tutorial covers everything from Shape Block strokes to image borders using quick CSS snippets and beginner-friendly no-code methods.

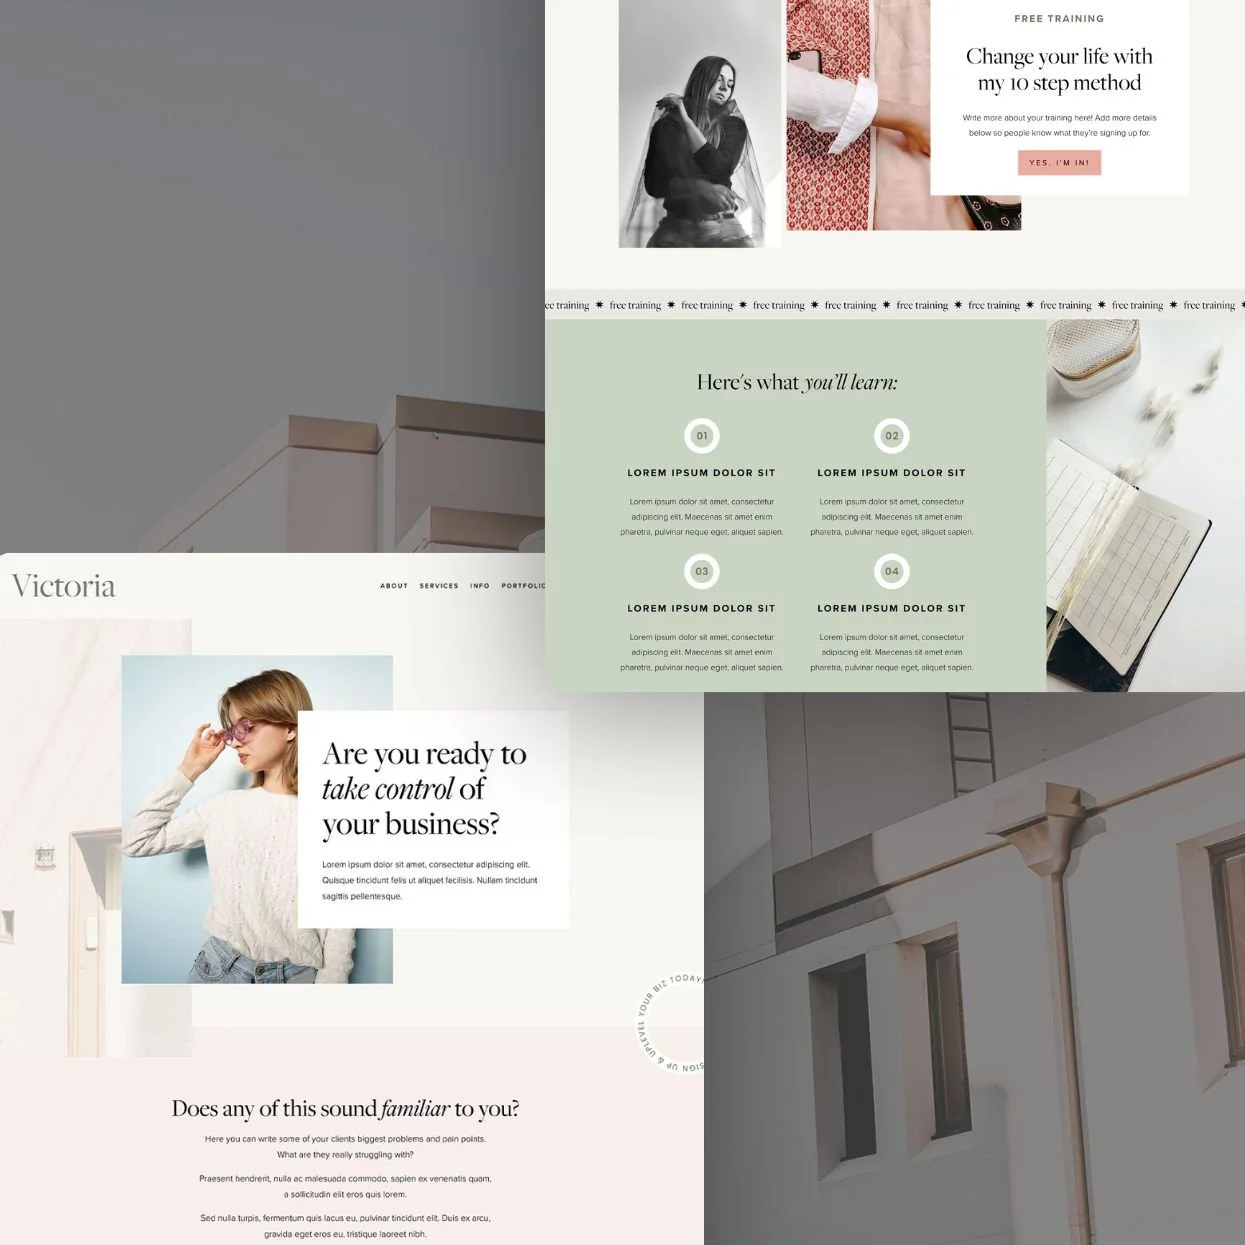
What you Need to Consider Before Investing in a Website Template
Thinking about buying a website template? Before you invest, here are the most important things to consider so you choose a template that actually works for your business.

How to Add a Blog Sidebar to Your Squarespace Site (7.1 and 7.0)
Squarespace doesn’t offer traditional sidebars on blog pages, but with a clever workaround, you can create your own. In this guide, you’ll learn how to easily add one with a plugin or a no-code method.
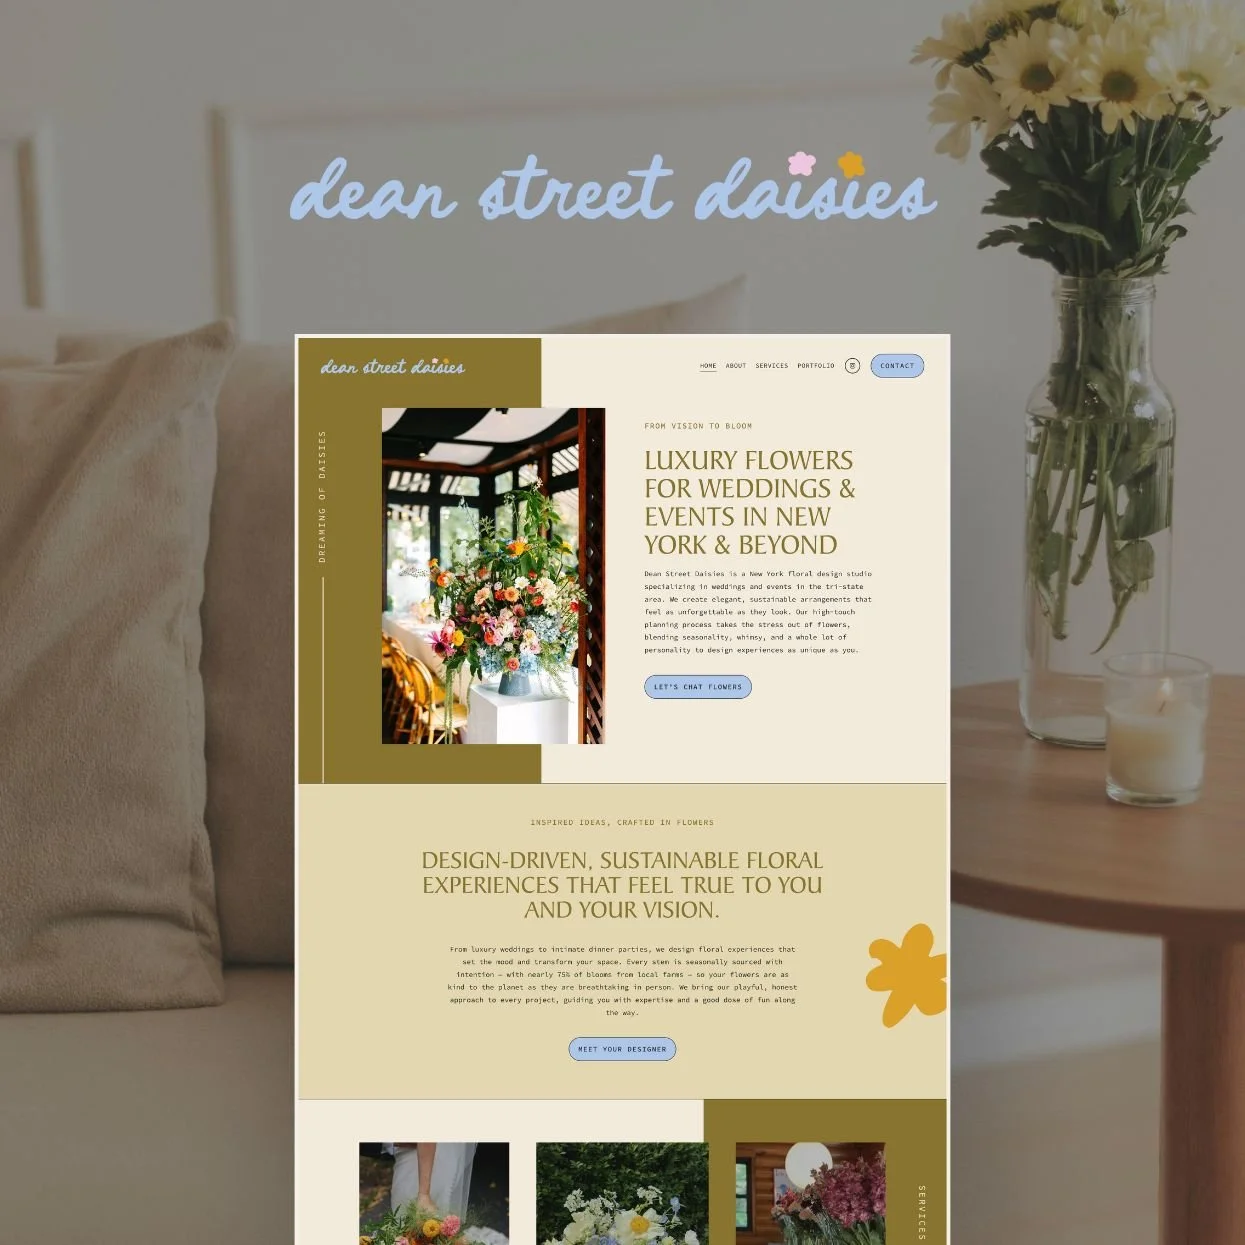
Template Full Style Showcase: Dean Street Daisies
We gave the Dean Street Daisies website a full design transformation with our Template Full Style service. See how we transformed our Unearth Squarespace Template to perfectly fit this elevated and floral brand.
Website Pages That Will Increase Your Revenue (and you Should add Today!)
Streamline your site, increase conversion rates AND your income, with these essential website pages you didn't know you needed.

How to Design and Optimize Your Homepage for Better Results
First impressions matter, that’s why your homepage is so important! If you want to leave a great first impression and turn your visitors into customers, you need to be strategic about how you design your homepage.

Flodesk vs Squarespace Email Campaigns: Which Is Best for Your Business?
Flodesk and Squarespace Email Campaigns both promise beautiful emails, smart tools, and easier growth, but they shine in very different ways. In this guide, we break down the real differences so you can confidently choose the platform that fits your workflow, your brand, and the way you want to show up in your inbox.

How to Link to Your Blog Categories on Your Squarespace Website
Using categories on your Squarespace blog is a great way to organize your posts. Learn how to link directly to these specific categories and filter all of your posts from anywhere around your Squarespace site.

Should you use Squarespace Email Campaigns? Pros, Cons, and Alternatives
Is Squarespace Email Campaigns enough to grow your biz? Find out everything you need to know and how it compares to other email marketing platforms like Mailchimp, Kit and Flodesk to make the right decision for your biz.