Want to make it super easy for people to find you on Instagram, TikTok, Pinterest, LinkedIn or wherever else you hang out online?
Adding social icons to your Squarespace website is quick, simple and doesn’t need any custom code. You can pop them into your header, footer or anywhere else on your site to help everything feel a little more connected.
They’re a small detail, but a super handy one. Social icons give your visitors an easy next step, help build trust by showing them you are in fact a real business, and make it simpler for people to keep up with you after they leave your website.
In this tutorial, we’ll show you how to add and customize social icons in your Squarespace site’s main navigation.
Let’s dive in!
Adding Social Icons to Your Header Navigation in Squarespace 7.1

Example of social links in the header navigation of our Shelley Squarespace Template
It’s super easy to add your social icons to your header navigation in Squarespace 7.1 since it’s a built-in feature!
Click EDIT on your page
Hover over your header navigation and click the EDIT SITE HEADER button

Next, click the + ADD ELEMENTS button on the left
In the pop up, toggle ON Social Links
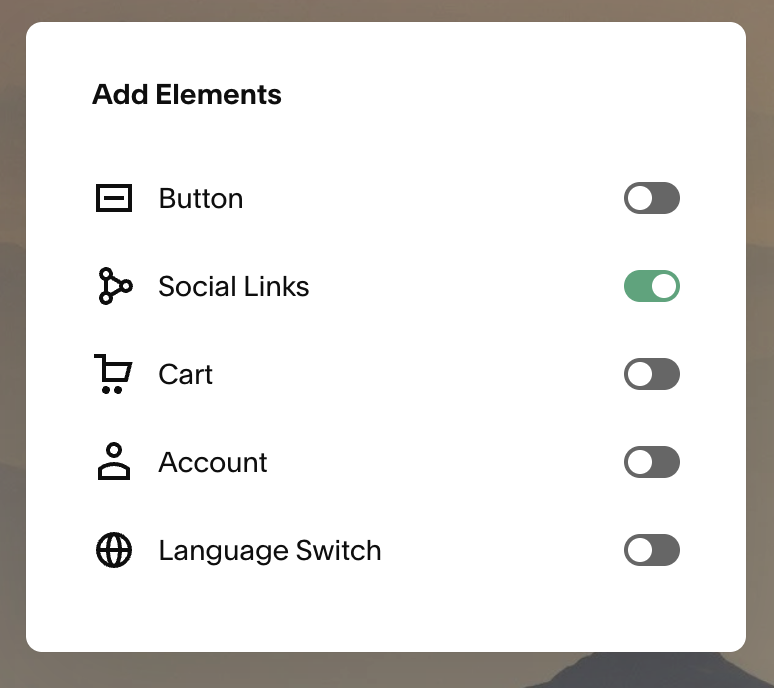
Click outside the panel to close it, then double click on the social links that just appeared in your header navigation to customize them!
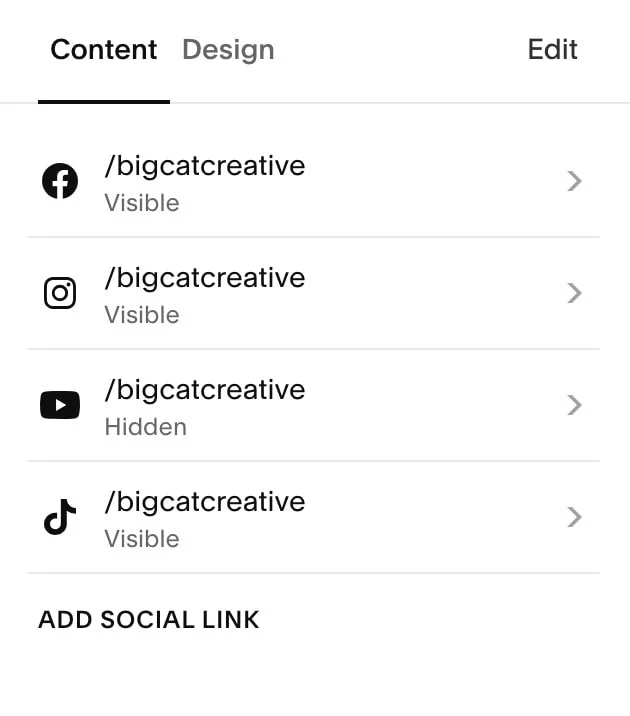
You can delete the demo links and add your own by clicking ADD SOCIAL LINK
Tip! Your social media account URL will be the platform URL eg. instagram.com/ followed by your username eg. www.instagram.com/yourusernamehere
Repeat the process with as many social media platforms as you have accounts for. You can also add your email address if you like so that site visitors can email you directly!
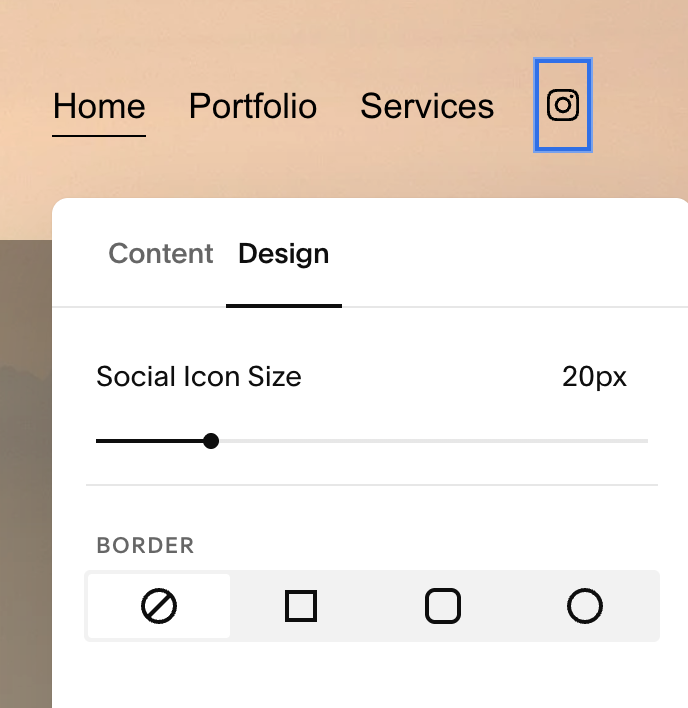
Next, head to the Design tab to customize the look of your social icons. You’ll be able to adjust the style and size of your social icons.
Adding Social Icons to Your Header Navigation in Squarespace 7.0
If you’re using Squarespace 7.0 and a template from the Brine template family, there is a section in the Site Styles where you can “enable social icons” in your main navigation—pretty cool, and really easy!
First you need to make sure your Social Links are added:
Head to Settings > Social Links and add the links you want there
Then head to Design > Site Styles > Scroll down to HEADER: LAYOUT, then click on Social Position and change it to wherever you want them to show!
But what if you’re NOT using Squarespace 7.1, or a Brine family Template on Squarespace 7.0 and you want social icons in your navigation?
Well, I’ve got the solution for you! And it’s called Font Awesome.
Font awesome is a basically a font made up of of awesome icons (social and more) that can be embedded onto your site and used ANYWHERE, including the navigation.
It requires a little bit of coding, but it’s super easy!
Step 1:
The first thing we need to do is copy this code:
<link rel="stylesheet" href="https://use.fontawesome.com/releases/v5.12.0/css/all.css" integrity="sha384-REHJTs1r2ErKBuJB0fCK99gCYsVjwxHrSU0N7I1zl9vZbggVJXRMsv/sLlOAGb4M" crossorigin="anonymous">
And paste it into to your Code Injection: Header area. You can find your Code Injection under Settings > Advanced > Code Injection.

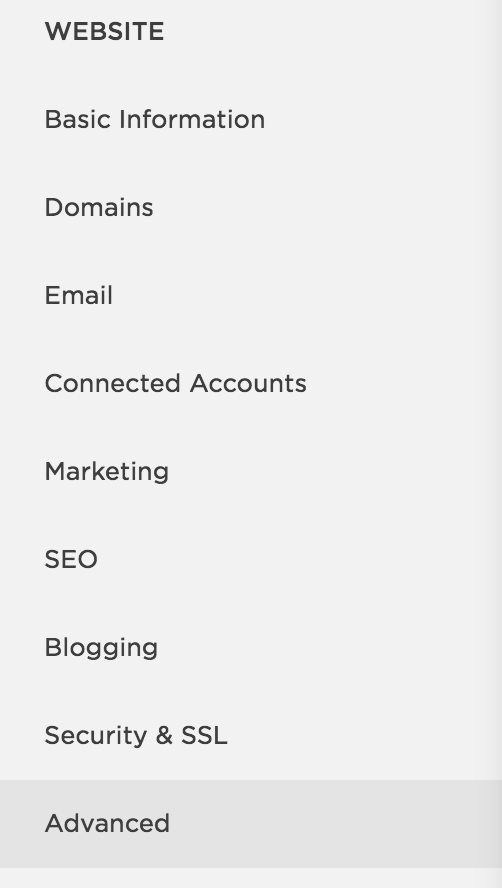
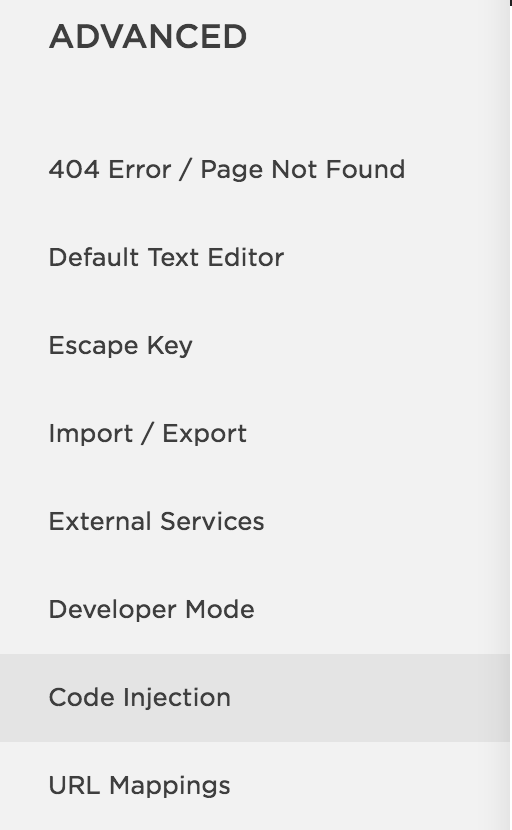

NOTE: This is now considered a premium feature, if you see a note saying “Premium Feature Only” you will need to upgrade your website plan to Business.
Make sure to click Save when you’ve pasted in the code.
Once this code is in, the rest is super easy.
Step 2:
First you will need to choose your icons. You can view the complete list of Free icons here: fontawesome.com/icons?d=gallery&m=free
Under each icon you will see that it has a name. For example purposes, I’m going to use “facebook-square”:

Once you have chosen the icons you want to use, we can add them in your navigation!
Step 3:
Header over to Pages and we’re going to Add New > Link.
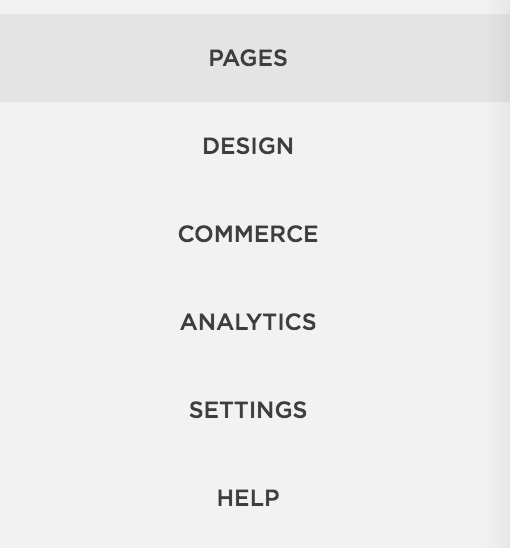
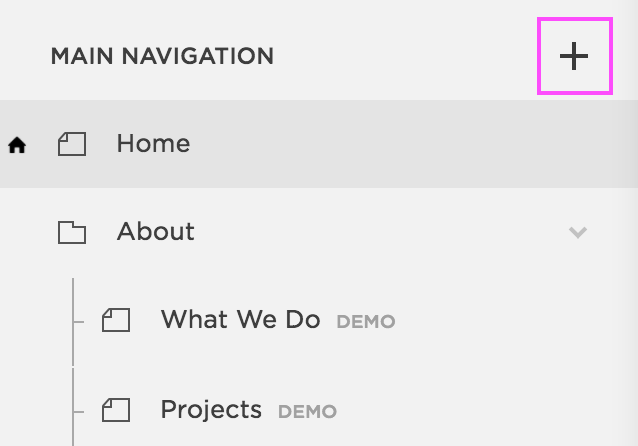
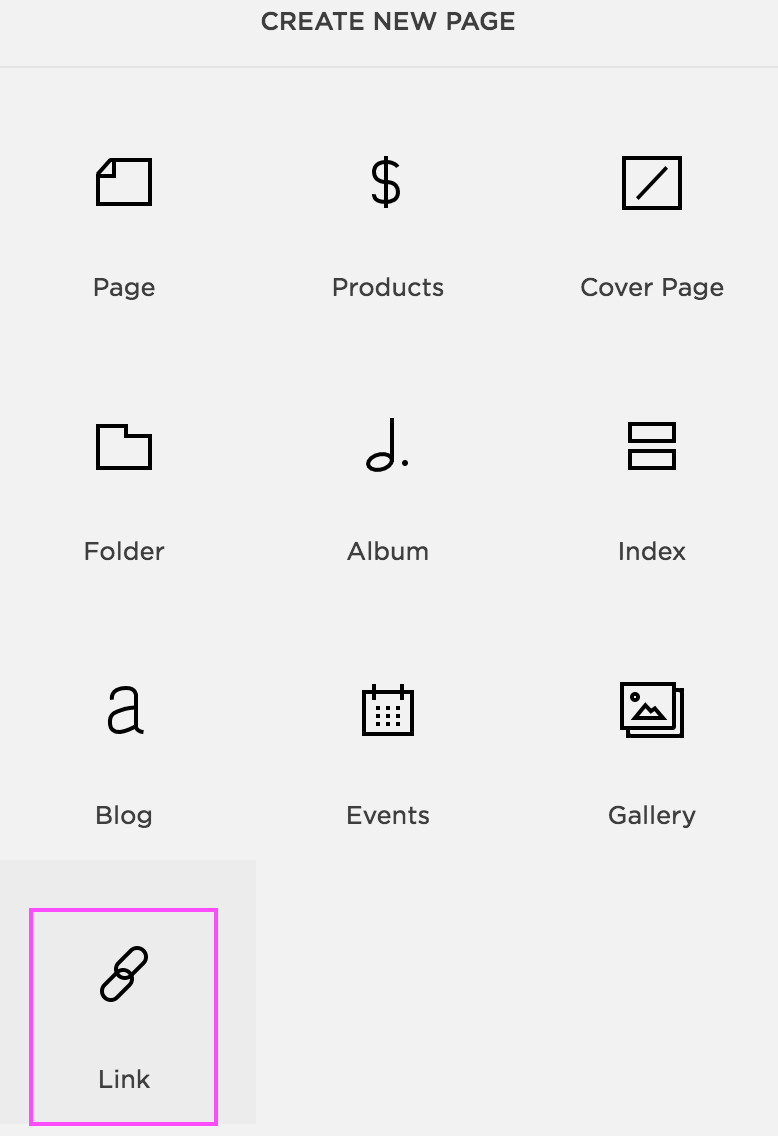
The link title is where we are going to enter our new icon. Copy and paste the following code
<i class="fab fa-facebook-square"></i>
And replace the “facebook-square” with the name of your icon.
Then under Link add an external link to your social media page. It should look something like this:

Hit Save and the icon will show up in your navigation! (Your may need to refresh the page before you will see it).
Easy, right?
The cool thing about this, is that you can add any icons you want (as long as they are available on font awesome) and you can add them anywhere throughout your site! You can use social icons or even more creative icons like a House Icon for your Home page or a Letter Icon for your Contact Page. You can link them away from your site to social media, or you can link them to a page on your site.
If you want to add them in the body of your website, you’ll just need to add a Code Block and paste in the same code:
<i class="fab fa-facebook-square"></i>
Or you can use these alternative codes to give the icons a size and a color:
<i class="fab fa-facebook-square"
style="font-size:48px;"></i>
<i class="fab fa-facebook-square"
style="font-size:100px;
color:#33CCCC;"></i>
The options with these icons are almost endless!
I hope you have enjoyed this quick and easy tutorial! Let me know in the comments how you have used these icons!
Make sure to check out some of our other quick code tricks for customizing your Squarespace site below! 👇
How to customize your Squarespace cookie banner design
How to animate your links on hover in Squarespace 7.0 & 7.1
How to create a sticky header nav in Squarespace
How to add a background color to a text block in Squarespace
6 fun code snippets for your Squarespace web design
How to upload custom fonts to Squarespace
Did you enjoy this post? Share the ❤️and Pin it to Pinterest!