

How to Create a Scrolling Computer Mockup in Photoshop
You've put in the hard yards creating a beautifully functional website for your new client project, or finally gave your business the dreamy website revamp it needed. You're proud (as you should be!) and are ready to share it with every email address in your directory (website shame who?).
Now, you just need to figure out what is the actual best way to showcase it in all its glory? 🤔
Well this week, we've got just the tutorial for you! Why not create a scrolling computer mockup that mimics the user actually scrolling through your website ✨
While there are a number of ways that you can create these handy graphics, in this tutorial we'll be walking you through how to create an ultra smooth scrolling animation using Photoshop.
If you don't have Photoshop and/or prefer using Canva, check out our guide on how to create a scrolling computer graphics in Canva instead!

What you will need:
Adobe Photoshop
Note: We’re using Photoshop Creative Cloud but it should work with earlier versions, too. Just note that there may be some differences in the desktop layout as you go through the instructions 🙂
Background Image
This is the image you would like your website to be scrolling in. For this example, we’ll use an image of a laptop.
We recommend that this image displays your screenshot straight on, rather than on an angle or tilted, as this is more challenging.
Pexels.com is a great option for finding free stock mockup images.
A FULL SCREENSHOT OF YOUR WEBSITE
This isn’t your typical screenshot - it actually captures the full length of the scrolling website. We’ll walk you through how to capture your website with the GoFullPage Chrome extension because it’s quick and easy!
Download the Chrome extension here - and yes, you need to be using the Google Chrome browser for this. If you're using a different browser, google "full page screenshot XYZ browser extension" and you should find something similar!
Head over to the website you want to capture.
Next, activate the GoFullPage extension by clicking on the icon in your extension menu in the upper right corner of your browser window.

The extension will automatically scroll down the page and screenshot it at the same time. Once it hits the bottom, the extension will share your full-page screenshot in a pop-up window.
Click the download button to download this as a PNG or JPG image.
Step 1: Create a new Photoshop document and add your images
Create a new Photoshop document in the size that you need. We recommend researching what size is ideal for your use case, but we’ve included a few standard sizes for reference below:
Instagram Square Post: 1080 x 1080 px
Instagram Vertical Post: 1080 x 1350 px
Instagram Story: 1080x 1920px
Drag in your mockup image, then hold down the Shift key while resizing and positioning it in the document to make sure it doesn't get stretched. Once you're happy with the position hit Enter.


Next, drag in your website full-page screenshot.
Hold down the Shift key and click and drag one of the corners of the image to scale it up or down.
Drag it over and size it to fit the screen of the computer you have in your background image and hit ENTER on your keyboard once you're happy with the position.


Step 2: Layers and masking
Make sure your Layers panel is visible, if you can't see it, go to Window in the top menu and select Layers.

You only want to have two layers in your document, your mockup image and your website screenshot. If there are any other layers, most likely a Background layer, select it and delete it by clicking the trash icon at the bottom of the Layers panel.

Next, hide the website screenshot layer. To do so, click the Eye icon next to the website screenshot layer in the Layers panel and you should see it disappear temporarily.

Step 3: Create a Frame
In the left hand sidebar, select the rectangular marquee tool or polygon lasso tool (if not a perfectly rectangular mockup shape) to outline the space where the screenshoot needs to sit within the mockup image.
Tip! Trace a bit off the screen to ensure you don’t get the white glow showing behind your scrolling website!


Back in the Layers panel, click the Mask icon to create a mask.

Unlink the mask by clicking the Link icon between the screenshot and the mask.

Now make the full-page screenshot layer visible by clicking the Eye icon again and adjust the screenshot to fit perfectly within the frame if you need to. You're ready to animate!

Step 4: Add Animation
Go up to Window > Timeline.

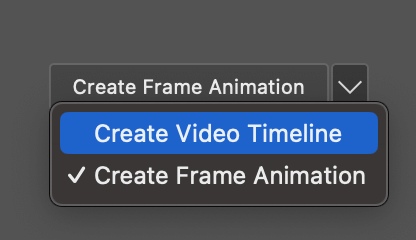
The Animation tab will pop up in the bottom of your screen and there will be a drop-down menu with two options. Select Create Video Timeline.
In the pop up window, expand the screenshot layer settings by clicking the downward arrow icon.

Tip! Here you can also adjust the speed of your animation by extending or shortening the length of the purple frames. Make sure to keep both the same length!

In the screenshot layer dropdown, click on the stopwatch icon next to Transform to add a marker (indicated by a yellow diamond). This will indicate the start of the animation.

Next, move the red line to the end of the track.

Make sure your screenshot layer is selected in the Layer panel and click Command+T on your keyboard. Hold down Shift to keep the alignment and drag your screenshot all the way up so that only the bottom section of it shows in the mockup frame (as if you were scrolling to the bottom of the page).


This will automatically add a second marker at the end of the track, indicating that a 'transformation' has occurred.

That's it! Your animation is ready to save 🎉
Step 5: Export Your Animation
There are two different formats we can export our animation to:
GIF (for web use)
Video (for Instagram)
Saving Your Animation as a GIF
Click File > Save for Web and hit Save in the pop-up window! It should be saved and ready for upload onto your website!
Saving Your Animation as a Video
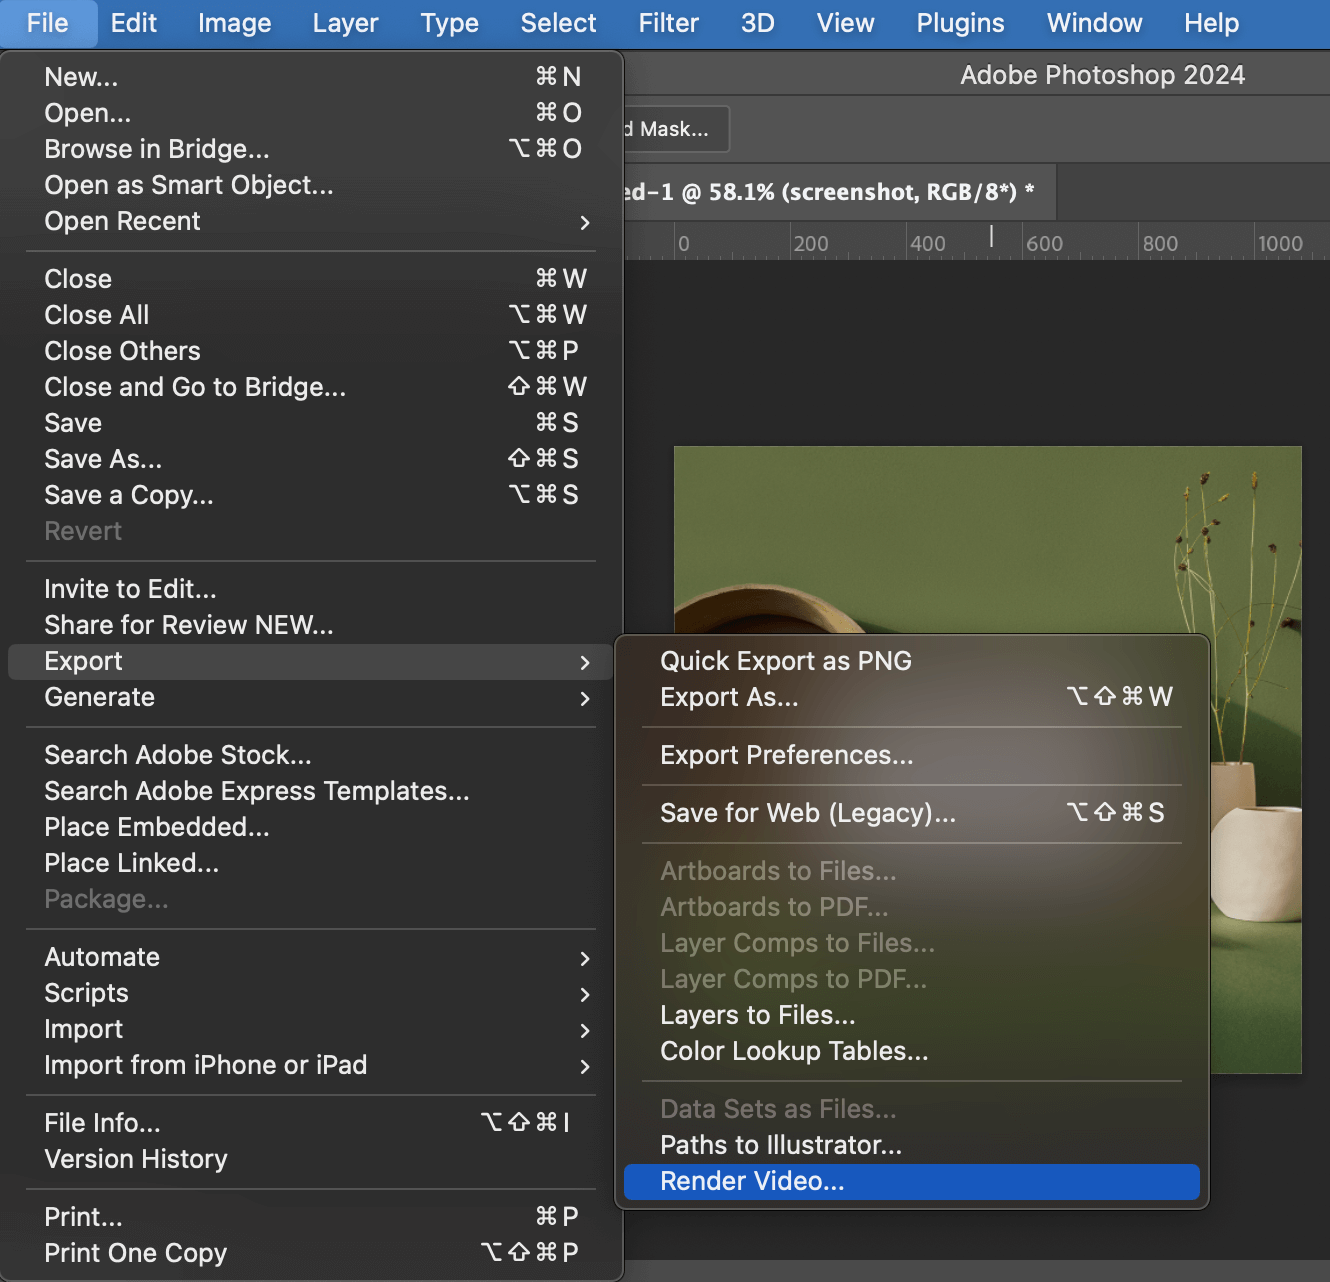
Click File > Export > Render Video
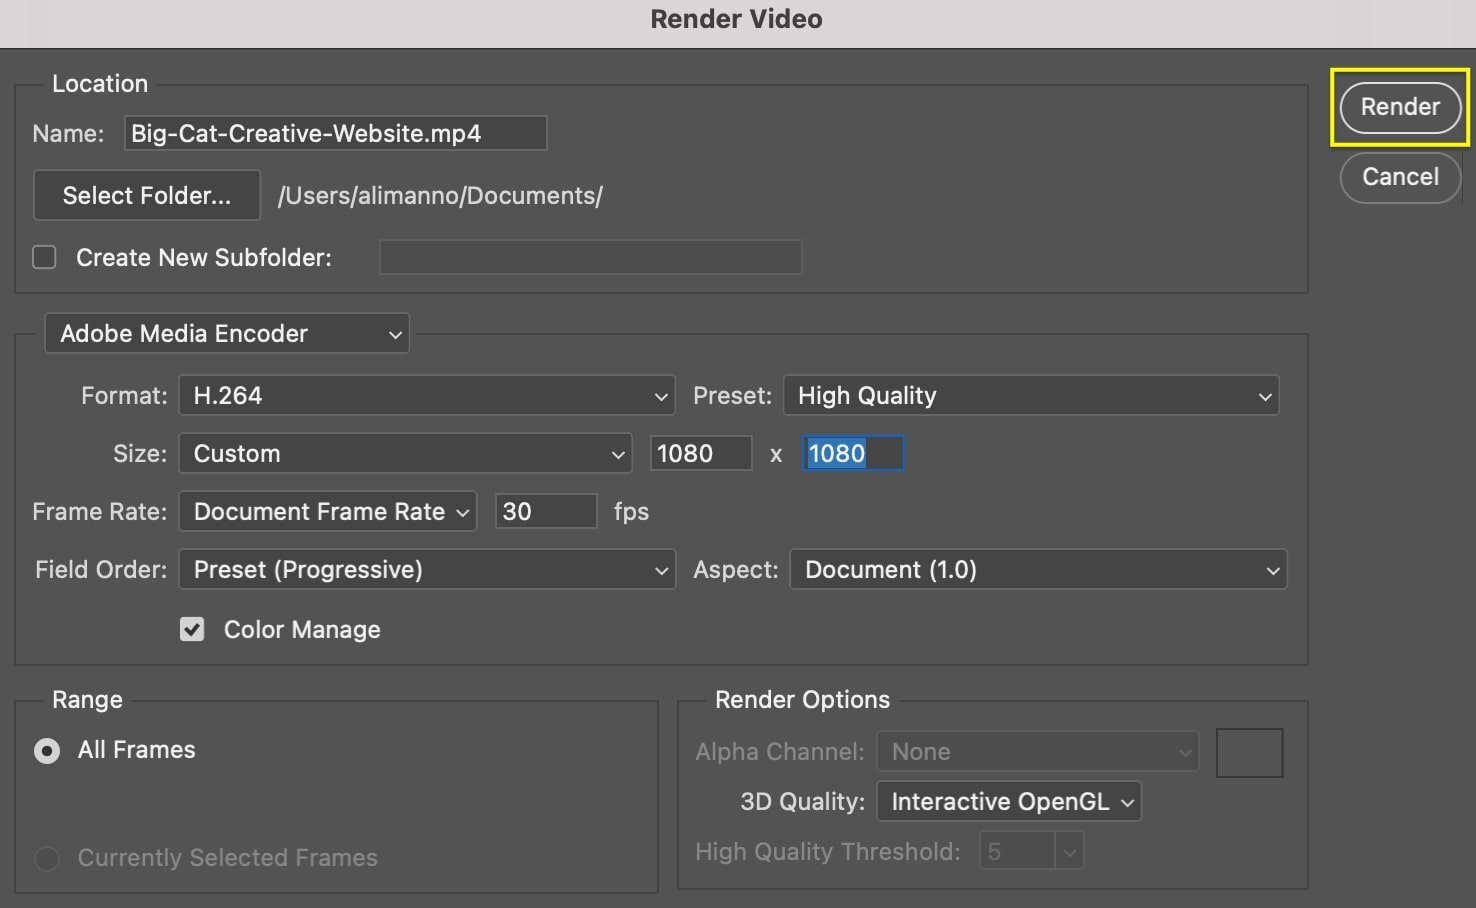
Make sure your video size looks good for the platform you’re using it on. For example, if this video is going on Instagram make sure the size is close to 1080 x 1080 px. Click Render to begin exporting the video.
Your video will be saved to your computer, ready to be scheduled on your socials or uploaded to your portfolio!
If you liked this post, Pin it to Pinterest! 👇🏻
