

How to Create an Opt-in Freebie Quiz for Your Website
Freebies, opt-ins, or lead magnets are an integral marketing strategy for bringing in potential new customers to your small business, but creating one that is well-aligned with your business, perfectly on-brand, and bringing in the right kind of high quality leads is not without its challenges.
If you’ve been looking for new ways to give your subscriber list a boost, then a quiz might just be the perfect freebie to add to your biz!
Quizzes might be a little different to the usual freebie formats (like workbooks or mini-courses), but are easy to set up, interactive, fun to use, and are rapidly growing in popularity as a result.
This week, we're giving you all our best tips and tricks to figure out if a quiz is the right freebie format for your business, and if so, how to set it up as quickly and easily as possible using one of our favorite interactive quiz makers: Interact.
Want to see an example? Take our quiz!

Why Choose a Quiz for Lead Generation?
Quizzes are a great freebie option given how interactive, engaging, and fun they are!
Let's be honest, we've all been there, dead set on finding out which of your favorite series' character is actually your soulmate, which Starbucks coffee order you are, or which fast-food chain perfectly matches your vibe 😅
Apart from seriously appealing to your customers' sense of nostalgia, there is actually something to it though. People love learning more about themselves, whether that be what type of ramen they should eat based on their star sign, an actual personality quiz, or perhaps a strategically thought-out quiz that they find on your website that gently points them towards your offers 😉
Indeed, a quiz funnel gets your site visitors to share their ultra valuable email addresses with you in order to access their quiz results. This means new subscribers for you, but also gives you the opportunity to strategically present the perfect offer for them based on their answers directly in their tailored quiz results. Add a couple more nurturing emails if you need to and boom! You've got yourself a sale!
Quizzes aren't just fun and games though, they are also an amazing source of insight for small business owners like you, giving you invaluable information about your audience's preferences and behaviors. This will not only give you a better idea of what kind of customers you are attracting, you'll be able to adapt your future messaging and marketing to appeal to them even more and increase your conversions 💸
How to Build a Quiz for Your Website
Once you've found your perfect quiz topic, came up with some hot questions and powerful results, it's time to put it all together using a handy quiz-builder like Interact 🪄
Interact is a great platform to create ultra engaging quizzes, it's got great starting-off templates (you know we're big fans of that), great email marketing integrations, awesome analytics, and tons of amazing ways that you can share and embed your quiz to maximise its reach.
To get started, head to www.tryinteract.com and click on the 'Start free trial' button in the top right corner.
👉 Get 25% OFF your first year of Interact with discount code ERICA25OFF0B

Follow the prompts to set up your account, then choose whether you'd like to start from scratch or pick from one of the many templates available! You'll be able to filter by industry in the left hand sidebar.

While starting from scratch is a good option if you already have your whole quiz and branding figured out to a tee, we do generally recommend starting with a template that is a close match to what you have in mind to make the whole process just so much quicker and easier!
If you Choose to use a Quiz Template:
Find a template that you love, then hover over it to preview it or click Use Template.

Follow from step 2 below to customize your quiz template and input your own questions, answers, and results!
If you Choose to Build a Quiz From Scratch:
1- Select your quiz type
Click Start From Scratch, then choose your quiz type.


We recommend choosing a Personality quiz as this is the type of quiz which enables your site visitors to actually learn about themselves, whereby each answer correlates to a specific result. This is the type of quiz that we'll be showing you how to build in this tutorial and usually works best for bringing in new leads!
You can use an Assessment-type quiz to test your site visitors' knowledge and expertise on a certain topic which can be useful for recommending a course that will help them level up for example, or a Scored quiz to show them where they might fall compared to others in the industry. But be careful, no one wants to feel like they're back at school taking a quiz which might deliver some C- results 😅
2- Add your color palette and font
Once the quiz builder has loaded, start customizing the look of your quiz by adding in your color palette in the top menu.

Click on each color swatch and paste in a specific HEX color code or use the built-in color picker to choose a color.

Then, click on the Text icon to select your font.

Use the search bar or typeface filter to select any Google Font to add to your quiz.

Click the color swatch next to the font name to select a font color.

Next, click the image icon to add a custom logo (if you'd like to!). Note that this is a premium feature only!

3- Customize your quiz cover page
First, enter your quiz title.

Click Edit Cover Image, and upload an image from your computer or use the Search For Images option to choose a free stock photo from Unsplash or a fun GIF from Giphy.

Choose how your image will be cropped and click Crop & Save in the top right corner.

Add a quiz description and customize your quiz button text, and voila, your quiz cover page is done! 👏

4- Enter your Results
In the left hand side bar, go to the Results tab and enter your individual quiz results.
You might be wondering why we suggest entering the results before the questions.... while you could really do it either way, entering your results first is a nice little time saver given that mapping the answers and results is done in the Questions tab which we'll be heading to next!

The process is much the same as for customizing your cover page! Add a title, description, and image.
Most importantly, customize the call-to-action button and add a URL to the product that you think might fit those ending up with this result best, leading them directly to it!

To give your Results a sleeker, more on-brand look, you can also create each result page directly on your website and redirect your quiz's results there!
Just click the Redirect Results button in the left hand sidebar and add your individual results URLs.


5- Set up your questions
Go to the Questions tab in the left hand sidebar.

Add all of your questions and answers.
We recommend having between 5 - 10 questions, just enough so that your audience doesn't get tired or bored, but enough that they feel it was worth it!
We also recommend having as many answers for each questions as you have results to make mapping as easy as possible (ie. if you have 4 quiz results, you should have 4 possible answers for each question).
You'll also be able to select whether you'd like to have your answers displayed as Text or Images.

Image answers can be more fun and less tiresome for quiz takers and you'll also have the option to use funny reaction GIFs from Giphy that will be sure to increase engagement!

6- Map your Answers and Results
Once you've set up your question and answers, click Edit Result Correlations.

Here, you'll want to map each answer to one specific result.
Click on the first answer (it will be highlighted in red), then click on the corresponding result to link them.


Repeat this process for each answer, then click Save in the bottom left corner.

To make the order a little less obvious, click on the dots icon next to each answer and drag and drop them to reorder them!

7- Enable Lead Generation
In the left hand sidebar, toggle ON Lead Generation.

Click on Set up opt-in form to set up the form that will appear at the end of the quiz, allowing you to collect your quiz takers' email addresses before releasing their results!
Customize the Contact Fields, we recommend requesting email address and first name at the very least, and adjust your Form Settings.

Scroll down to edit the Form Content, including the title, description, button text and color.


Click Save & Continue in the bottom right hand corner.
Next, select your email marketing program from the list and follow the prompts to connect to it.
If you don't see your email marketing program in the list below, you will be able to connect to it using Zapier.
If you don't have an email marketing program yet, click here for a guide on which email marketing software you should use!

You can also select a .csv file integration so that your new leads' information will be saved into a spreadsheet. You'll be able to import these leads into any email marketing software once you have one set up!

8- Publish your quiz 🎉
Now, it's time to set your new lead magnet live!
Click Publish in the top right corner and choose how you'd like to share it!

👉 Follow this tutorial to learn how to add your new Interact quiz to your Squarespace site
👉 Follow this tutorial to learn how to embed your new Interact quiz behind a button in Squarespace
👉 Get 25% OFF your first year of Interact with discount code ERICA25OFF0B
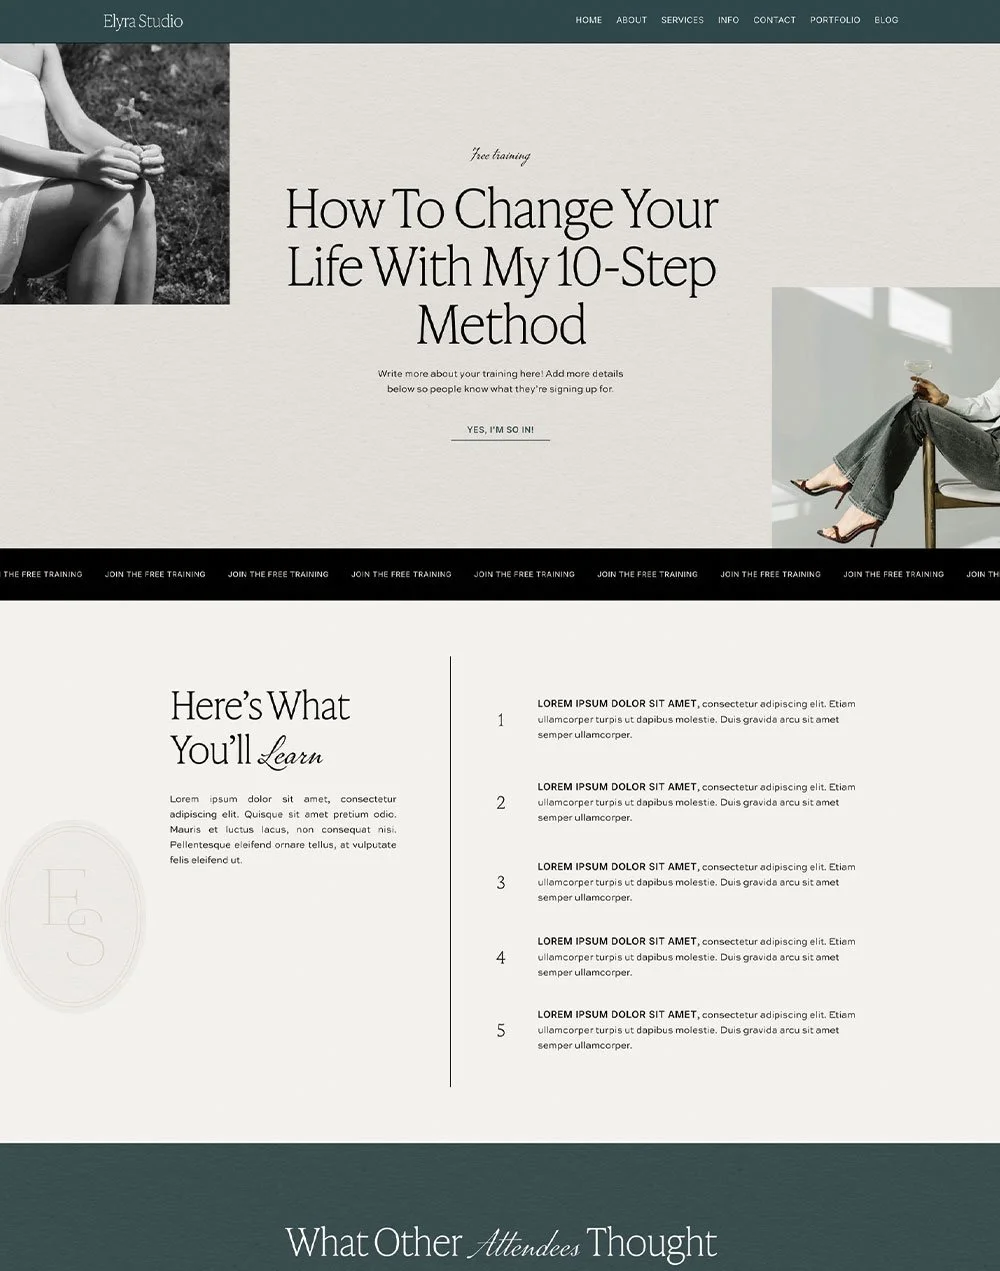
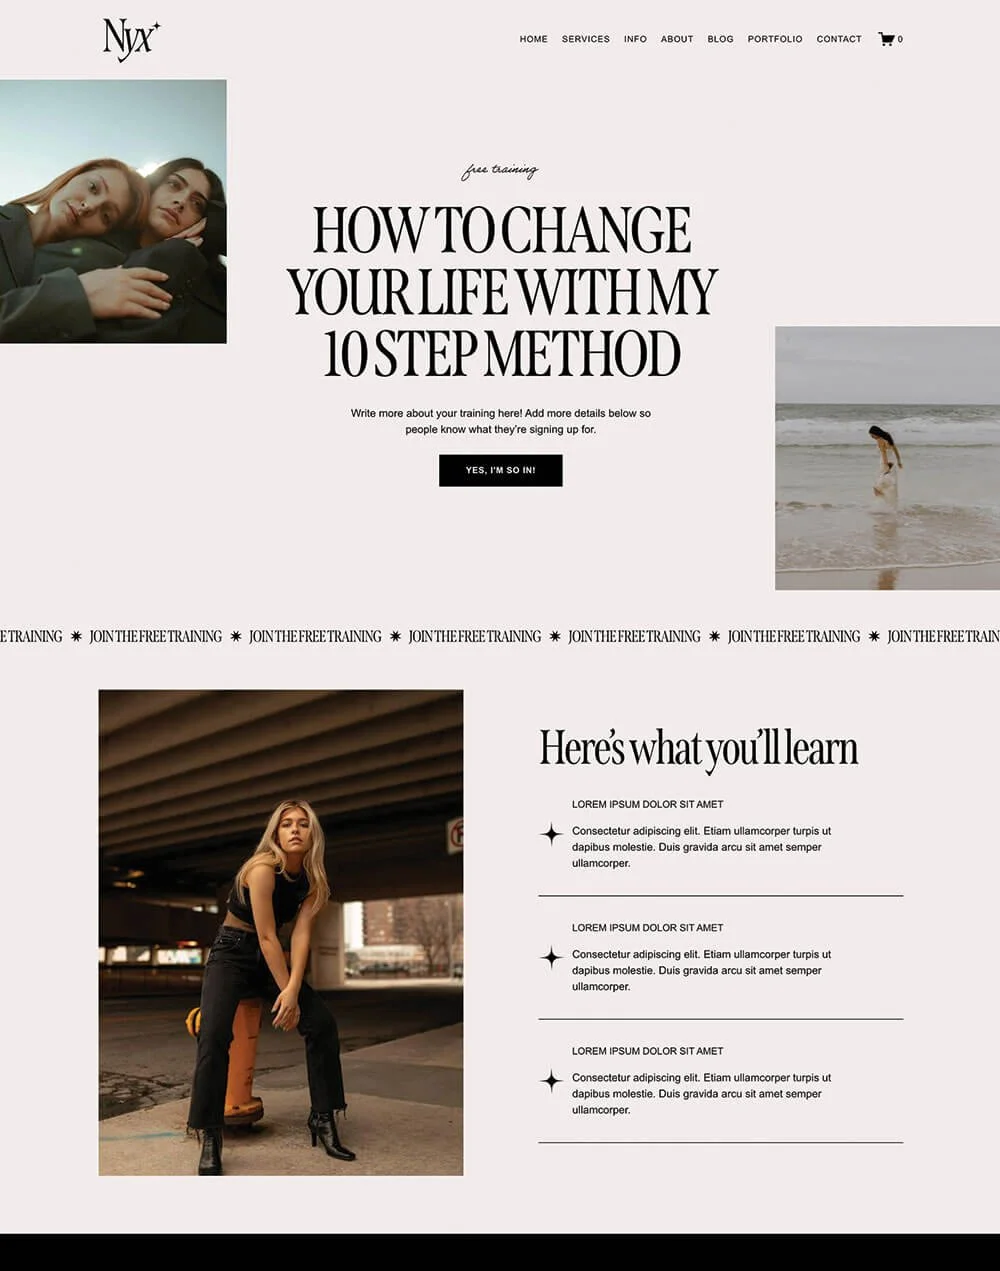
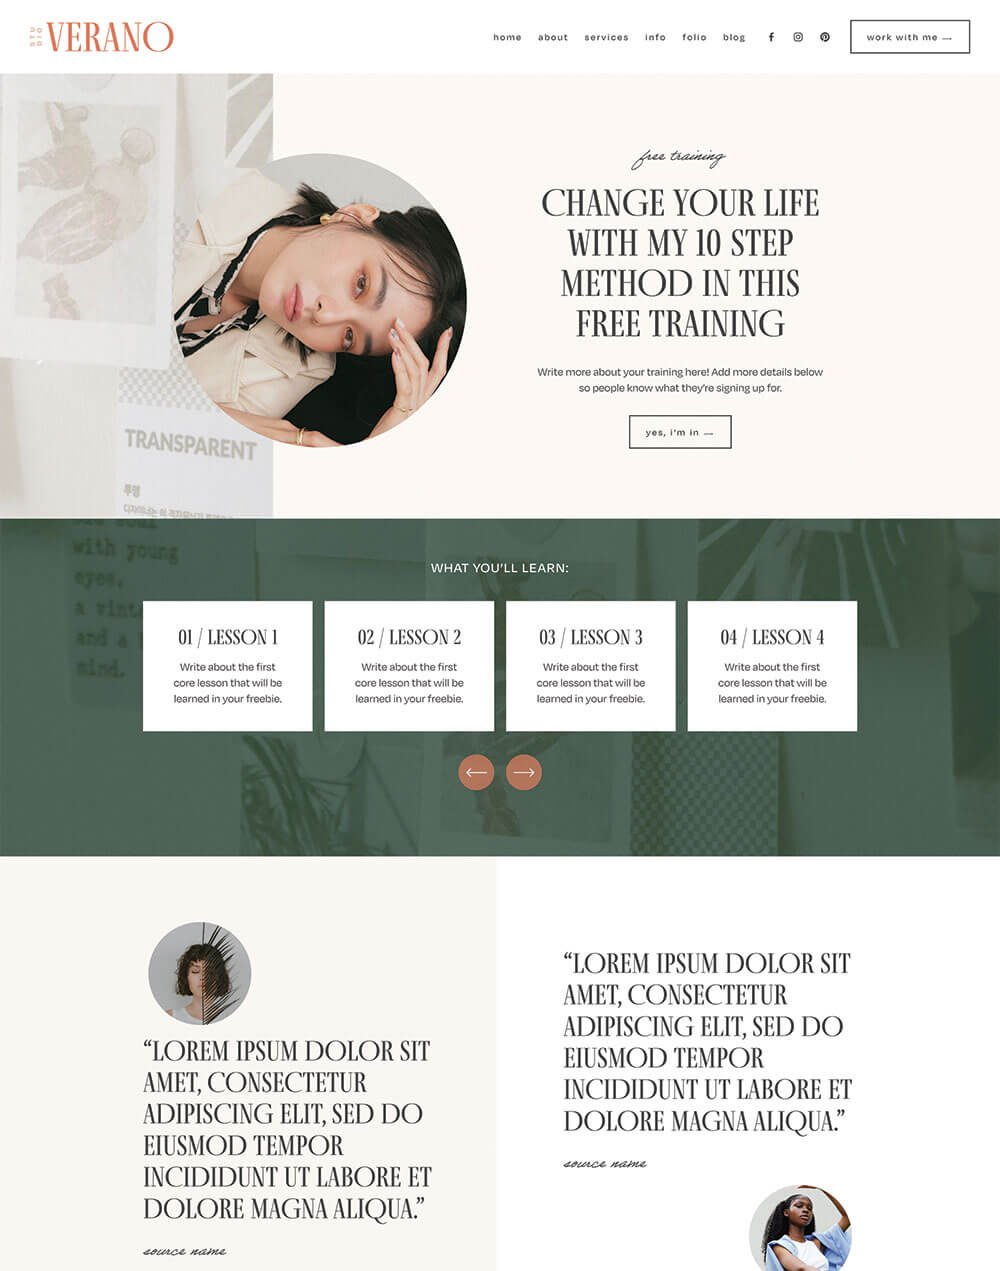
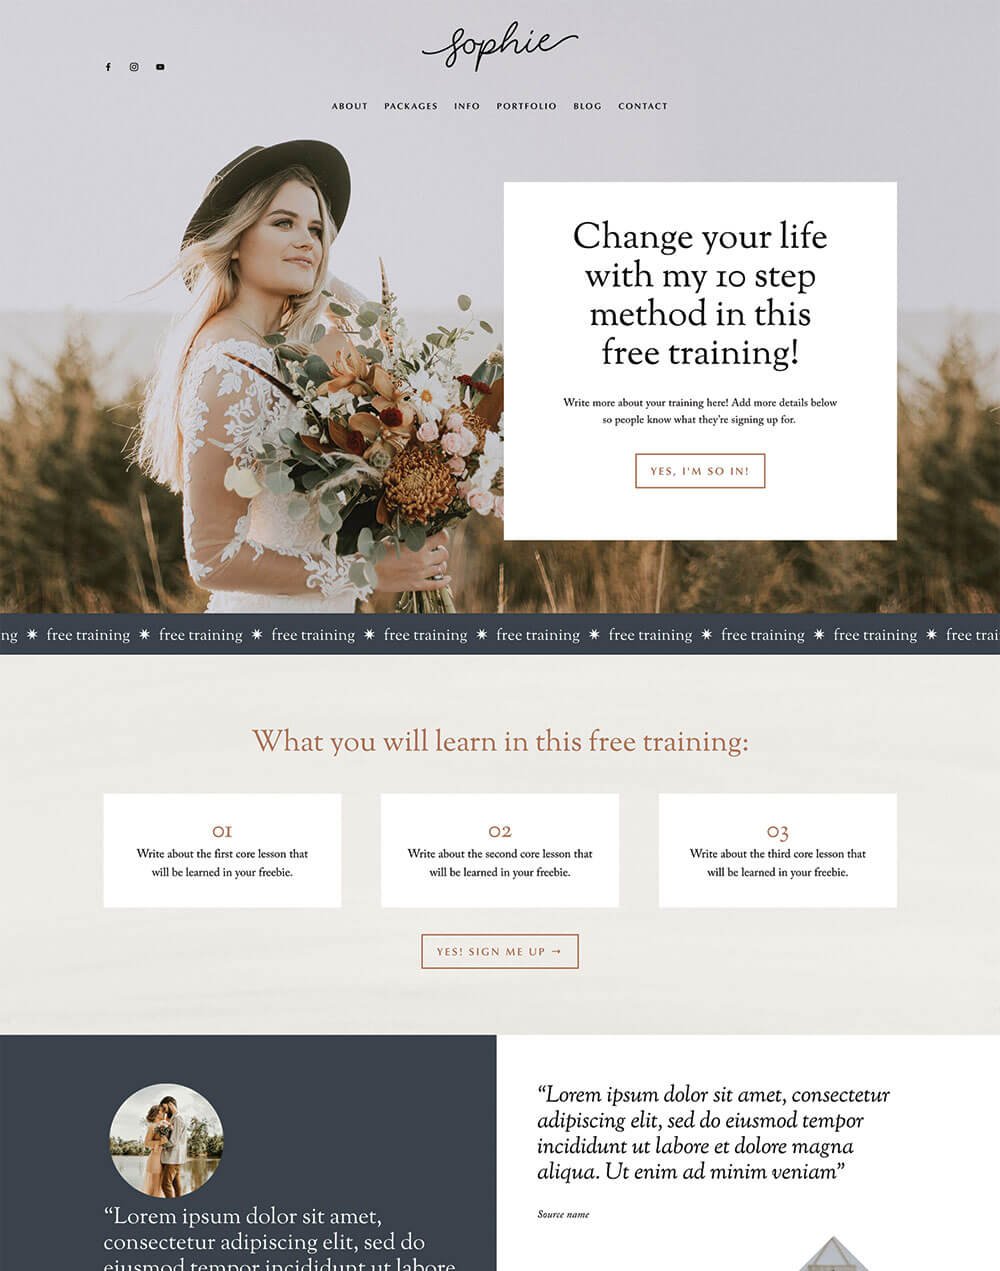
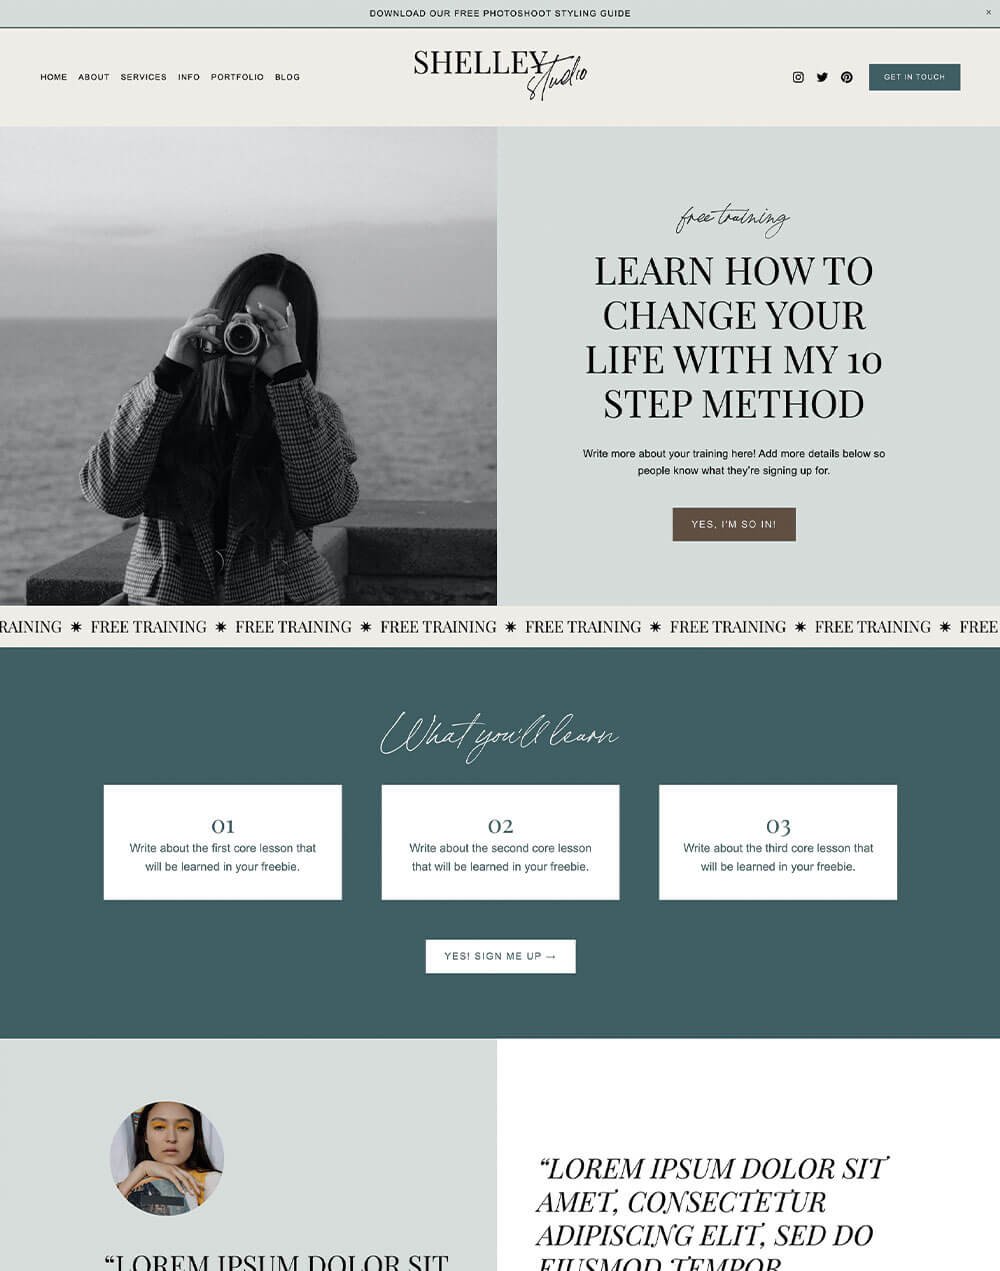
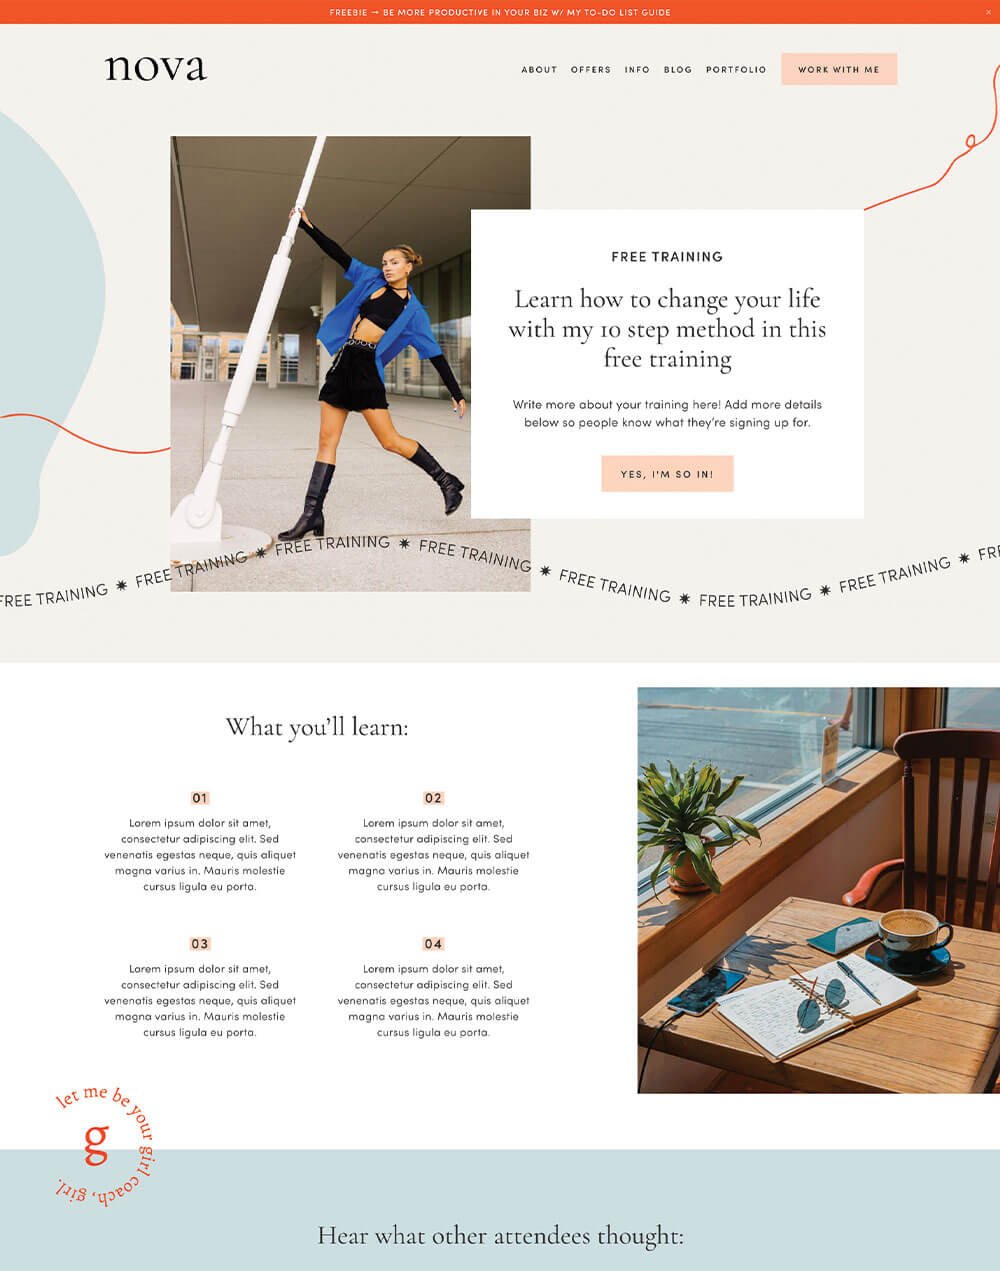
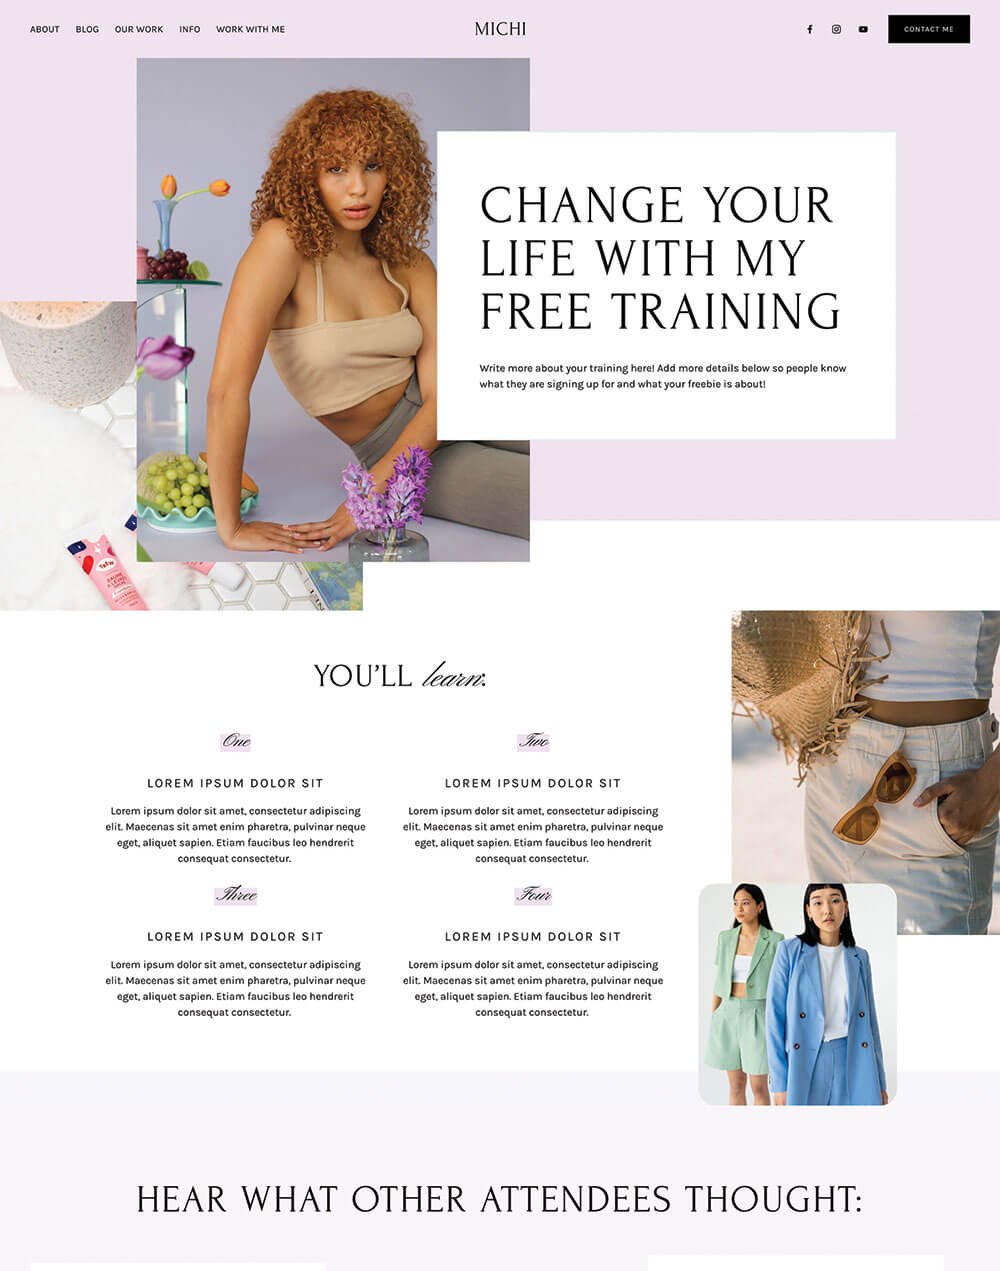
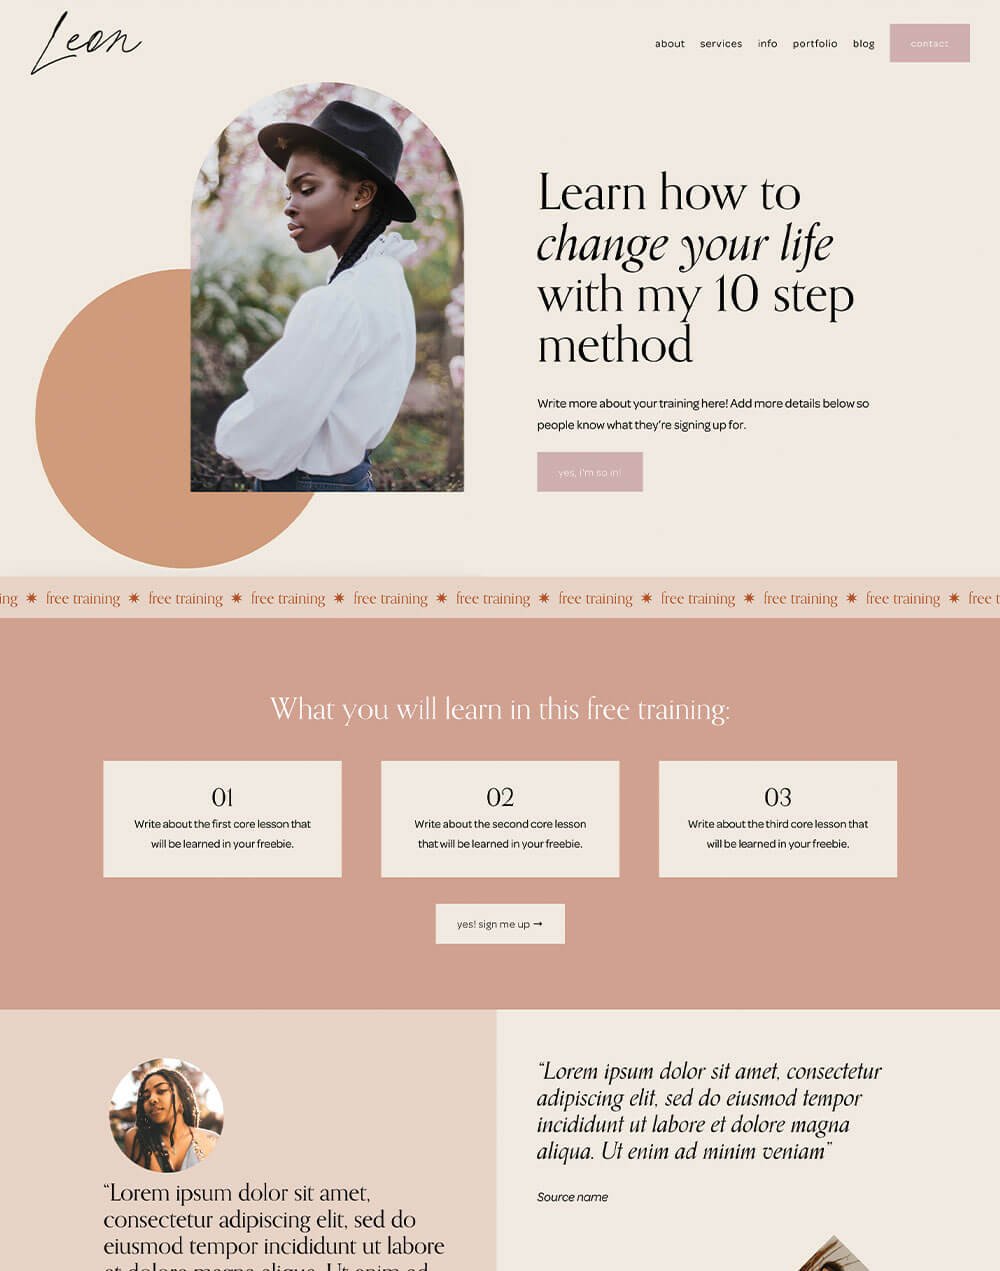
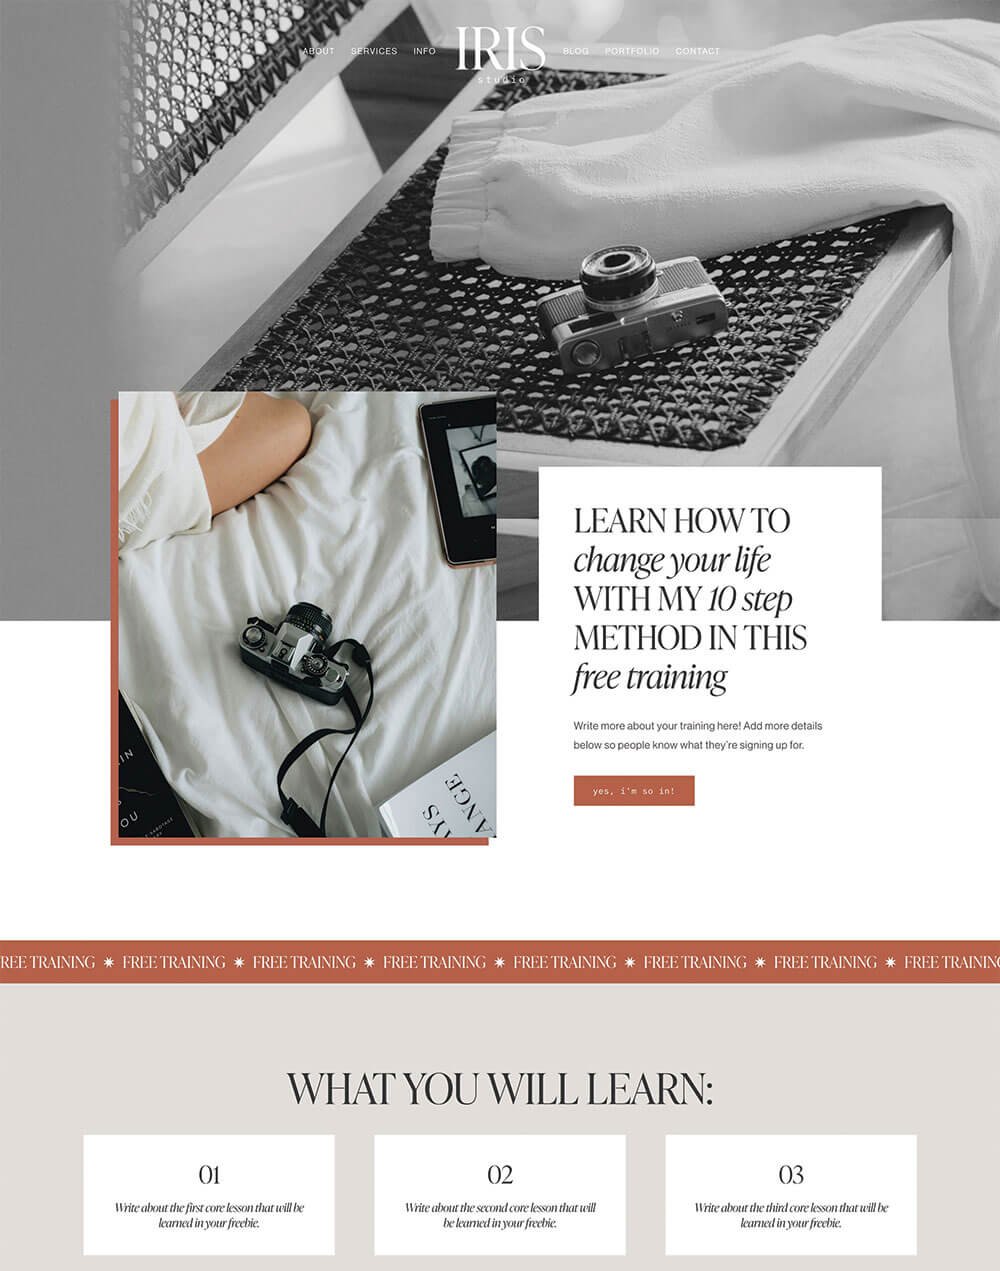
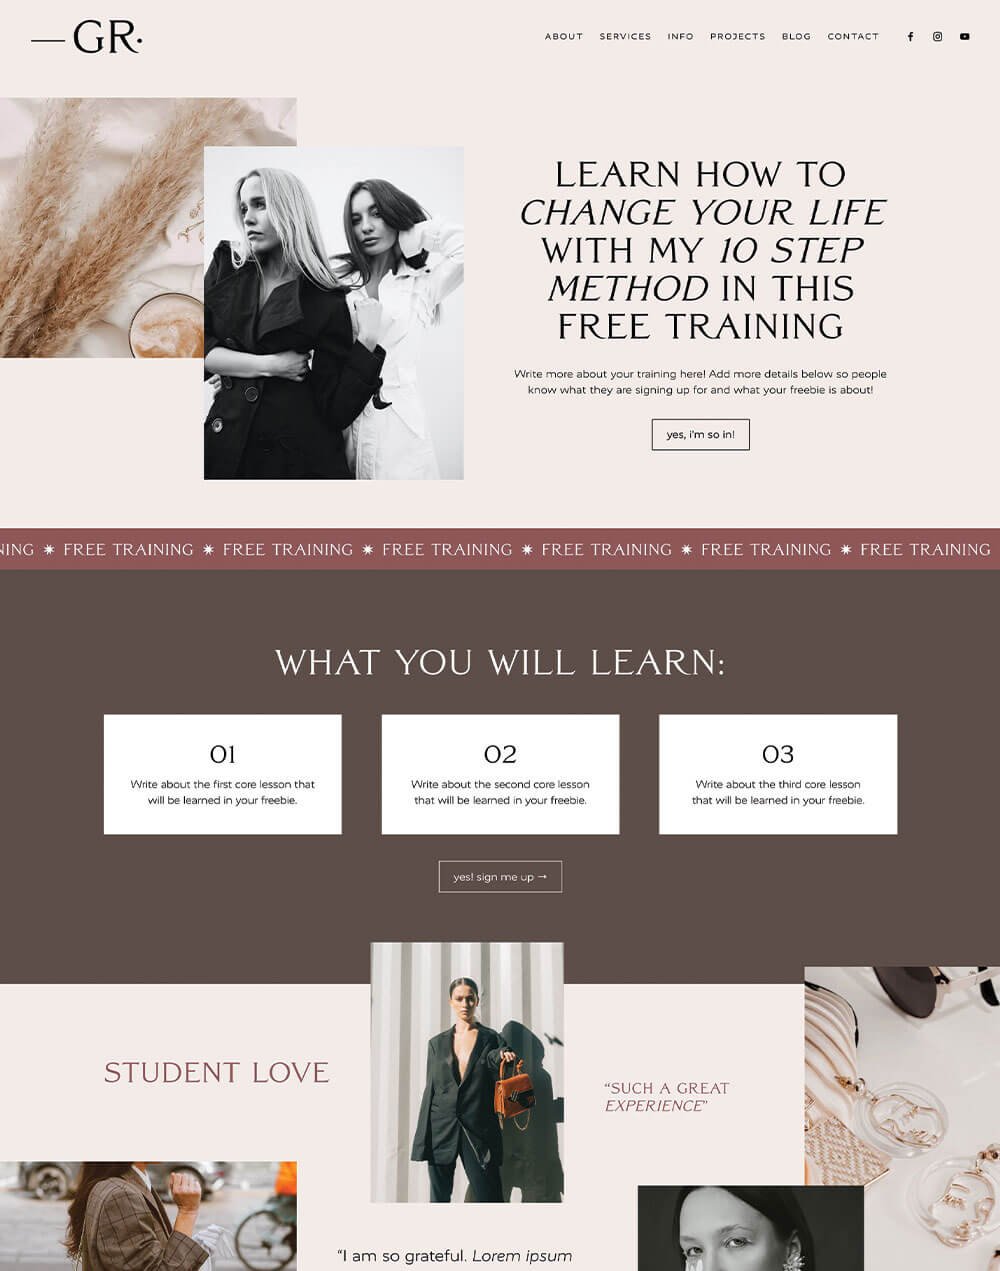
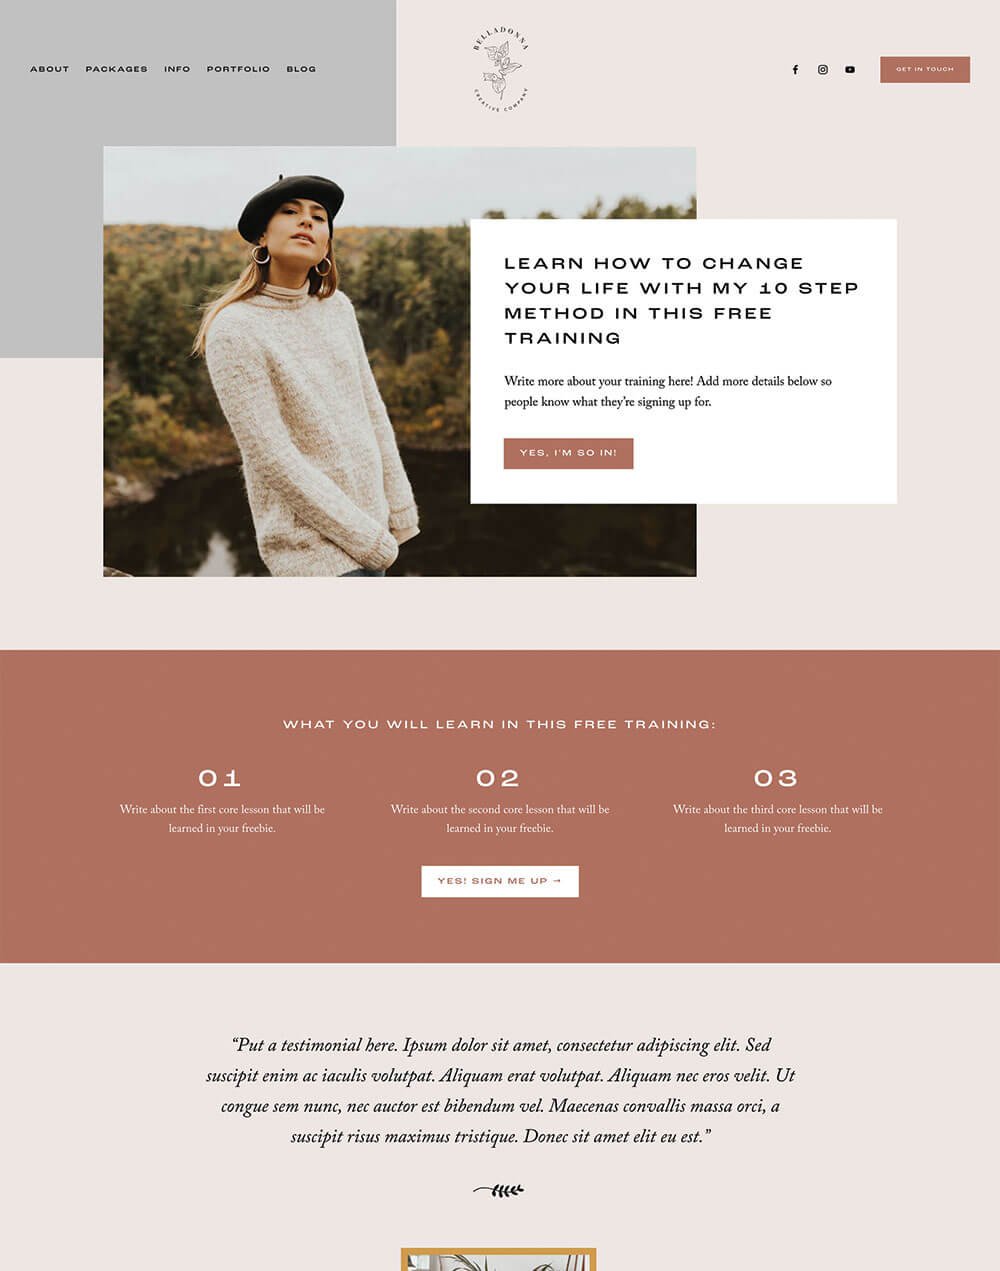
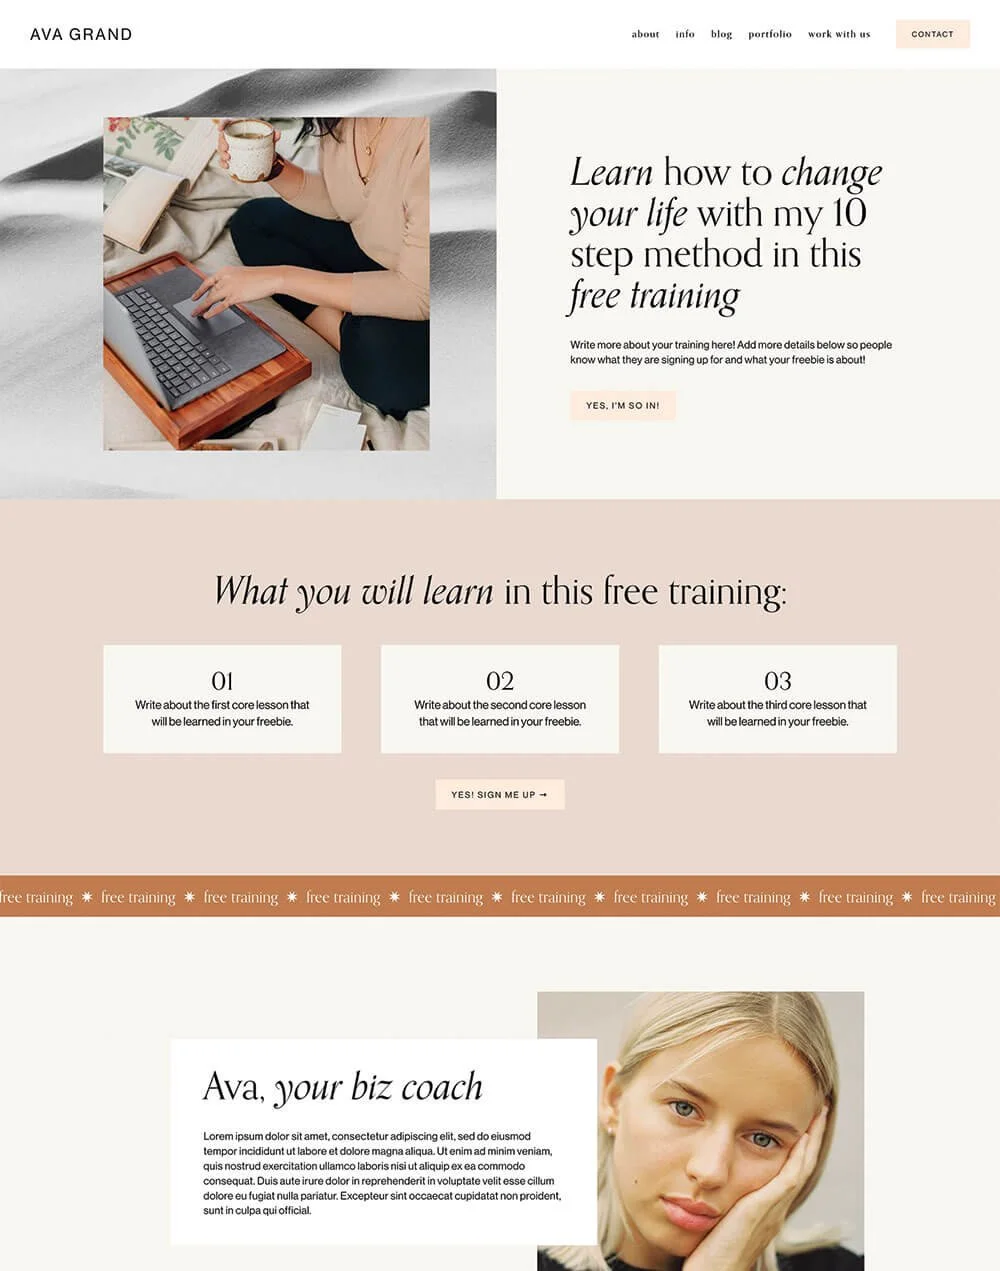
Need a bangin' Freebie page to promote your brand new quiz? Check out our Freebie page templates below!


If you liked this post, Pin it to Pinterest! 👇🏻
