

How to Redirect Squarespace Forms to a Freebie or Thank you Page
If you have a website, chances are that you have a form that allows visitors to submit their contact details or other information. When someone submits a form, it's a good idea to redirect them to a thank you page that confirms their submission and/or offers additional resources or freebies.
Have you ever submitted a form on a website and found yourself staring at a blank page afterward, wondering if your information was successfully submitted? Don't let your website visitors experience that same frustration!
In this post, we’ll show you how to redirect Squarespace form submissions to a custom thank you page that encourages them to stay on your website and further engage with your content.

Step 1: Create a Thank you or Freebie Page
When creating a thank you page for your Squarespace form, there are a few things to keep in mind. First, you'll want to make sure the page is visually appealing and easy to read, with a clear message thanking visitors for submitting their information.
In addition to a message thanking visitors for submitting their information, you may also want to include links or resources that can provide additional value.
For example, you can include links to your social media profiles or other relevant content on your site, or offer a free download or resource that's related to the topic of the form. This can help to further engage visitors and provide them with useful information or resources positioning your business as a trusted resource!
Once you have a good idea of how you want your page to look and what information you want to include, you can start to build it out!
👉 Everything You Need to Know to Create Freebies That (actually) Grow Your Email List
How to Create the Form Redirect Page
In your Squarespace menu, add a new page and file it under the Not Linked section.

Start building out your page with the necessary information for your audience.
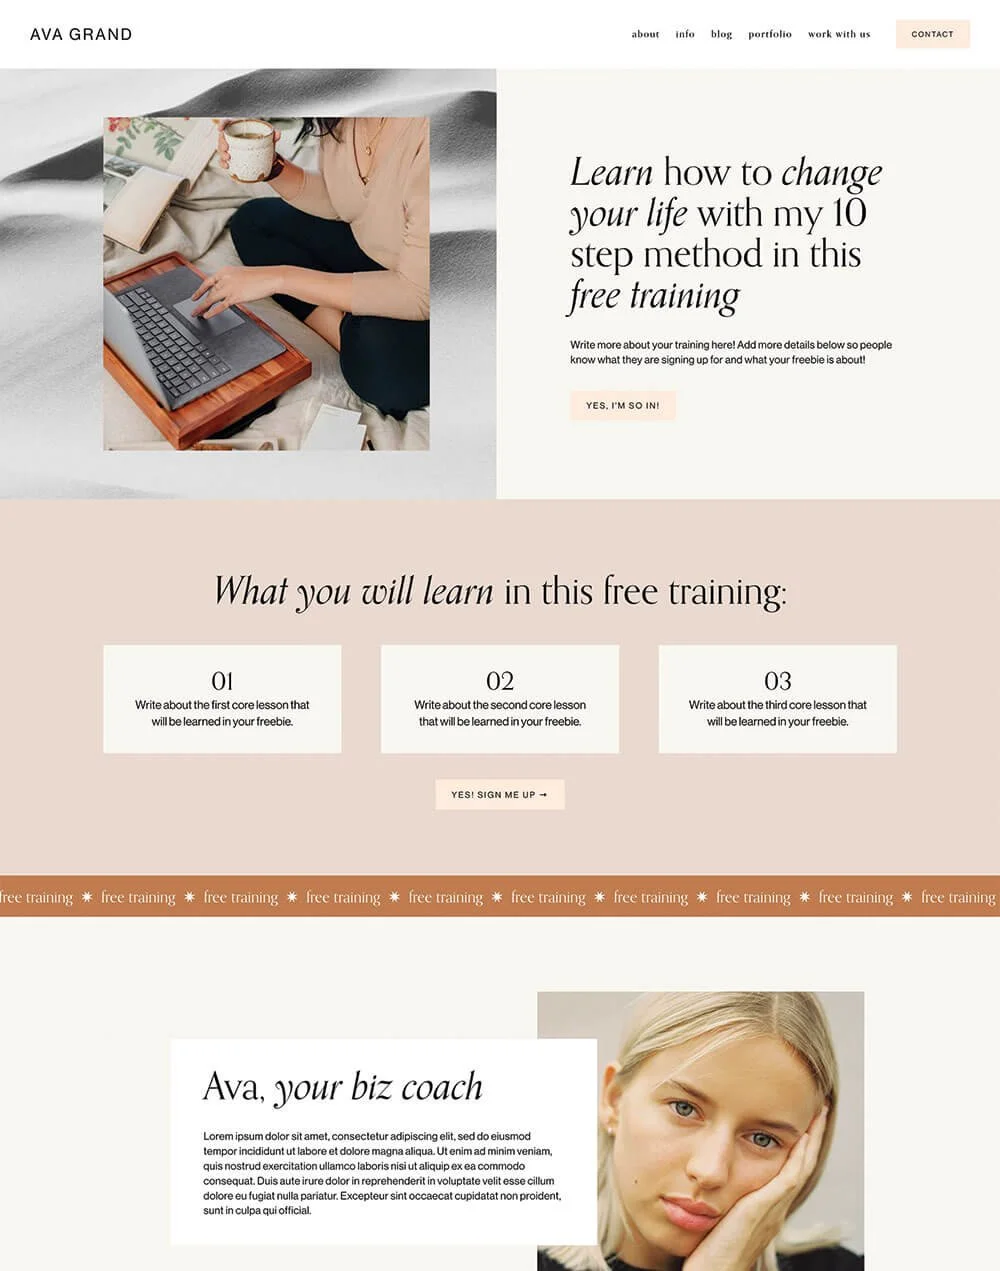
Maybe you simply want to thank them for signing up for your newsletter. Here's an example of the thank you page we have set up for people that join the Big Cat Creative newsletter. Simple and sweet and gets the job done!

In addition to a message thanking visitors for submitting their information, you may also want to include links or resources that can provide additional value. For example, you can include links to your social media profiles or other relevant content on your site, like your blog or to your calendar to book a call. The options here are endless, but building out this page in a succinct way can help to further engage visitors and provide them with useful information or resources.

In addition to redirecting people to other areas of your website, you can also provide them with a freebie in exchange for their information.
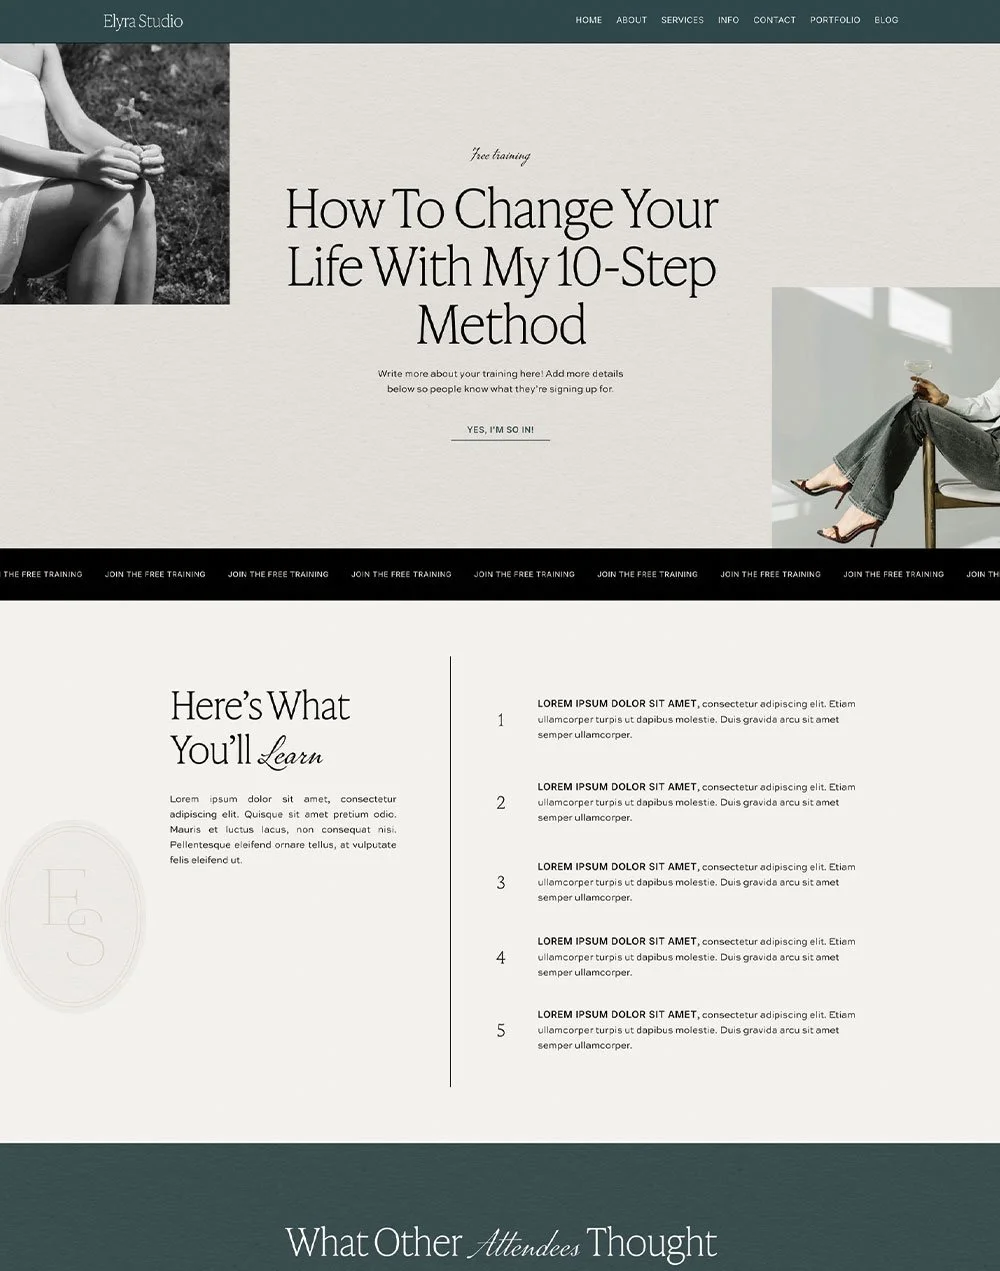
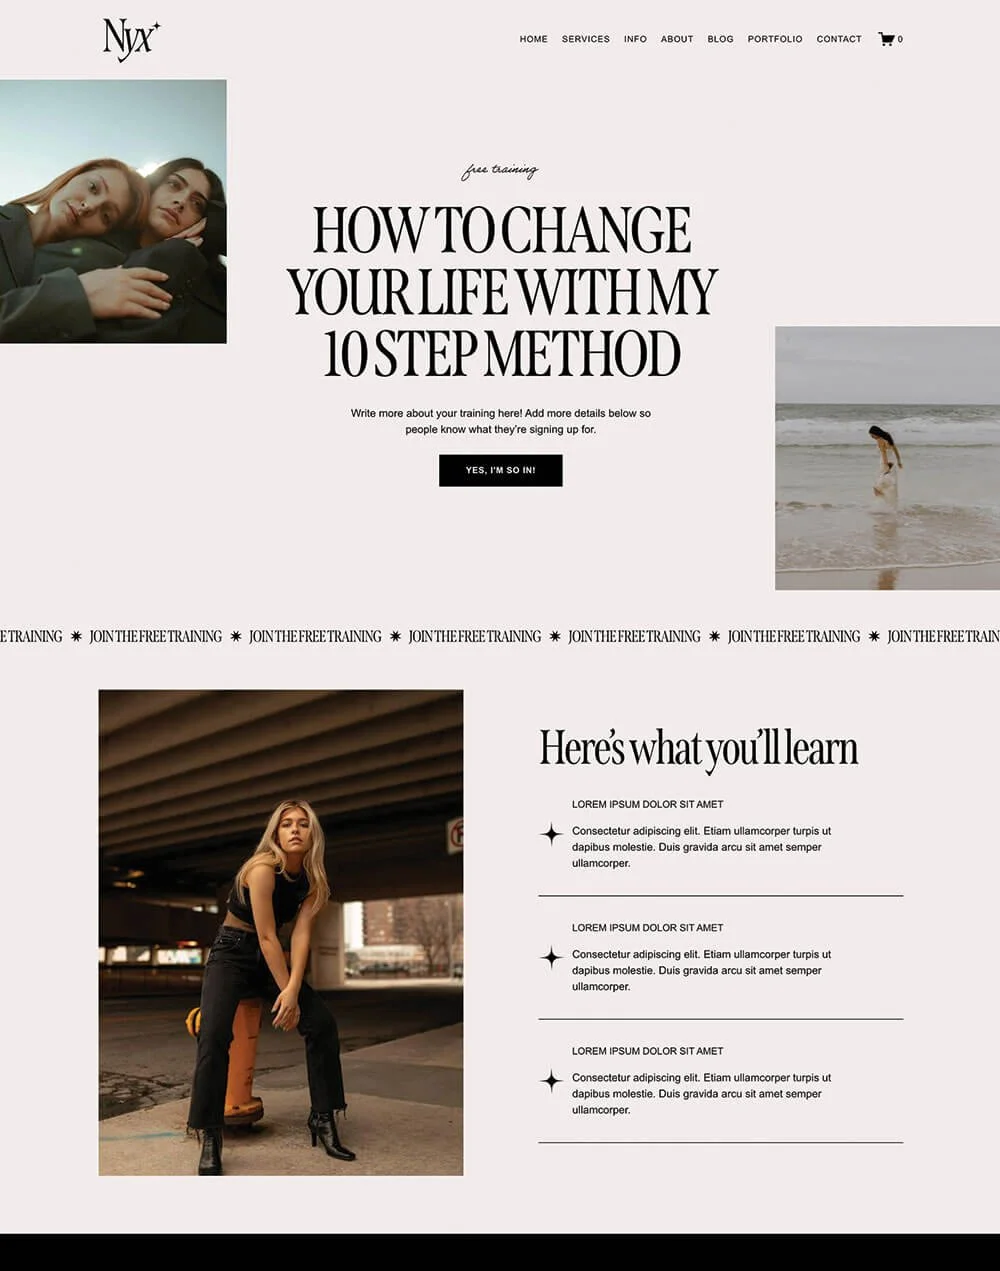
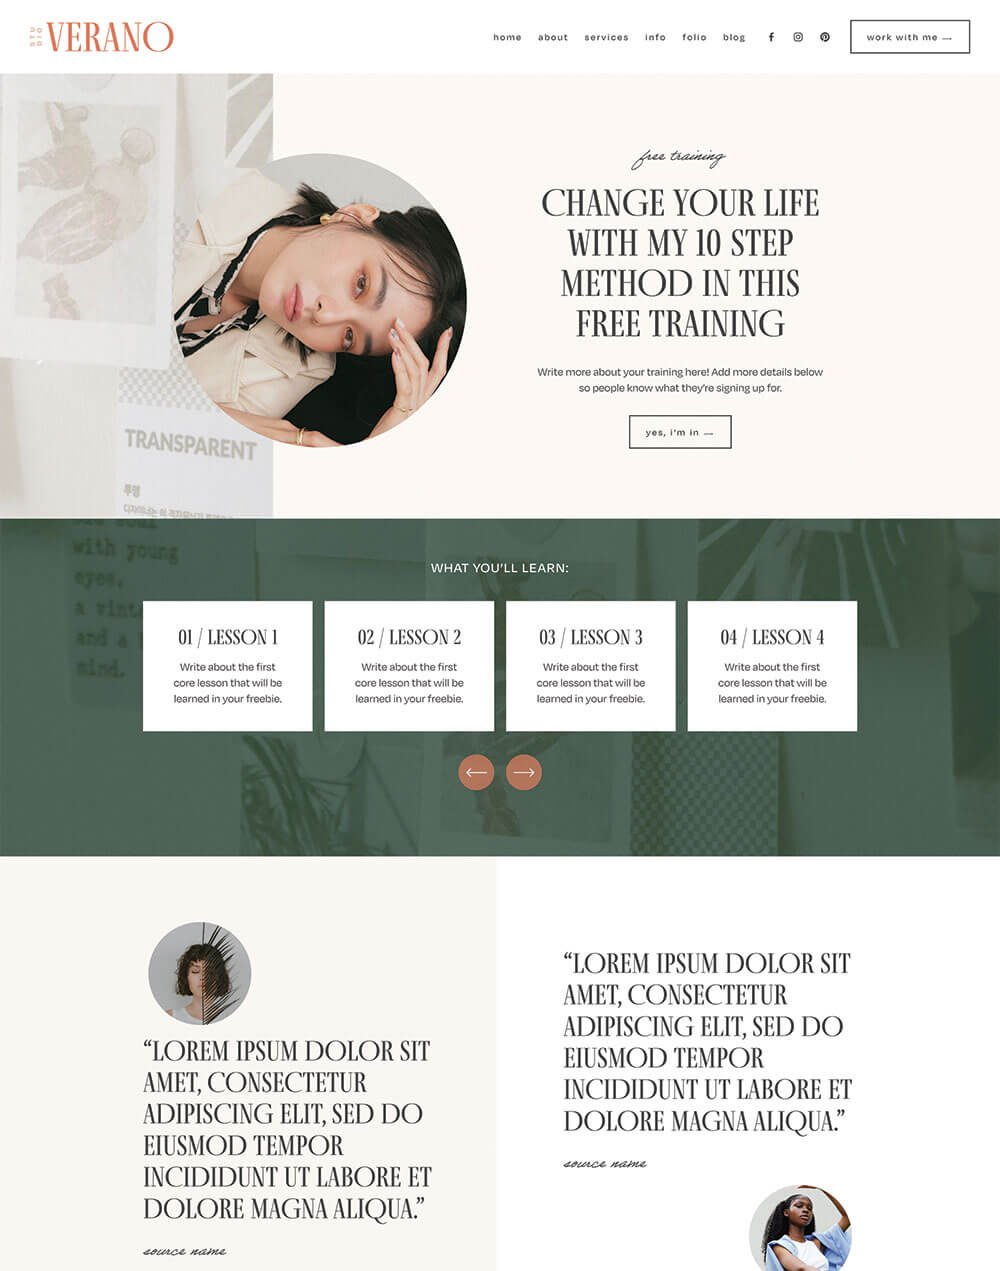
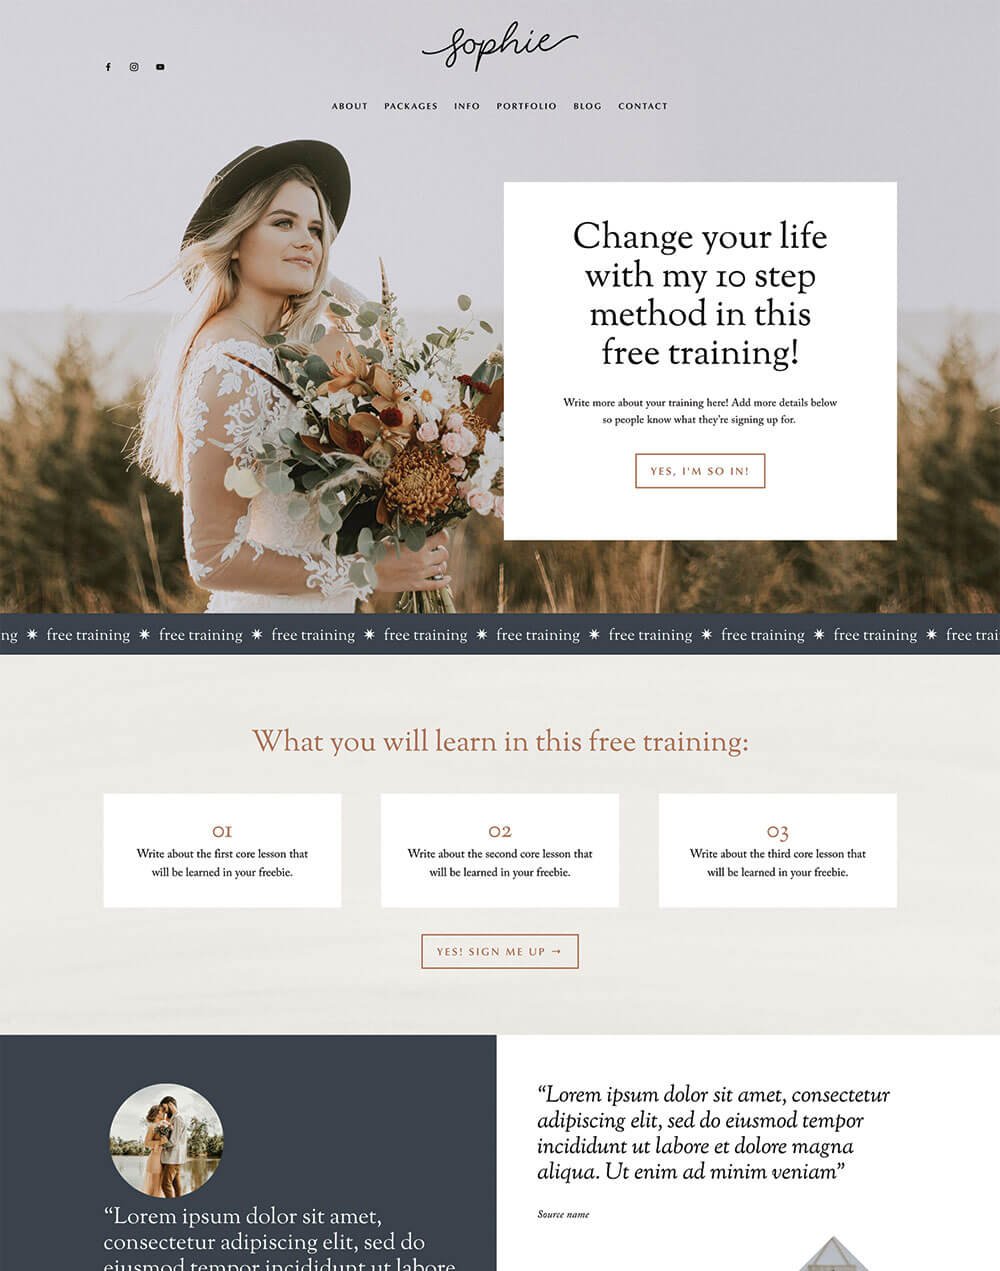
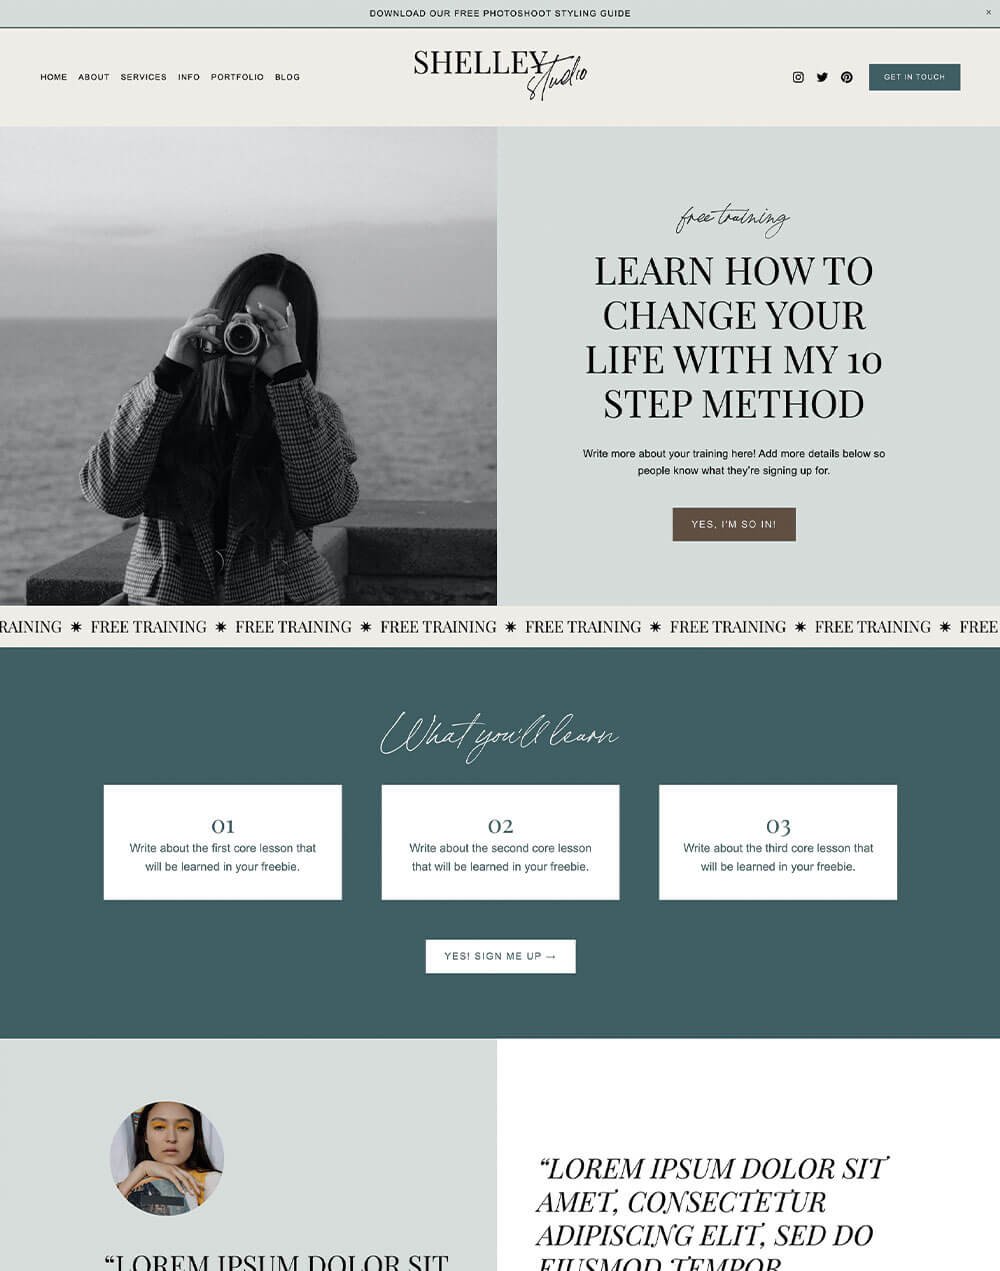
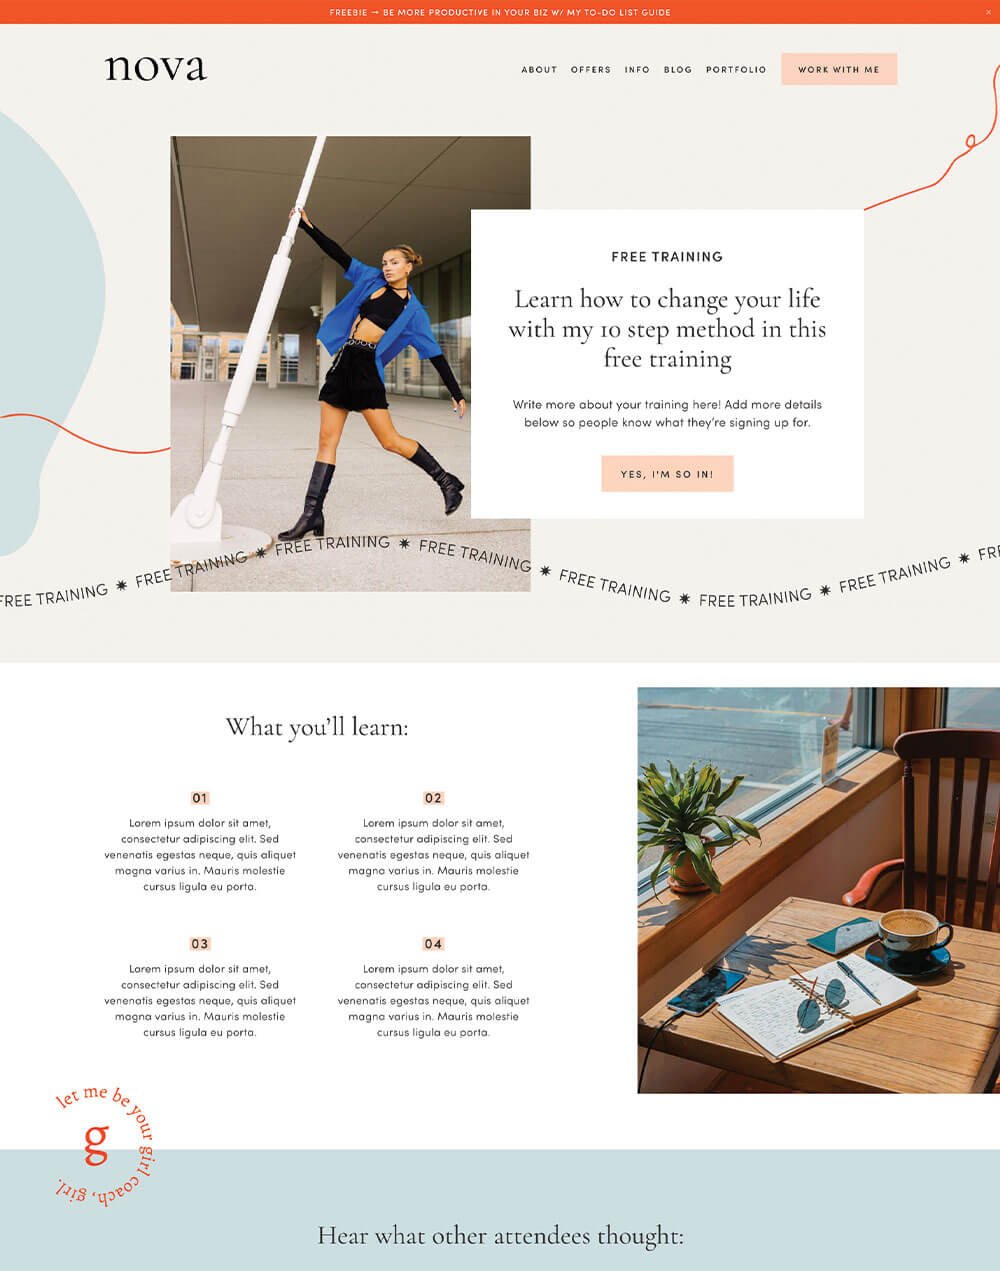
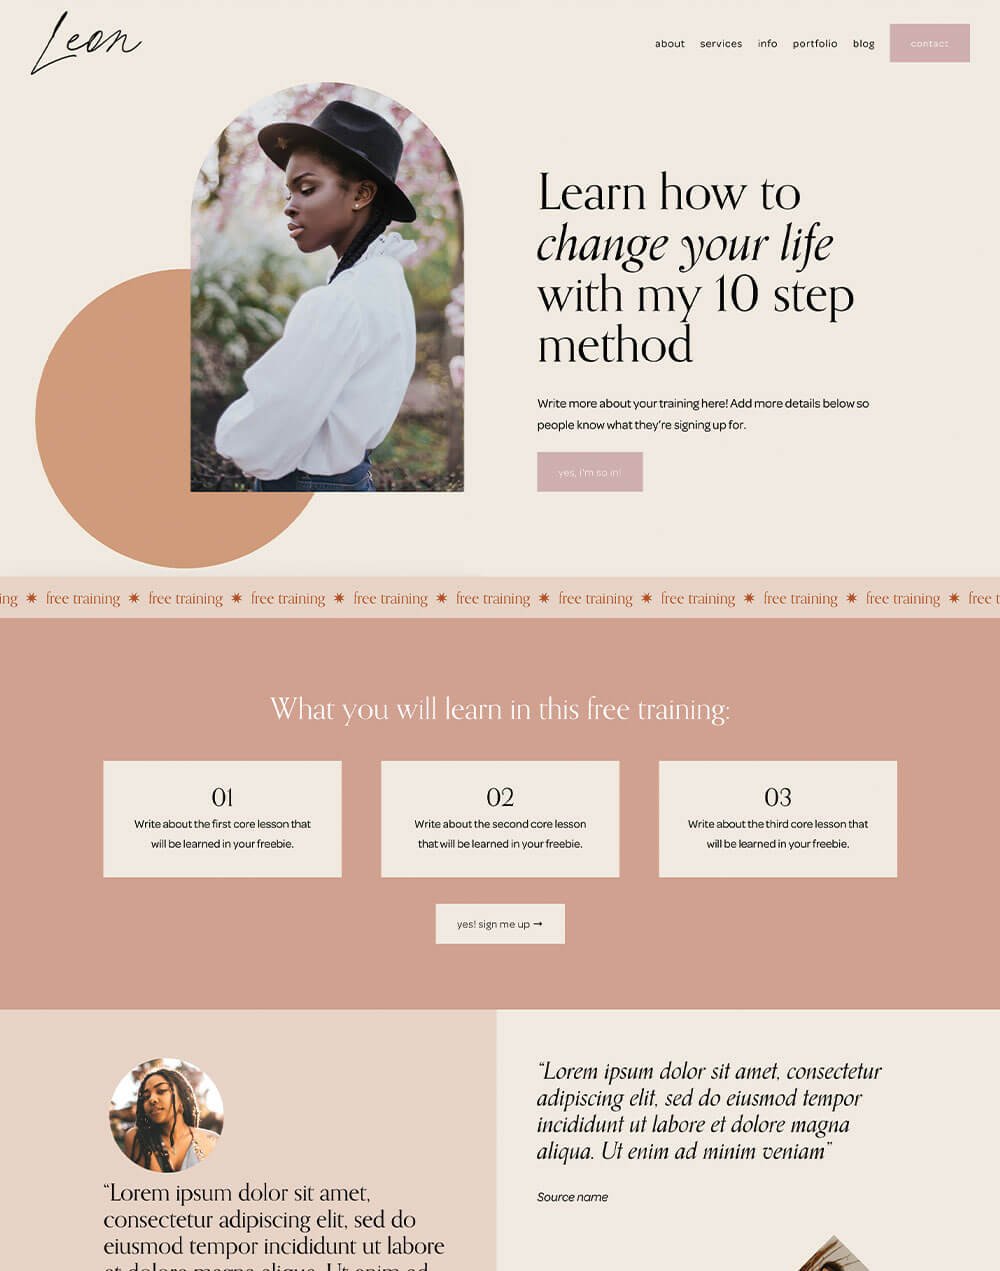
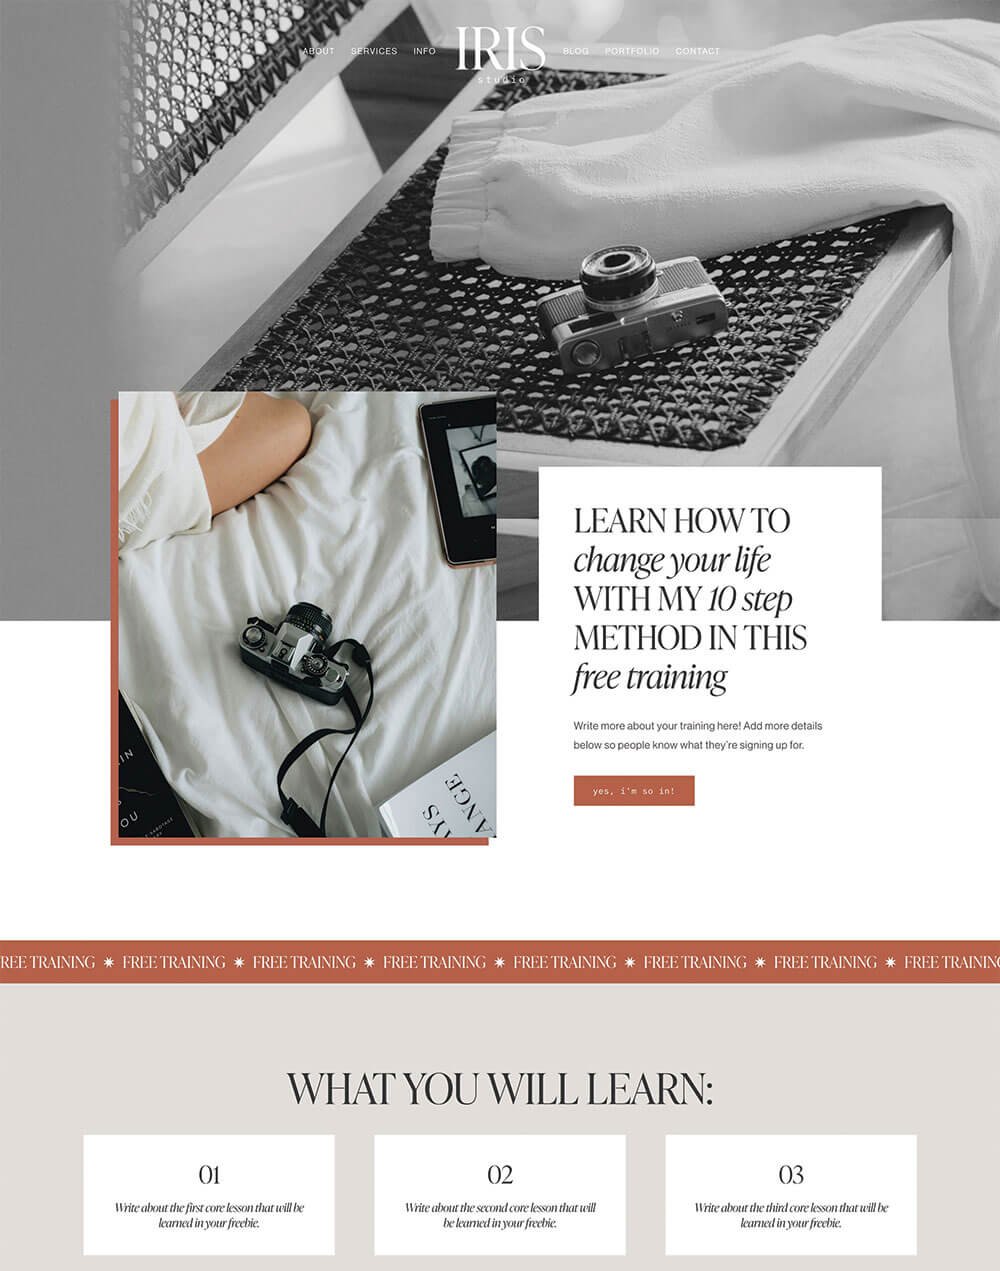
Want to save some time with a strategically designed Freebie page ready to go? Check out our Freebie page templates:


Add a Downloadable File to Your Thank you Page
To redirect your visitors to a free downloadable, like a PDF or Zip File, you'll need to upload the file you want to share to Squarespace as a link.
On your thank you page, add a button or text link that will direct the user to download your materials.

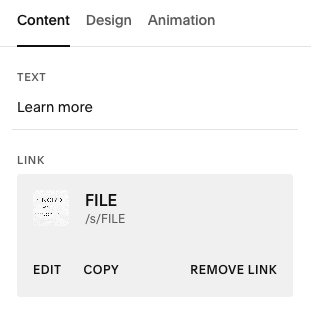
Click the button or text to add your link. Instead of linking directly to another page or external URL, click Attach Link, then click the URL dropdown and change it to File.
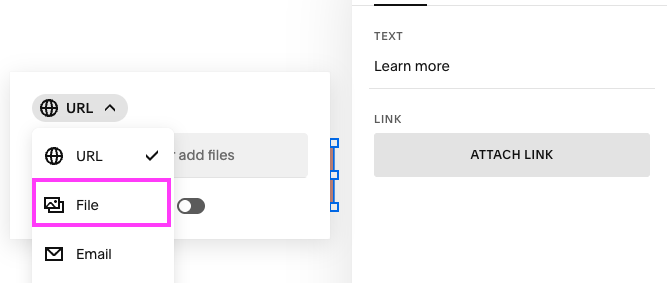
In the pop up, upload a new file or select the an existing file that you would like to share with your audience.
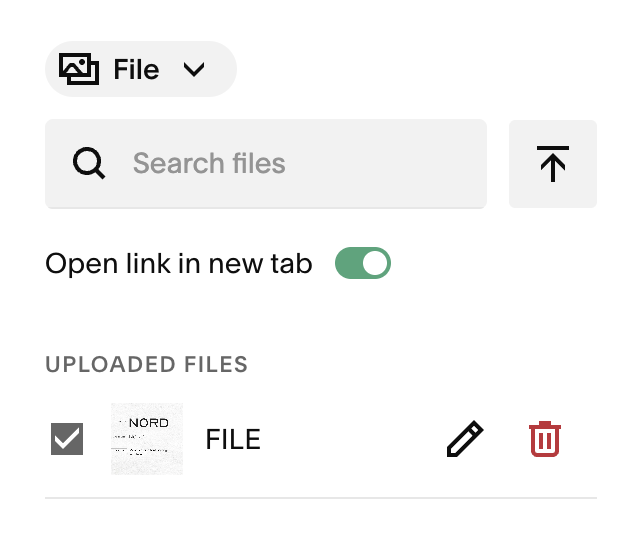
Make sure the checkbox next to your file is checked and hit Save in the upper left corner.
Your button should now automatically populate with a link to the file upload.
Now when your visitors click the button they'll have direct access to download your free resource!
Step 2: Set up the Form Redirect
Next, you'll need to configure your form to redirect to the thank you page when it's submitted. To do this, go to the Form or Newsletter block on your Squarespace page and click the Edit button.
Navigate to the page where you have the form content or newsletter block that you want to redirect.
Hover over the form content block and click on the Edit button (pencil icon) that appears.
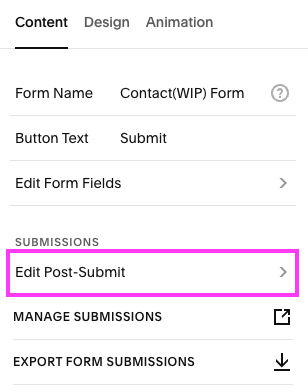
In the form editor, click on Edit Post-Submit under the Content tab.
Toggle on the settings to Redirect and a new field will appear where you can enter the URL of the page where you want the form to redirect to after submission. Enter the URL of the thank you page that you've created, or the download page if you want to redirect to a resource.

Tip: If you don't know the URL, click Attach Link, then enter ‘/’ in the field and a list of all your pages will come up.
Remember to click the Save button to save the changes you've made to the form block!
Step 3: Test the Form Redirect
Finally, make sure to test your form and thank you page to ensure everything is working correctly!
Fill out the form yourself and confirm that you're redirected to the thank you page and that any additional resources are available as expected. Once you've tested everything, your new form is ready to start collecting leads and providing additional value to your visitors!
By following these simple steps, you can create a seamless experience for visitors to your Squarespace site, providing a clear confirmation that their form submission has been received and additional resources to help them along their journey!
Want more Squarespace tips to keep your visitors engaged?Check out the posts below 👇
How to add Google, Airbnb, and Facebook reviews to your Squarespace site
How to add a chatbox to your Squarespace site for free! (2022 Facebook Messenger update!)
3 website pages that will increase your revenue (and you should add today!)
How to create a dropdown FAQ in Squarespace
Why you should stop using Linktree & how to create your own in Squarespace
If you liked this post, Pin it to Pinterest! 👇🏻
