

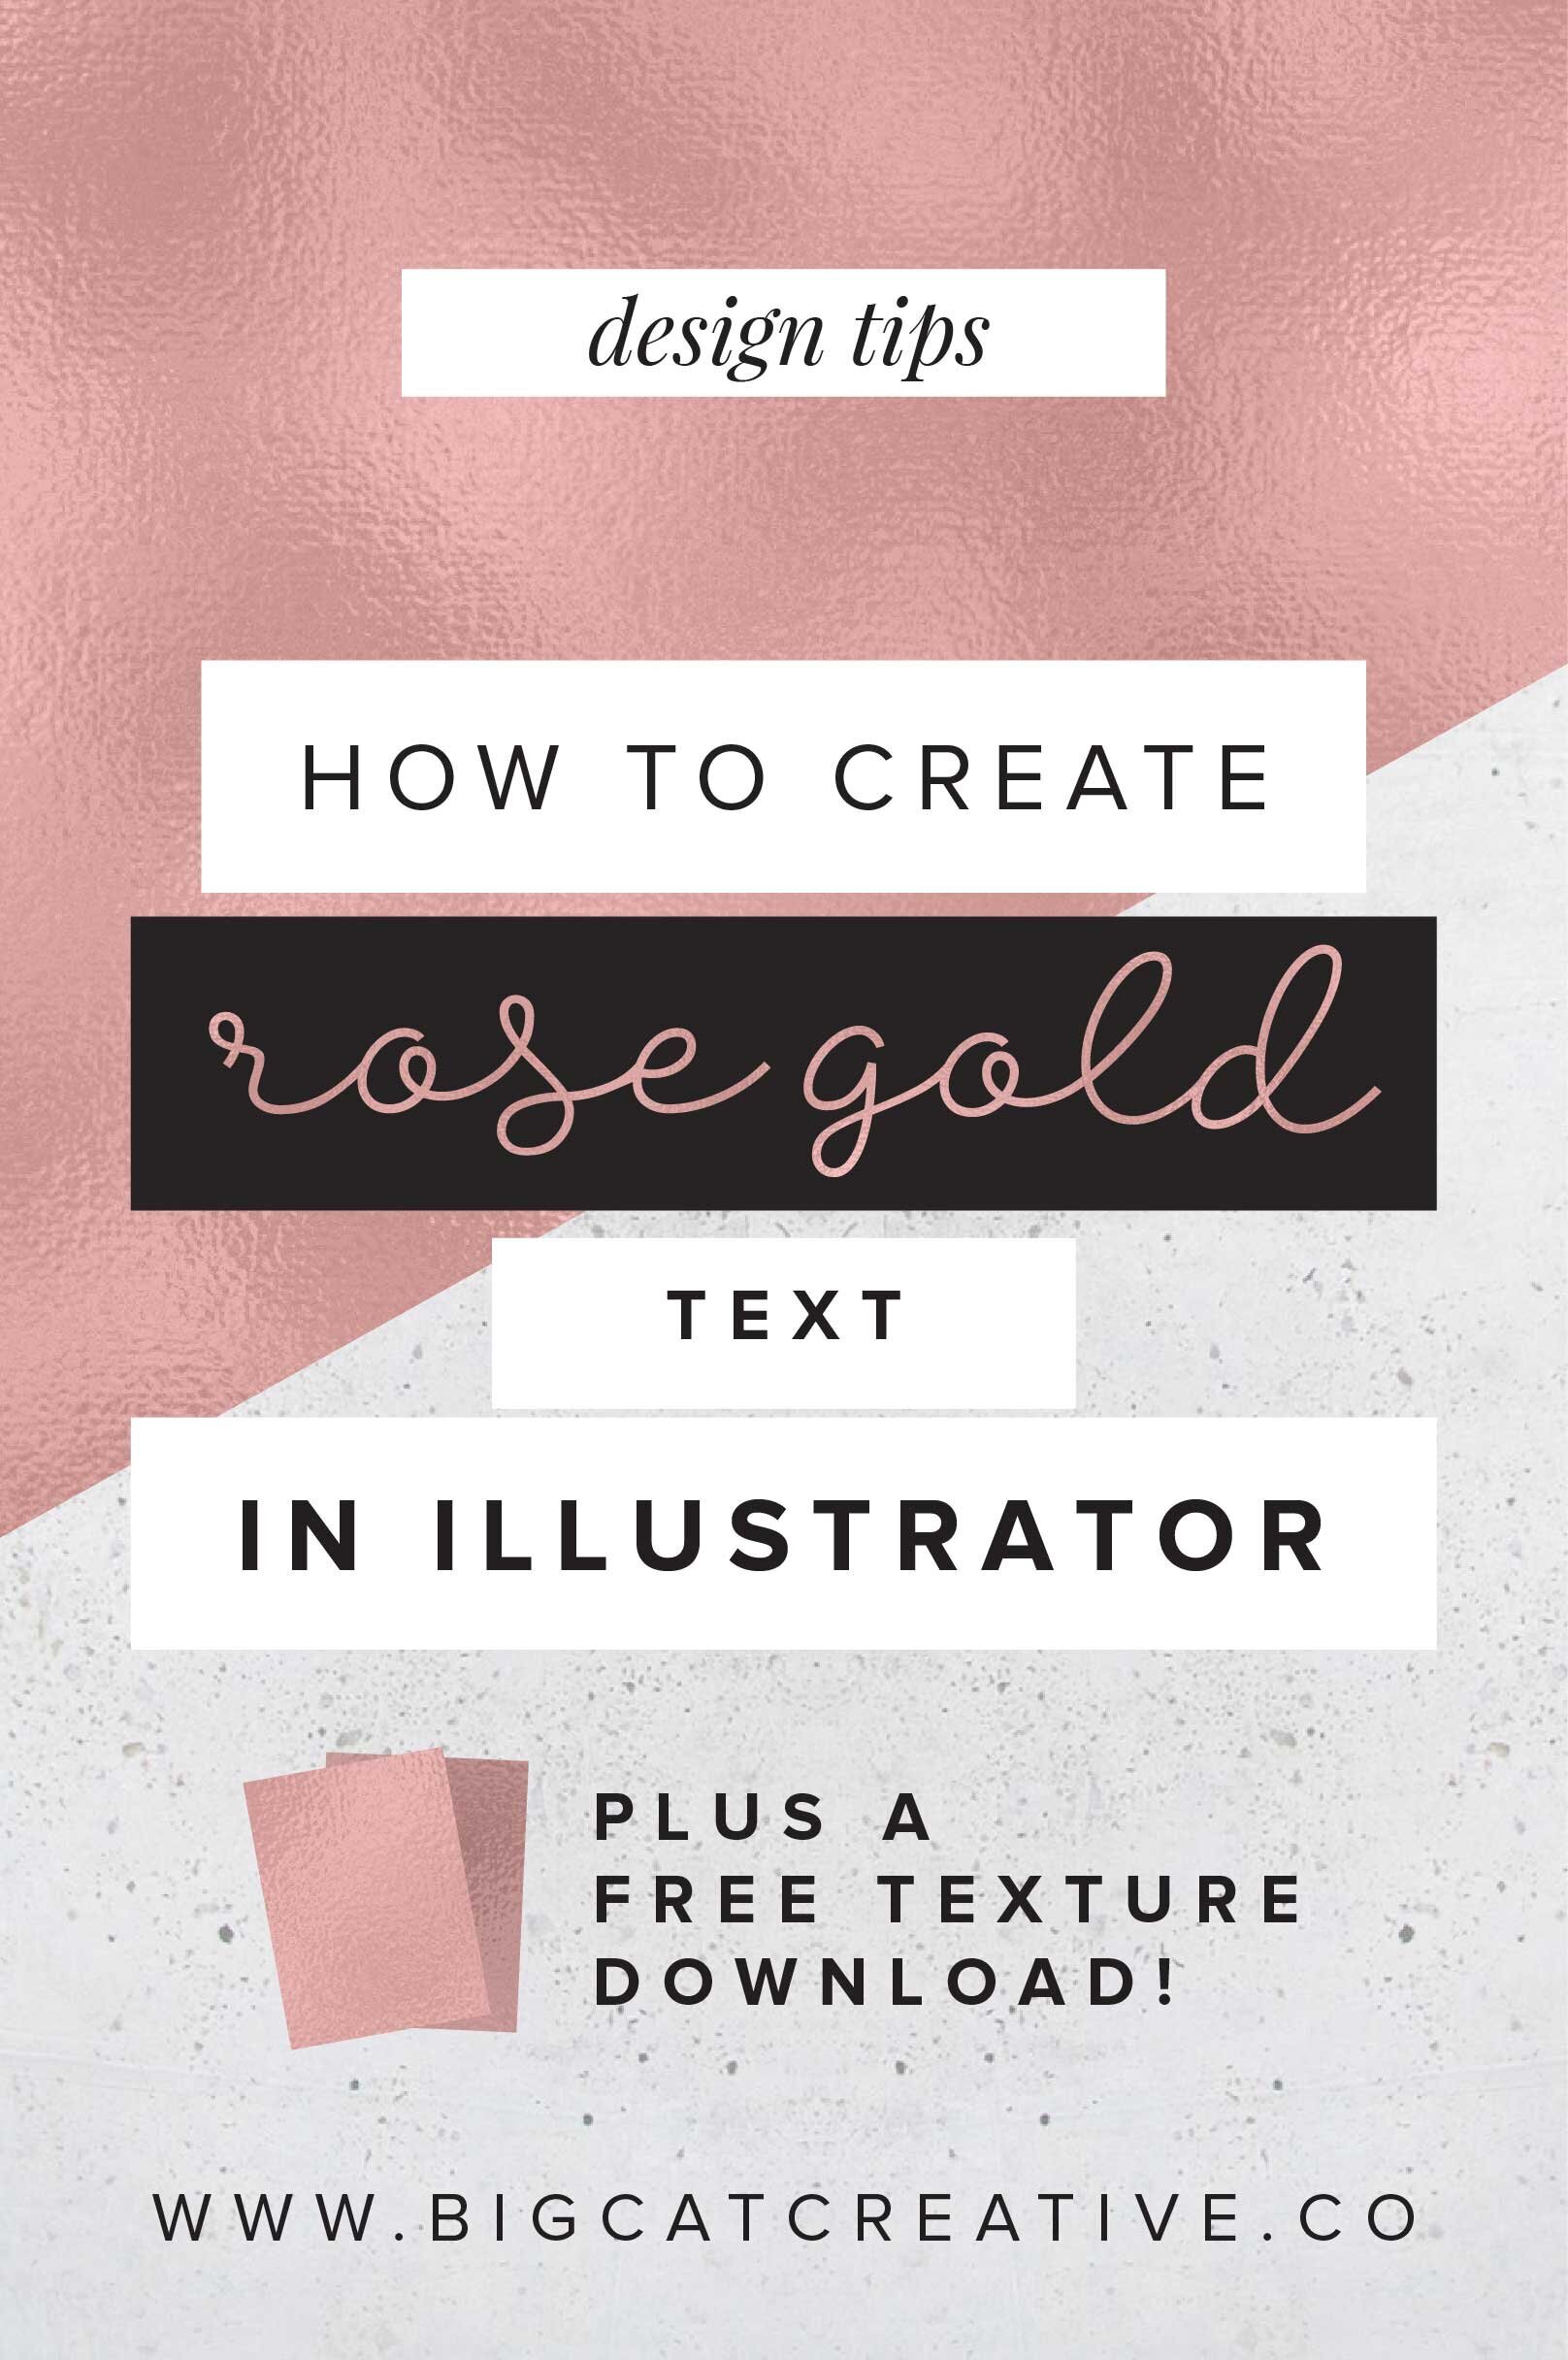
How to create rose gold text in Illustrator
Hey DIY Designers!
Today I’m going through a super quick and easy lesson for you - How to create Rose Gold text in Illustrator. You can also do this in Photoshop, but I prefer to do it in Illustrator and I know most of you prefer to use Illustrator anyway!
For this tutorial you will need...
Illustrator
A font of your choice (try www.dafont.com for awesome, free for personal use fonts!)
A rose gold texture (see below!) Tip: You can actually do this tutorial with ANY texture: gold, marble, watercolor etc. If you have a different texture to use, go ahead and follow these steps just the same!

Once you have downloaded the texture, or have a different texture of your choice we can get started!
Start by using the Type tool and type out the word you want in your chosen font:


Once you’ve done that, click on the selection tool, then click Type > Create Outlines.
This converts the text from editable text to an outlined drawing. Once you do this, you won’t be able to edit the wording or font.


Now we need to make the text is one piece (right now, it’s probably multiple letters, or at least multiple words). So, make sure the text is selected and click Object > Compound Path > Make.

Now we need to place the Rose Gold texture into the file. Click File > Place and locate your Rose Gold texture and “Place” it into the document.

Your Rose Gold texture should now be in your document. We now need to send it behind our Text. You can do this by selecting the Rose Gold Texture, then right click on it > Arrange > Send to Back

Now it should be behind the Text, and look something like this:

Almost there! Now you need to select both the Text and the Texture, right click on them both and choose Make Clipping Mask

If you have followed all the steps correctly, it should look something like this!

And you’re done! How easy was that? If you double click on the text, you can see the texture inside of the Text. You can click on it and move the positioning of it or adjust the size of it by dragging the corners. Like I said, you can do this with any texture, so, have fun experimenting!
I hope this helped you, remember to link your creations in the comments below so I can see them!