If you’re writing blog posts for your business, then you probably already know just how great they are for getting people onto your website. Free and helpful content - who wouldn’t want to stop by?!
Blogs are fantastic for SEO, site traffic, and building trust with your growing audience. BUT, traffic alone doesn’t equal sales. That’s why it’s important to focus on guiding your blog readers somewhere more lucrative for you. Whether that’s joining your email list, reading additional posts, browsing your products, or booking a service, you need to give people something more to commit to.
The good news is that there are a handful of techniques that you can implement within your blog posts that will encourage readers to stick around and maybe even make a purchase. That’s where we come in!
In this blog post, we’re going to break down everything you need to know for turning blog readers into email subscribers, leads, and/or customers. So, if you’re ready to make some serious conversions, keep reading.
Let’s dive in!

What you Should do Before Writing Your Blog Post
Success starts at the very beginning! That’s why, before you even write your blog post, you should take some time to consider your reader’s search intent.
What are they Googling? What are they actually looking for?
Not every single topic is going to require the same blog structure, so putting yourself in the reader’s shoes for a moment can help you figure out what will be the most helpful for them. Are they looking for
A Step-by-Step Tutorial
A Comparison Guide
A Practical Checklist
Creative Inspiration
A Straightforward Solution
Or something else? Once you have an answer to this question, you can then format your blog post to match the intent.
For example, someone who is searching “How to Choose a Squarespace Template” probably wants some practical decision-making assistance, not a buzzy essay about website design. In this case, you would know to write a post with a usable checklist or your top 5 proven tips for choosing the right product.
Having this information, also allows you to naturally connect the advice you’re providing with products, services, or freebies that you offer!
It all comes back around, full circle. But you have to know the best way to serve the reader in order to get them invested.
Utilizing Email Opt-ins in Your Blog Posts
One of the most important things to have in EVERY blog that you post is a form where readers can sign-up for your email list!
You’ve already attracted people to your website (arguably the hardest part), and now you need to get them to join your community. This is the ultimate goal. Once someone is on your email list, you have their permission to show up in their inbox, and that is way more personal than reading a blog post. Plus, the conversion rates for email lists are crazy high.
👉 Why Every Business Needs an Email List
This form can be a simple newsletter sign-up, a freebie opt-in, access to a sale, or anything else that will work to collect those email addresses.
👉 How to add an Email Sign-up Form to your Squarespace Website
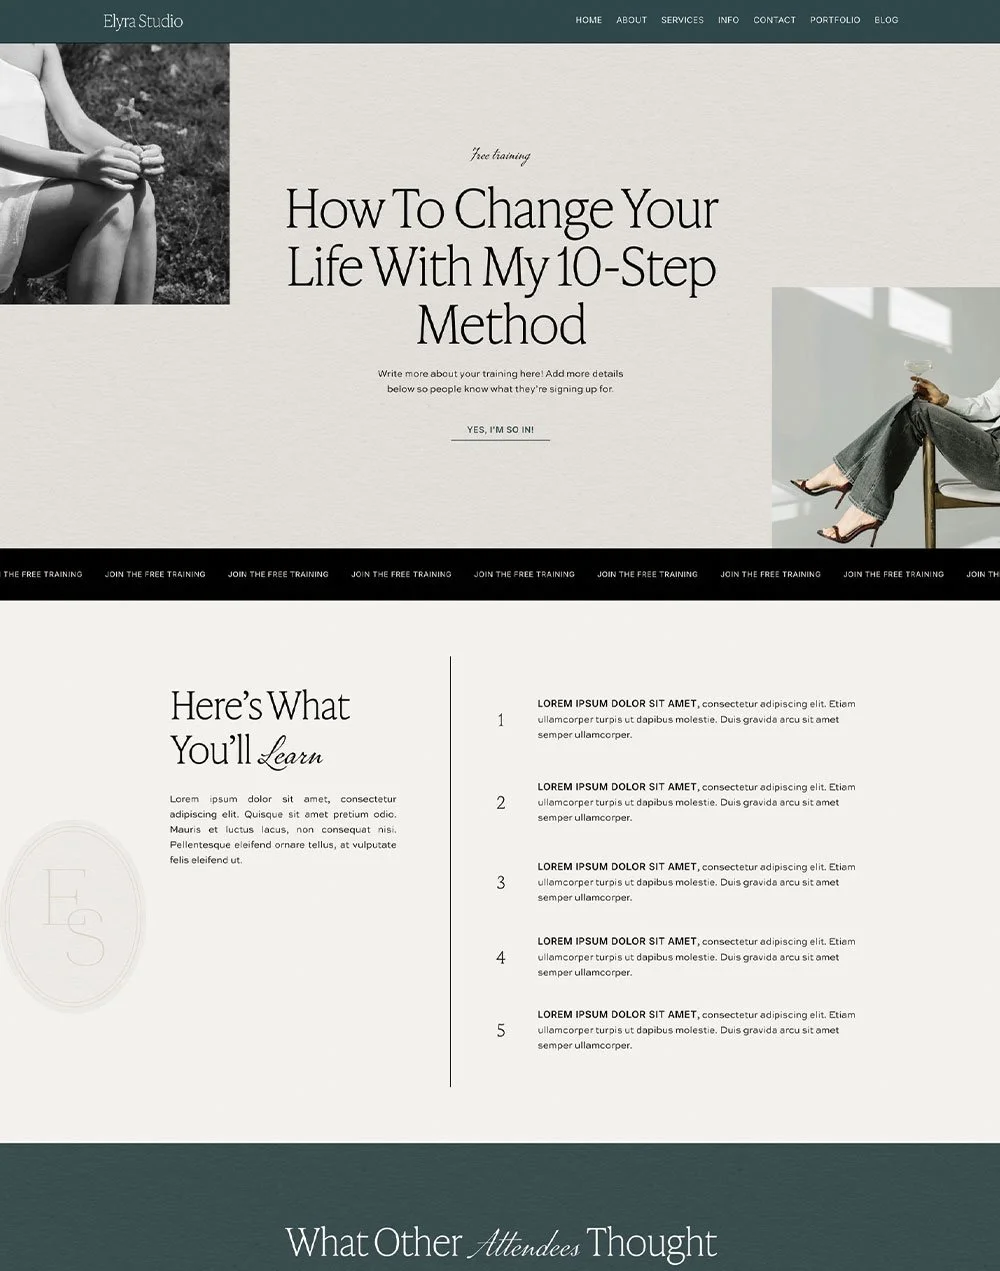
Example of an opt-in in one of our Big Cat Creative blog posts
It’s also particularly helpful to include email opt-ins in your blog posts because you know that those viewers are already invested in a topic that you specialize in!
Ultimately, you don’t just want to grow your email list for the sake of having a lot of subscribers. Rather, you want to get the right people on your list. You want to grow a community of your people, those who are actually interested in what you offer and motivated to take the next step.
So, if someone is subscribing through a blog post, then you can feel confident that you’ve already peaked their interest and that they’re a solid potential customer, client, or student.
Here are a couple of additional things to keep in mind when adding email opt-in forms to your blog posts so that you can have the most success possible:
You should always include at least one sign-up form, but if your post is really long, we recommend adding multiple forms - one near the top, middle, and bottom. This way there’s more opportunities for readers to sign-up and your one form won’t get lost in the bulk of the post.
Make sure that your opt-in offer is relevant to the blog topic. If you’re going to provide a freebie or some other offer, you want it to make sense within the scope of what you’re discussing. For example, if you’re writing a post about website security, you probably don’t want to include a freebie opt-in for social media templates. This doesn’t mean you need to create a new offer for every post you write! But you should be aware of the relevance. And if you don’t feel like you currently have something that will work, you can just stick with a simple newsletter sign-up.
👉 Everything you Need to Know to Create Freebies That (actually) Grow Your Email List
P.S. Did you know that we offer Freebie Add-On Page Templates that help make it so easy to launch a beautiful and high-converting opt-in page in just minutes?! There’s a Freebie add-on page to match each one of our Premium Squarespace Templates so not only will you be raking in the subscribers, but your freebie will feel like an intentional part of your brand right out of the gate.
How to Integrate Related Posts and Internal Links to Your Blog Posts
This next technique is something that can easily be overlooked, but it’s highly effective and shouldn’t be slept on.
Here’s how it works - utilizing related posts and internal links throughout your blog keeps people on your website. The longer people stay on your site, the more they’ll learn from and about you which leads to trust and motivation. Trust and motivation lead to sales. And voila! You’ve just converted a random reader into a customer simply by providing them with additional content to browse.
Plus, internal links also help to guide search engine crawlers through your website, establish content relationships, and add to the overall user experience which are all excellent for SEO. So in the long run, these tools will also contribute to helping new users find you in Google.
So, what’s the best way to actually use related posts and internal links in your blog post?
Link to related blog posts throughout your post by using text links. If you’ve previously written a post about something that you briefly touch on, call attention to that by directly linking to that other post via text. You can do this by saying something like “Related Post > Blog Post Title with Link” or you can simply link text within a paragraph (we do both of these things often throughout our blog posts, keep an eye out 👀).
Link to relevant products, templates, freebies, or resources. You can also link out to these things via text links or throw in a couple of buttons or image links if that makes sense! Adding direct links to product or freebie pages is helpful because the reader will already be consumed by the topic they’re reading about which might make them more likely to take immediate action.
Add “related reading” sections where it’s most helpful. Our favorite place to add a section like this is at the end of the blog post so that the reader can go straight into more information without needing to search for it. Sidebars are also a great place to add a section like this if you have one on your blog.
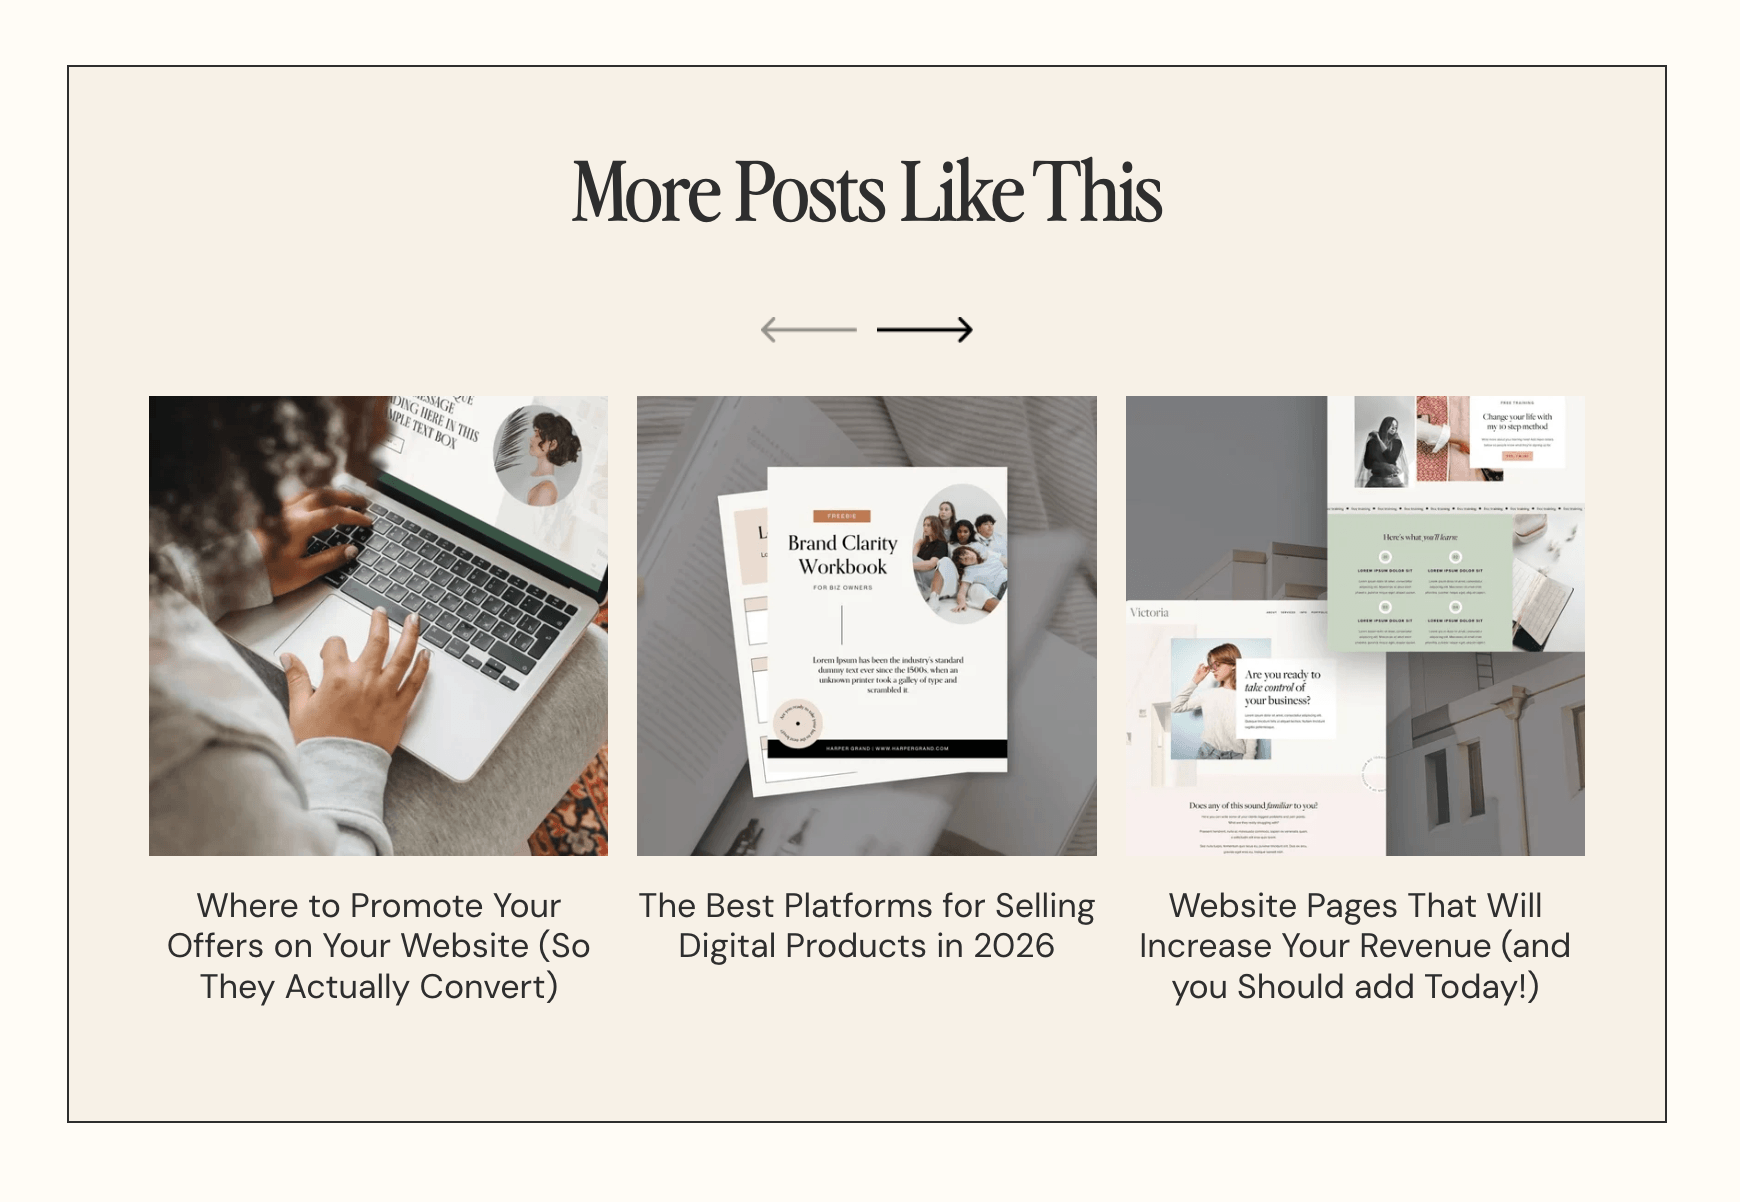
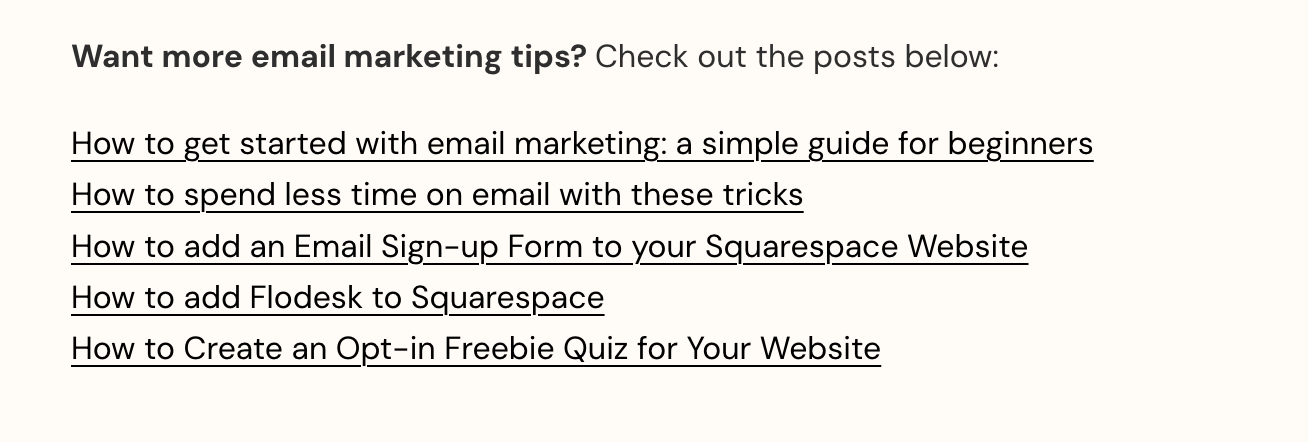
No matter how you choose to add your related posts and internal links, just make sure you use them! If someone is taking the time to read through your blog post, then they’re clearly serious about learning and that’s the ideal time to offer them more.
👉 How to create a ‘featured post’ slider in Squarespace
👉 How to add related posts to your blog posts in Squarespace
Adding Clear Calls to Action for the Reader
Speaking of motivated potential customers, you always want to make sure that your goal for the reader is made loud and clear through clear Calls to Action (CTAs)!
Yes, it’s super important (in general) to add internal links and give people a chance to sign-up for your email list, but each blog that you post should also have one clear next step so that the reader feels guided.
Take some time before you write your post and before you publish to get clear on what you want the reader to do. You don’t want to leave them at a dead end, so is it most important for them to:
Join your email list
Take your free course
Browse your products or services
Read another blog post
Book a consultation call
Download a freebie
Or something else? Once you know the answer to that, make sure that your CTAs are simple and obvious.
And don’t wait until the very end of the post to add your CTAs! Sprinkle them throughout the main copy of your blog post as well. This, obviously, creates more opportunities for clicks, but it also helps to make your CTAs feel more naturally integrated. You always want to try to avoid things seeming too salesy or forced. Instead focus on how you can be the most helpful to the reader.
Don’t YELL at them, gently nudge them.
How to Make Your Blog Posts Easily Shareable via Pinterest and Social Media
Now, as important as it is to create interest within your actual blog post, it's also important to create content worth sharing so that your potential viewership can grow! There's no point in asking people to sign-up for your email list if there's no one reading the post in the first place.
And the great thing is that, once your content is ready to publish, there are some really helpful (and free) ways to get the word out. AKA, social media!
We all know how important social media is these days for marketing, and if you’re not already using Pinterest to promote your blog, you definitely should be.
Not only is Pinterest super effective for reaching new viewers, but it’s also really easy to create shareable content for your blog posts. Even creating and pinning one unique graphic (rather than pinning a random image within your post) can help your content perform better. So, really, there’s no reason not to take advantage of this technique.
We love creating a vertical Pinterest graphic and adding it at the end of our blog posts so that readers can directly pin the image if they loved the post. And then we pin that post to our business account as well.

Here are some best practices you should keep in mind when it comes to creating graphics and pinning to Pinterest:
Use clear, keyword friendly titles on your graphic. Don’t try and be too fancy, just say it like it is!
Make your graphic visually consistent with your brand. You want anyone coming across your graphic on Pinterest to immediately get a sense for your brand vibe. Don’t be misleading by creating totally random graphics.
If Pinterest is a huge traffic source for you, create more than one pin-able graphic per post and pin that post multiple times so that you’re maximizing your reach.
Add alt text and image titles/descriptions to your Pinterest graphics in order to take advantage of SEO and searchability.
👉 How to Design Pinterest Graphics that are Optimized to get Clicks
👉 How to create an organic Pinterest marketing strategy for your biz
Pro Tip! You can easily add a “Pin it” button to your graphic in Squarespace to encourage people to pin the graphic themselves. View the steps for doing this here.
And you don’t need to stop at Pinterest. You can also repurpose blog content for other social media platforms. You can create postable content based on your blog posts for Instagram posts and reels, Tik Tok, and even your email newsletter.
We even offer gorgeous Social Media Templates to make you're life that much easier when it comes to sharing! Our pre-designed templates allow you to quickly create social content to promote your blog posts and are customizable through Canva so you can always remain brand cohesive.
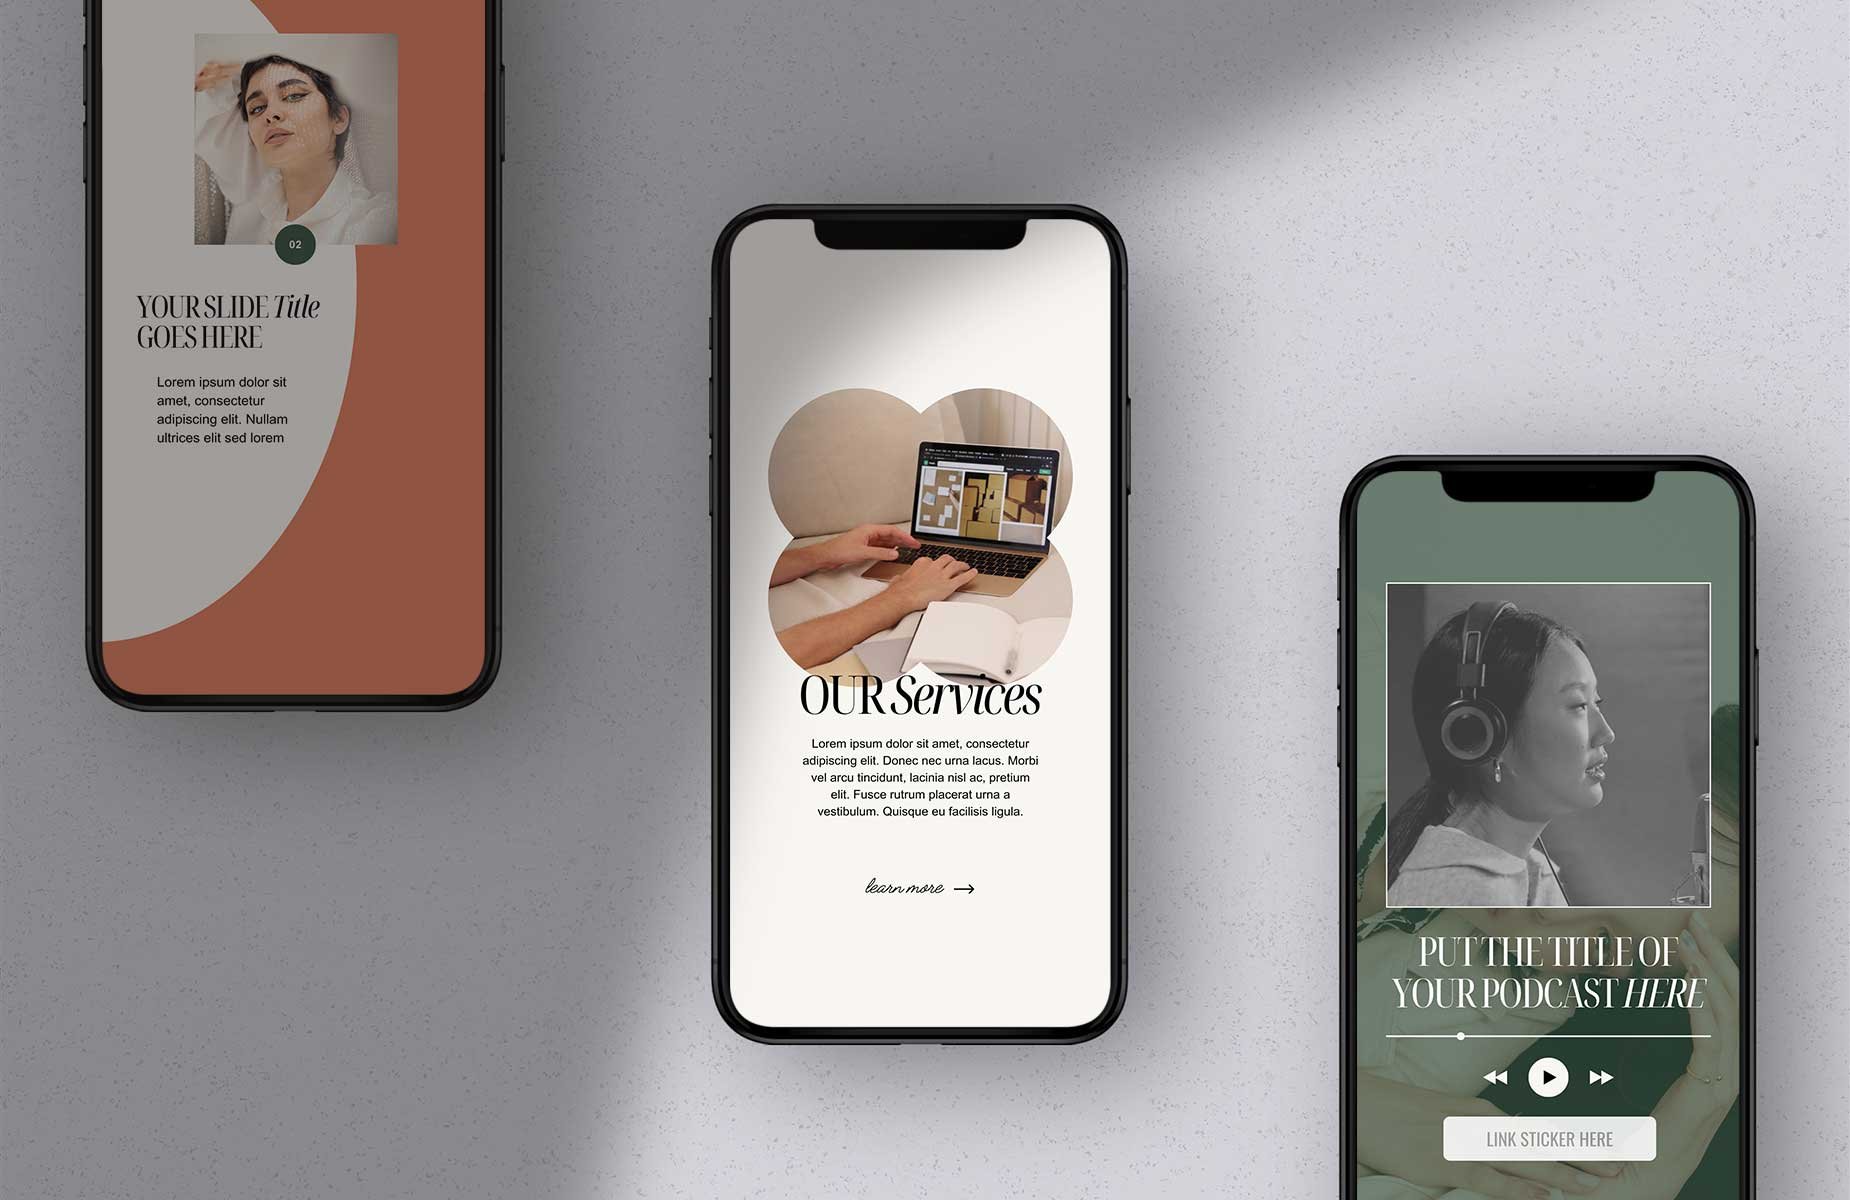
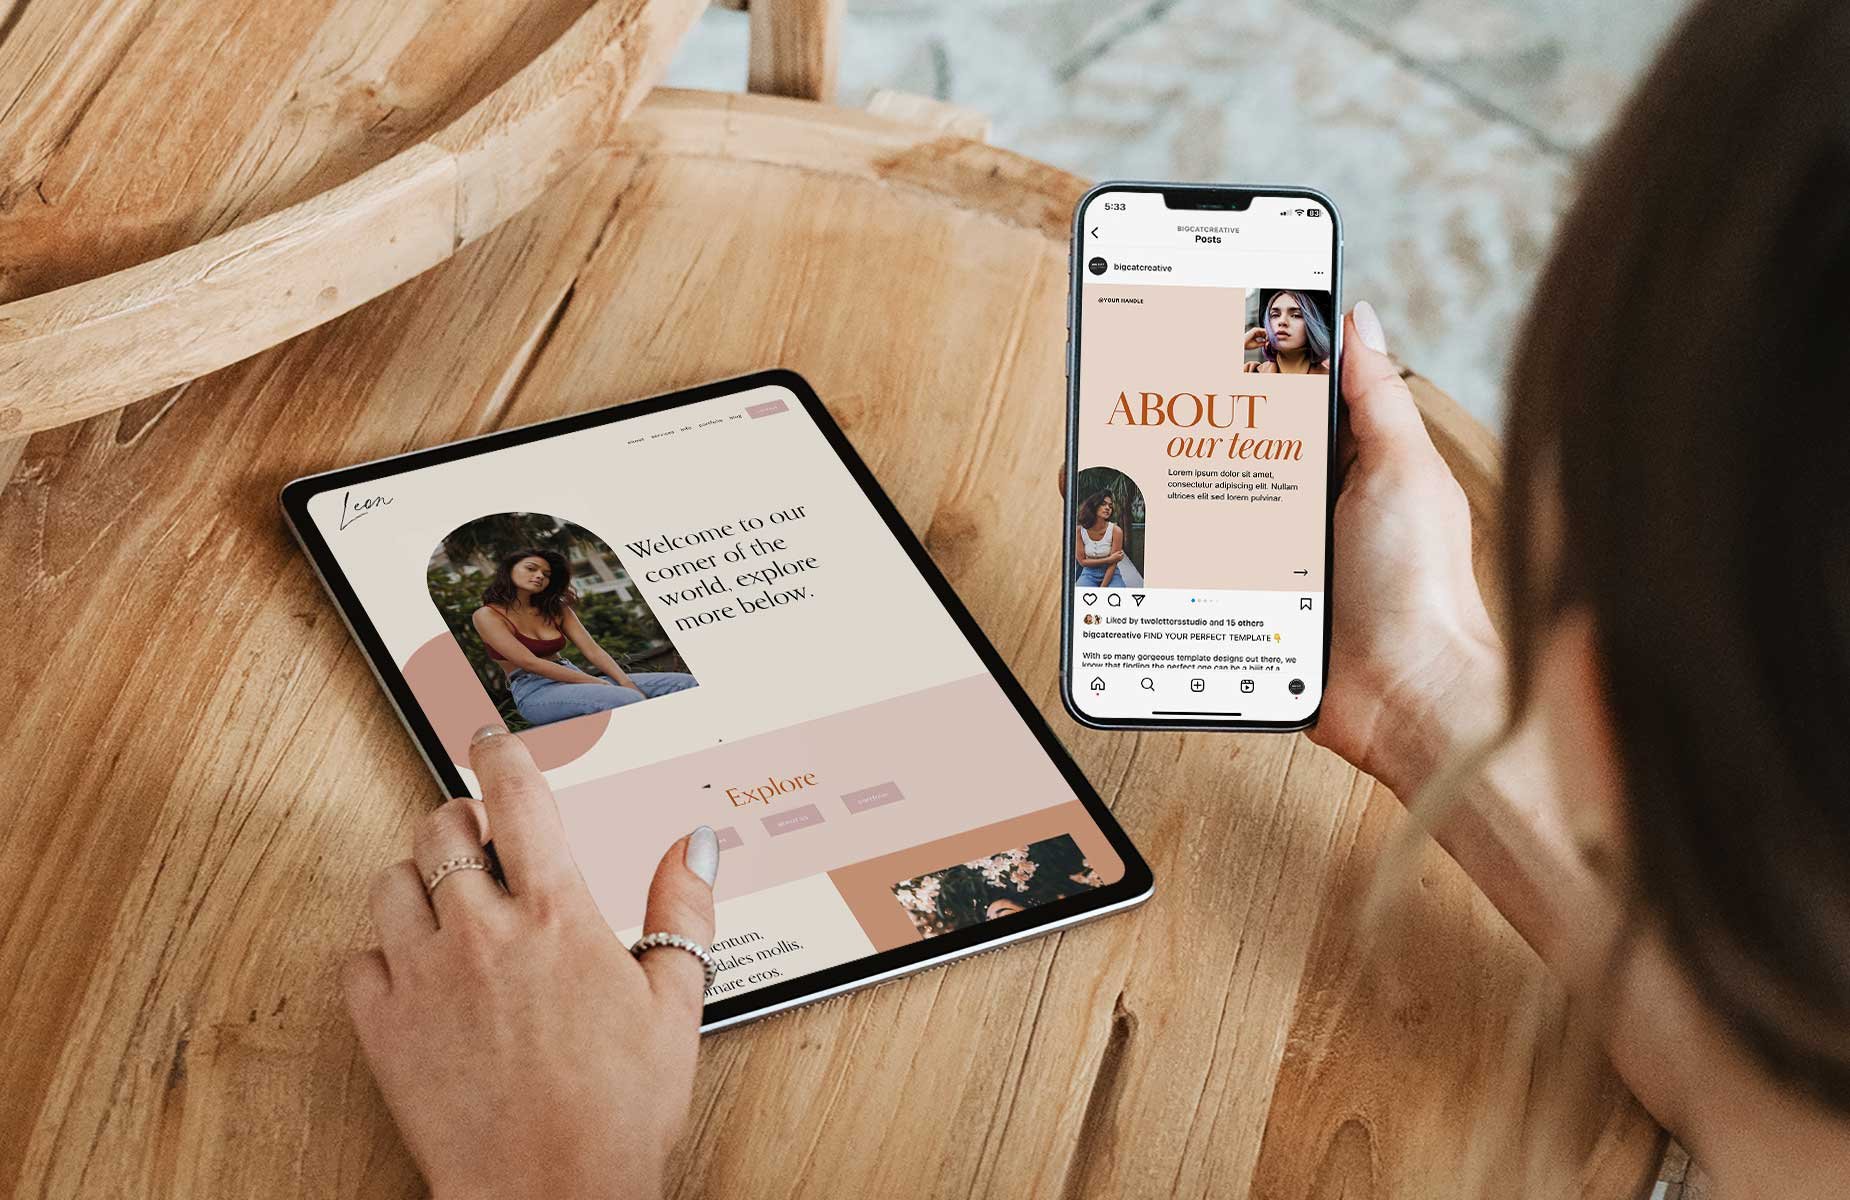
Squarespace also offers some really great tools to help make sharing your blog content to social media simpler than ever. Things like
Connected Accounts: Squarespace allows you to connect your social media accounts to your website so that content can be directly shared with the click of a button. Push your blog out to Instagram, Facebook, Pinterest, and more.
Social Images: You can add a unique social image for each blog post (if you want) which allows you to curate how the public will see your content. This gives you the opportunity to create graphics that help promote your posts effectively.
Easy to share URLS: Squarespace allows you to customize your URLs so that they’re optimized for easy sharing. Not only are you able to change the URL to whatever you’d like (people hate sharing links with massively long URLs), but you can also add tracking information if you want to collect share and click analytics for your post.
You can also integrate 3rd party platforms through code blocks if you want to outsource sharing tools or expand your methods!
👉 How to Automatically Post Your Squarespace Blogs to Social Media
How to Create a Simple High-Converting Blog Post Layout
Alright, so now that you know all of the best techniques for turning your blog post readers into engaged and loyal community members, let’s talk about effective execution.
Not only do you want to make sure that you’re following the tips in this post each time you post a new blog, but you also want to ensure that you’re structuring your posts in a way that’s efficient and compelling.
Unfortunately, you can’t just casually throw some techniques into a quickly written essay and expect to see amazing results!
But don’t worry, we know that consuming all of this information can feel a bit overwhelming at first and want to make your life as easy as possible. That’s why we’ve put together a handy checklist that you can use each time you go to write and publish a new blog. Use this list to make sure that your post is set-up to convert, that you’ve hit all of the most crucial CTAs and that you feel confident you’re on the right track.
Add an SEO-Friendly blog title and meta-description
Create a helpful intro that clearly explains the reader’s problem and how you’re going to help solve it
Add a summary table or TL;DR section for extra long posts
Add clear headings for content sections
Write intentional and actionable body content
Include internal links to related posts or relevant resources/products on your site
Add in relevant images or screenshots to help support your writing and break up walls of text
Include at least one email opt-in
Include at least one clear CTA involving your products and/or services
Include a “related posts” section
Add a final takeaway section at the end of your blog post where you wrap everything up in a really easy to digest way (this is a great place to include checklists or comparison tables)
👉 How to Start a Blog with Squarespace
👉 How to Link Your Blog Categories on Your Squarespace Website
👉 How to create a blog post template in Squarespace
And there you have it! All of the most important tips and techniques you need to know for turning blog readers into email subscribers, leads and customers. Remain consistent with utilizing these techniques and you’ll be rolling in the conversions in no time.